We’re sure that most Hackaday readers are already familiar with the inverted pendulum system, which basically consists of a pendulum having its center of mass above its pivot point. Most applications (like the one we are going to describe) limit the pendulum to 1 degree of freedom by affixing the pole (or circuit board here) to an axis of rotation. The overall system is therefore inherently unstable and must be actively balanced in order to remain upright.
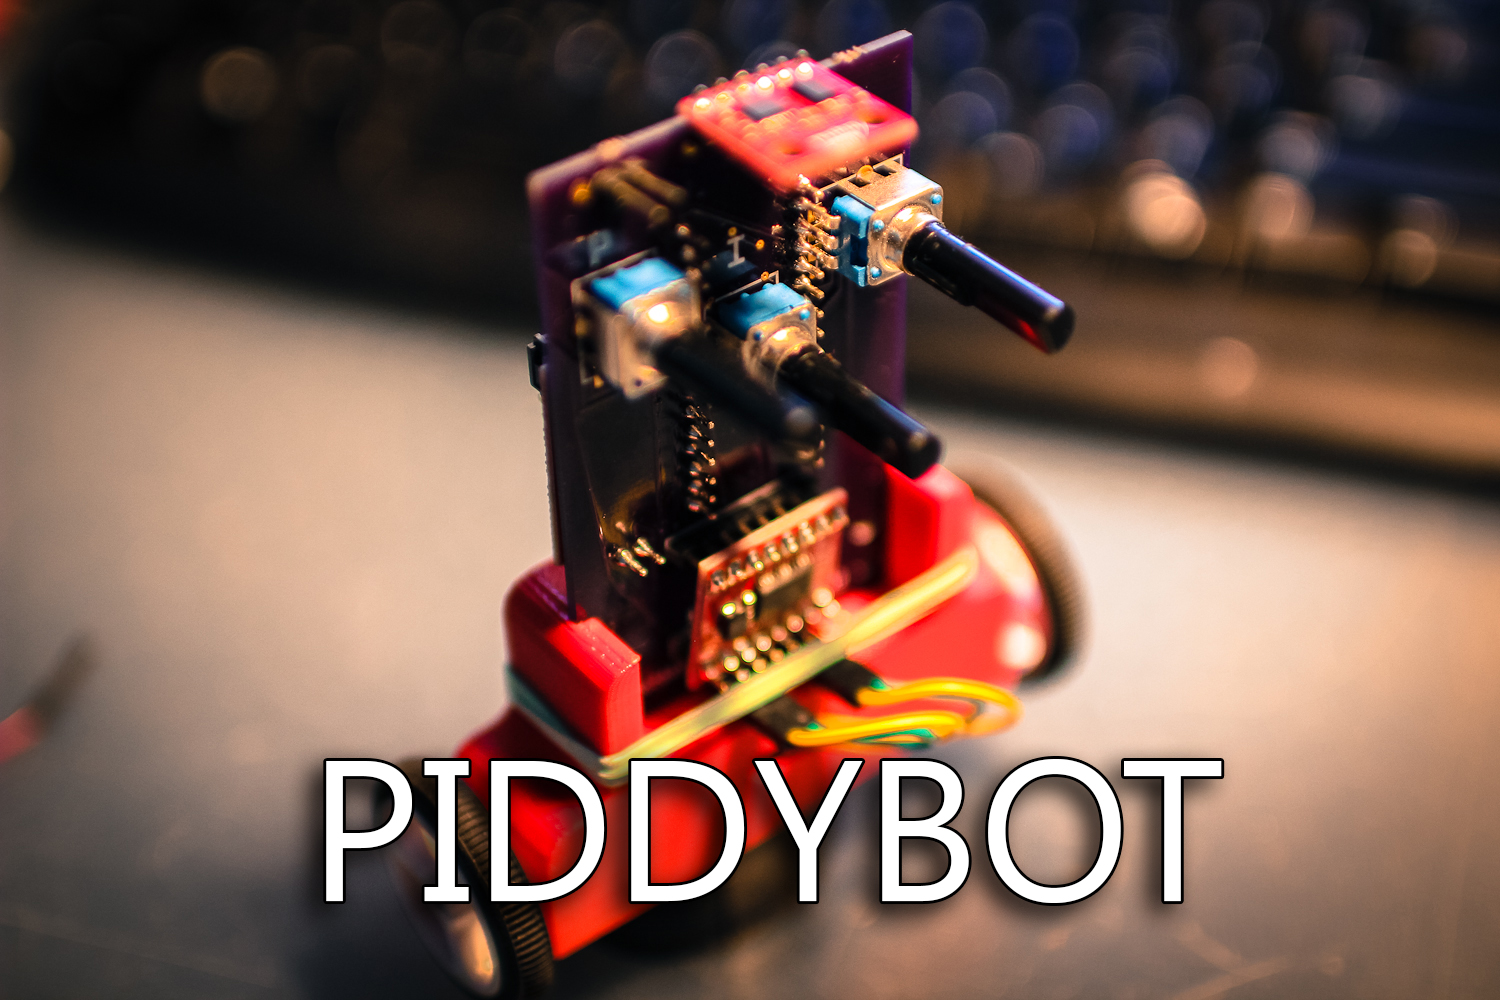
[Sean] created the piddybot, a tiny balancing robot aimed to teach the basics of PID control by trying to get the robot to stand still. More interestingly, the Proportional / Integral / Derivative values can directly be adjusted using the three on-board potentiometers. This will allow users to get the feel of each parameter’s impact on the robot behavior. The piddybot is based around the Arduino nano, a custom PCB, 2x 26:1 geared motors, one 1A dual motor driver board, a six degrees of freedom Inertial Measurement Unit, 2 batteries and finally a 3D printed body. You can check out a video of the robot in action after the break.
This project stems from a non-PID self balancer which [Sean] hacked together in September.


Looks great to me!
I think i will make one in the future as well!
It’s a piddy I don’t have one of my own! (snif!)
B^)
Thanks Hack-A-Day! Again! I just wanted to reinforce and mention early in the comments that every piece of this project is either available, or a linked to, on my site – free of course. This goes for the CAD file(stl), PCB files, and the code that will basically get you going right away once you build it. You will need to still buy these parts if you are not able to make them yourself.
Last night I improved the area of the program that controls the positioning system by adding another PID loop. Which will be available soon. Makes it much more stable in its location saving ability and allows you to control timed base directional movement such as turning and moving forwards/backwards.
I still have some extra chassis and PCBs that will at some point be sent out to some lucky people, keep an eye out for twitter updates for those details. I really think this is a great way to teach about control theory and robotics and it would be a pleasure to get it out to as many people as possible.
Very nice implementation/design. I was wondering if you could send the error signal to a computer (wirelessly?) to graph. I think that would be an even stronger link between what you normally see in the textbooks and what you are seeing in front of you. You can see in physical and graphical form the link between the PID parameters and damping/response times/steady state error.
Thanks!
I Agree, this would be an awesome feature. I’m looking into making an Xbee version of the board, which would be capable of sending all the data, and even using the bot as a remote control. It will be a little bigger but use the same chassis. I haven’t done any work with Xbees yet, so I will get my skills on that before I implement it though. Although there are several simpler ways to send data such as bluetooth as well. It could be hacked onto this board pretty easily if you wanted to do that. In fact I encourage it.
I’m going to post the actual Fritzing file so that people are able to redesign the board before they order if they so choose to.
I love being able to adjust p I and d separately with dedicated controllers. I always struggle zoning on the right values and part of the reason why is that I don’t have a feel for what each parameter does…
great platform but it’s missing one critical feature for the class I am currently in: Matlab integration. At the very least some way of getting realtime data. Hopefully this doesn’t hinder the Arduino too much though.
How else are we to plot transform function Bode plots etc from our models and compare them to the actual performance?
Ah I see the related response already, good luck with Xbee!
Hey guys,
Just wanted to say, there is a much improved bluetooth version of the DIY piddybot you can check out here.
http://www.idlehandsproject.com/piddybot-a-needed-update/
Also, go to http://www.piddybot.com for some exciting news to come!
Thanks again HackADay.