Optical microscopy is over 400 years old, and in that time, it has come a long way. There are many variations of microscopes both in the selection of lenses, lighting, and other tricks to allow an instrument to coax out more information about a sample.
One proven way to increase the resolving power of a microscope is oil immersion. The sample and the lens are placed in oil that is transparent and has a high refractive index. This prevents light from refracting at the air-coverslip interface, improving the microscope’s overall performance.
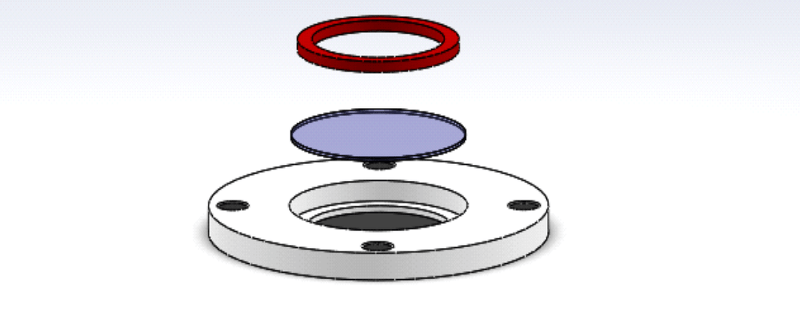
The University of New South Wales has a lab that uses such a microscope. They use a special (and expensive) chamber to hold down the glass coverslip and contain the oil. The problem? At nearly $400 a pop, the chambers are a constant expense to replace, and they are not flexible enough to handle custom size requirements.
[Ben Goodnow], a first year student at the university, applied his 3D printing and laser cutting know-how to design and build a suitable chamber that costs much less and can be adapted to different projects. In addition to all the design files on GitHub, there’s also a document (PDF) that describes the design iterations and the total cost savings.
The main body uses ABS plastic, and the laser cutter produces silicone gaskets. Rare earth magnets keep the whole assembly together.
We predict a bright future for [Ben]. While you might not need an oil immersion microscope chamber, the process he followed, and the justification data he gathered are a good model for anyone who wants to justify the cost of a 3D printer and laser cutter to a boss (or, perhaps, a spouse).
Most of the microscopy on Hackaday is either aimed at SMD soldering or exotic non-optical instruments. If you want to see a comparison of oil immersion versus dry microscopy, [Bill Porter] has a video that shows the difference, below.


In my first year of college I just drank a lot. I didn’t document it on GitHub.
First year? Hell it was all three years I was at Uni. No wonder I only got a 3rd.. At least I got honors though!
This is out of my lab at UNSW!
Great write-up and a nice follow-up to the microscopy hacks earlier in the week!
I di similar for lightsheet microscopy. It turned out that the only material suitable for the agressive oil was Nylon. And that warped like crazy even with all the usual anti-warping tricks employed. So in the end my conclusion was that the best way would be milling. And I suspect that this would have been a good solution here too. Every uni has a workshop with a CNC mill. Hence they could have just have it milled and gotten way better specs. 3D printer just the hammer that’s looking for a nail.