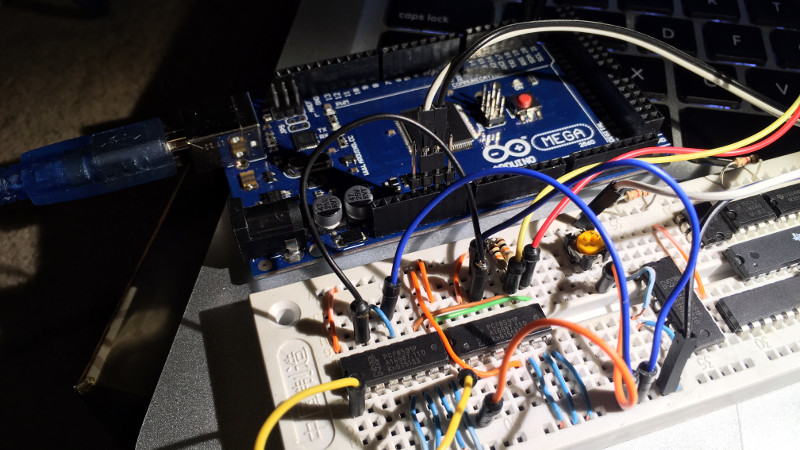
Analog-to-digital converters, or ADCs, are somewhat monolithic devices for most users, a black box that you ask nicely for the value on its input, and receive a number in return. For most readers, they will be built into whatever microcontroller is their platform of choice, and their resolution will be immutable, set by whatever circuitry is included upon the die. There are a few tricks that can be employed to get a bit more from a stock ADC though, and [Neris] has taken a look at a couple of them.
The first circuit doubles the resolution of an ADC, in this case, that of the Atmel chip in an Arduino, by converting its output from an integer to a signed integer. It performs this task with a precision rectifier, rectifying around a zero-crossing point half-way through the range of the analog value to be read and supplying a sign bit to the Arduino. The Arduino measures the rectified analog value to an integer, and applies the appropriate sign from the supplied bit value.
The second circuit takes a variation on the same technique but with two ADCs instead of one. A pair of PIC chips are used with their voltage references stacked one above the other, by taking both readings in combination a result with double the resolution can be derived.
You might ask why bother with these techniques. After all, there are plenty of higher-resolution ADCs on the market. But they’re useful techniques to know, should you ever need to extract the proverbial quart from a pint pot.
If ADCs are a mystery to you, you’re in luck. [Bil Herd] gave us a comprehensive introduction to the subject.


the first line of the second paragraph makes absolutely no sense, and there’s no mention of oversampling, an actual method for increasing effective resolution and improve SNR.
Different axis. This doubles resolution on the volts axis by measuring only magnitude with the ADC using a rectifier and using the original polarity of the voltage to create a sign bit, effectively adding an extra bit of precision to the ADC. In some ways it’s related to recent research on having ADCs that reset on overflow and counting the resets to expand dynamic range (and possibly thereby bit depth by measuring a more narrow range on the ADC).
This does not double resolution, as the range is also doubled. It will still be the same volts per adc count.
If I have an analog signal from -1v to 1v and I rectify that signal I only have to measure from 0v to 1v.
gaining 1 sign bit, NOT doubling resolution.
AIUI, a signal is fed to a comparator which tells a separate digital pin whether the signal is above or below zero, and then rectified and fed to an ADC. The microprocessor can then recombine the +/- bit with the bits outputted by the ADC, thereby gaining an additional bit / doubling the range.
E.g. 0V through -5V would be read as a 0-255 value and a 0 on the “is_positive” pin, and 0V through 5V would be read as a 0-255 value and a 1 on the “is_positive” pin. You can then combine that data into a value from -255 to +255. Of course you probably combine readings of +/-0 into a single value, so I guess you’re actually always going to be one count away from doubling the range.
The issue with this approach is that the ADC averages its input over a time, while the sign can change during that interval, so the accuracy of the conversion suffers.
Suppose the real input is a square wave that goes from 1 to -1 with a zero crossing half-way through the measuring window. The reading should be zero because the input during that time has an effective value of zero, but our output will be either +1 or -1 depending on when the sign bit was read.
This makes the “improved” ADC glitch quite badly.
Or worse still – the sign bit is read outside of the measurement window, out of sync with the actual measurement, making the results gibberish for anything but (near) DC.
Hum these techniques may add 1 bit of resolution, or double the effective voltage range without reducing résolution, but not double the resolution…
I use a variation of the scheme sigma-delta(or vice versa) one bit converters use. Just take a *bunch* of samples and smooth the results (low pass, maybe median smooth first, there are lots of tricks for various situations). You don’t quite get one more bit per doubling of the sample count, (various non-linearities in the a/d prevent taking this too far), but you can almost always get a couple more bits. Bonus is that the (hopefully) non time correlated noise in all these chips acts as a source of dithering. This is real and the math works. Been using this trick for over a decade.
If your input is white noise dithered by the right amount, your precision will increase by the square root of the number of samples, not linearly. Note that the OP says the methods work without a speed penalty, so this method is not comparable. – but it works great if sample rate is well above slew rate. And it doesn’t cost anything but some noise injection.
That’s a big if, as the successive approximation a/d in there has other errors. In real life practice, you don’t do as well as the sq rt. But I do find that often the noise is “white enough” and the nonlinearity “enough better than spec” to get maybe 2 more bits (the older PICs would sometimes go almost to 3 with effort)…but it take more than 4 samples/output value to get there. More than that…you’re probably fooling yourself and are even going to have some non-monotonic behavior.
I did run a data aq/analysis company (C-Lab) and was its chief engineer…your equation is correct (and it’s the same as I said – every doubling of samples gives you one more bit in theory – 1,2,4,8 should give identity, 1, 2, 3 extra bits).
But real life intrudes – we don’t have a 1 bit converter that has no differential non linearity to start with here.
…eh, i wish it was true, but eache extra bit needs 2°2N samples be averaged. E.g. 1-bit need 4,…. 4-bits needs 256, etc.
I think you mean the base-2 logarithm, rather than the square root?
This sounds like it probably won’t work well, but the documentation is kind of sloppy, so it’s hard to say for sure.
It seems odd to discuss improving the resolution of the Arduino ADC, and not first improve the voltage reference, which by default is the 5V supply.
Resolution and accuracy need not occur together. Though I agree, the reference on most of these guys is in the “sick” range.
Bugger the Arduino but tell me more about how to get a quart of beer out of a pint ;-)
Neat trick but if you’re adding all this extra circuitry then wouldn’t it be better to just use a high resolution ADC in the first place?
Higher resolution ADC’s can cost more than a precision rectifier circuit.
The PCB layout [to maintain the precision] is also less trivial.
that looks like more parts than just dropping in an i2c 16-bt delta sigma adc ic. i suppose if it gets the sample rate up it might help. but i tend to go with the fewer parts solution.
You don’t have more resolution, you only added a bit for a positive or negative signal.
The ADC resolution is the minimum voltage that the microcontroller can see.
for example, the Arduino’s Resolution its 10-bit, with 5v of reference, the minimum voltage value that you can see is
LSB=Vreference/resolution
LSB=Vreference/(2^10)
LSB=5v/1024=0.004882813v
so, if you say that you have a double resolution, you must have an LSB approx 0.002441406v with 11 bits that your microcontroller can read, but it does not work.
Please, read ADC resolution with Successive Approximation.
The Title of this article is about the positive or negative signal, not about the double resolution.
(sorry for my bad English)
Most native speakers don’t express themselves that well. Your English is awesome for non-native and wouldn’t cause anyone to guess.
Ehi Archer, thank you for your clarification. I’m just reading an ebook ( https://amzn.to/2rzW4uk ) where this technique to increase the resolution is called “oversampling”. It seems to be quite useful in some applications with Arduino…
What about a difference amplifier fed by a 1-bit DAC? that could add 8 ADC bits using only 1 opamp, 1 capacitor and 5 resistors. With successive approximation in software, it would take 8 readings.
This is a simple, but effective techinique to double de ADC resolution. Guys in comments feels like doesn’t get that.. but they should think at this:
If you have a sine signal, with voltage from -2.5 to 2.5V, and you are sampling it in a 5V microcontroller, after decoupling you have 5V span. So, you have some resolotion, e.g. 1024 bits, in this 5V span.
But, if you can use just half of sine, higher or lower part of it, and identify which part is sampled by using just an IO, you have now 2.5V in the span. So, you can amplify this, get 5V span (to sample at microcontroller) and at the end you will have 2.5V divided into the 1024 bits resolution. I.e, you DOUBLED the resolution.
Very good article!
As has been pointed out repeatedly, that is definitively not a doubling in resolution, but a doubling in range. Still useful, but understanding precisely what is meant in the words we use really is very important.
To be clear: doubling the resolution means that you can measure more precise differences in signal. Adding an extra bit *over the same range* would do just that. This is adding a sign bit, effectively doubling the range, but keeping the same resolution.
Forgot to include: your suggestion of pre-amplifying a signal to better match your adc range does appear to double the resolution, but you have to remember that you’re also amplifying the noise. That has a substantial impact, and it’s arguable whether you can trust the LSB in the “doubled” resolution.
There’s a lot of talk about the first part of this project’s idea–adding a sign bit–but not much about the second diagram with cascaded ADCs. I think this is the portion that suggests the resolution “doubling”, and we’ve been hasty to judge the writing by neglecting that.
Would this actually work? As I understand the idea, it would require an ADC with separate analog and digital grounds, so this won’t work with an Arduino as claimed–the AGND and GND are tied together as shown in the schematic for the board. What issues might someone run into by running an ATMega with AGND at ostensibly Vcc/2?
If I’ve gotten the idea right, I think there’s another way to do it without adding a second ADC, at the potential cost of halving the sampling rate:
Put voltage dividers between Vcc and Gnd on both Vref and AGnd (Vcc/2 on each pin by default).
Connect Hi-Z I/O pins to Vref and AGnd.
Mode 1: Vref I/O -> Hi-Z and AGnd I/O -> Gnd
If Mode 1 saturates, switch to
Mode 2: Vref I/O -> Vcc and AGnd I/O -> Hi-Z
Again, you can’t do this on an Arduino without modifying the board to separate AGnd and Gnd, but the MSP430 gives you a Vref+ and Vref-… might work on devices like this, or ATMegas in non-Arduino configurations.