Among all the timepieces that we feature here at Hackaday, surprisingly we bring you relatively few clocks. That might seem an incomprehensible statement given the plethora of, well, clocks, that appear here, but it’s one that hinges upon the type of clock. Electronic clocks of extreme skill, complexity, and beauty, yes, but traditional mechanical clocks? Not so many.
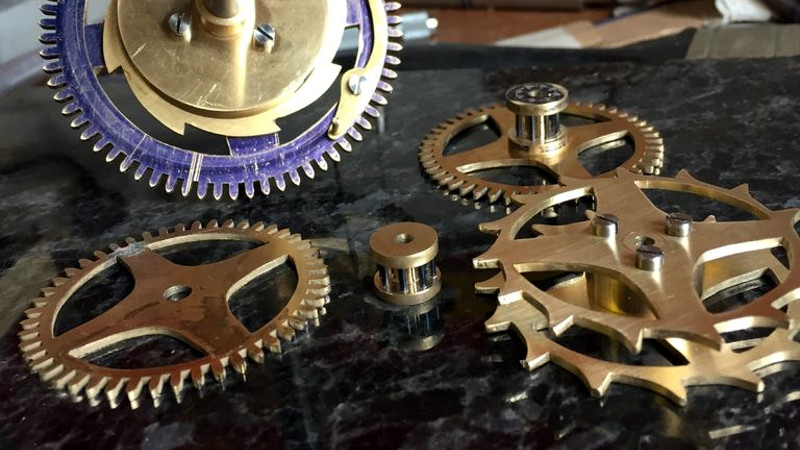
So [Thonemeister]’s wall-mounted brass alarm clock was a welcome sight on our tips line, and his write-up is a fascinating exposition of the path taken by a novice clockmaker on their first build. He starts by describing his workshop, then steps methodically through each of the constituent parts of the clock.
We see the frame, escapement mechanism, gears, and movement taking shape, and we learn something about clockmaker’s tools from the pitfalls he encountered. He was a complete lathe novice at the start of this build, and it’s fun to follow along with his learning curve. As we see thed finished clock taking shape, we even get to see the little touches like forming the hooks for the weights. He bought the bell for the clock off-the-shelf, not wishing to expend the considerable piece of brass stock it would have taken to machine it himself. But for the most part, this is an engaging scratch build you won’t want to miss.
Many of us will never make a traditional clock. But that need not stop us finding the work that goes into one an extremely fascinating read. We have more for you if this has whetted your appetite: you’ll be interested in the escapement mechanism, and if brass is a bit much, how about wood?


“g’day, Tim from clickspring”
Surely you mean Chris?
Fascinating! HaD comments have now sound to brain interface. I can totally hear Cri..Tim in my head.
Magical
“We see the frame, escapement mechanism, gears, and movement…“
The “gears” are called the “wheels” in horological circles!
Does that mean any lens used to look at the innards of a clock movement is – a horoscope?
I see what you did there xD
My fiance is glad this build is over. It means I’ll stop sending her clock shots and click picks.
Got a good chuckle from that one lol
You don’t machine bells, you cast them. (then do some post-processing)
Yes, agreed, but I don’t have the set up for any sort of casting, let alone brass. This means had chosen to make the bell myself I would have machined it from a solid piece of brass.
*Hopes nobody notices the cast lead weight*
You could spin one out of copper or make some simple percussion chimes.Lots of remote villages make copper bells by hand with nothing but a hammer and some anvils, but that’s a lot of time invested for something bought cheaply.
That’s my clock!
I’m sure there are plenty of machinists on here more experienced than me so if there’s anything I could/should have done differently let me know.
And let me be the first to say, not a hack.
Didn’t you mean “plenty of masochists”?
B^)
I’m waiting to see someone make a brass Antikythera Mechanism with a pendulum and escapement added on…
B^)
This shoule be able to make sure you get up regularly in the mornings even after an EMP blast. :-) I’ts pretty too.
Me and Dogmeat can agree with this. ;-)
Thonemeister,
Any video of the escapement with sound? Looking at how it’s moving, it almost looks a bit unbalanced. Other than that, fantastic job. I wish I had the time and the tools to do something like that again.
Hi Chris
Sure thing. Video with sound is here:
https://youtu.be/iLAjUJgPsqo
Ain’t nobody gots time for that..
Re: wooden clocks – John Harrison’s your man:
https://www.youtube.com/watch?v=bUxZlSVEAk0
Came here just to say well done for mentioning John Harrison and his longest running clock, made of lignum vitae wood that is self oiling. I think over 250 years running now, guy knew wood and joinery damn well. He even aligned the grain in his bearing holes for max wear life.
Thonemeister,
What vertical slide did you use on the Sieg SC4 ? I understand the mini-lathe (SC3) vertical slides are not compatible with SC4, unless some custom mounting plate is made.
I used a Myford vertical slide, but it needed a mounting plate made. The plate was simple enough to make, just 4 holes to mount it to the T-slots and a hole and pocket in the centre for the slide mounting bolt.
Photo of the plate is here: http://imgur.com/wSALKP4