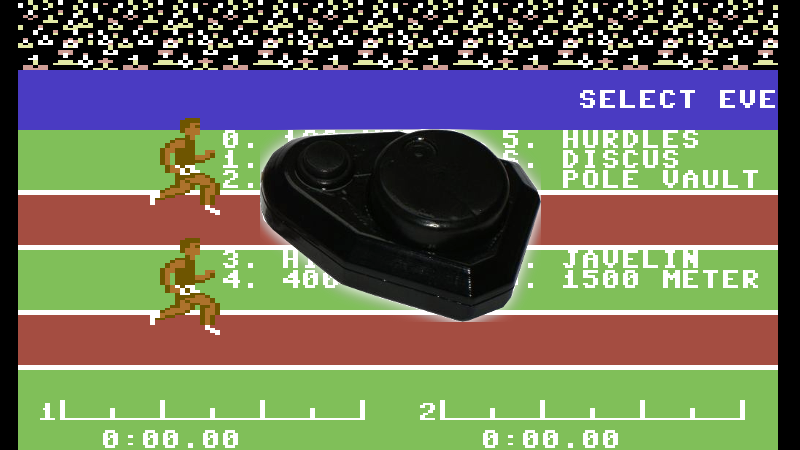
It’s a well-known fact amongst the older set that games used to be harder. Back in the 1980s, most home computers had awful keyboards, barely adequate joysticks, and the games had to be difficult to have any longevity, because there’s only so much you can fit into a single sided disk. Some of these games became known as joystick killers, due to the repetitive thrashing movements required to win. [Jan] was tired of letting Decathlon and its ilk get the better of him and his controllers, so built a joystick that was up to the task.
The basic concept of [Jan]’s rotary joystick is that many games required a fast and repetitive left-right motion to be executed by the player, but weren’t too concerned if a few up or down movements were in the mix. Thus, instead of a traditional shaft-based joystick, instead a rotary mechanism was employed. The player rotates the joystick’s wheel, which has a magnet fitted. This triggers a series of four reed switches, for up, down, left and right. By rotating the wheel quickly, it simulates the rapid left-right motion well enough to beat most of the vintage C64 games that were giving [Jan] trouble, and it makes an ideal controller for the 2018 release, Crank Crank Revolution.
We like the spirit behind any build that uses hardware to overcome intractable gaming problems. We’ve seen similar approaches used to beat Guitar Hero. Remember Guitar Hero? That was a thing. Video after the break.


This asks for a 555… and I know somebody who did exactly that with exactly that game, back in the eighties…
That’s cheating! :)
Where was this when I was getting blisters on the palm of my hand from these games?
Now he should put 3 or 5 magnets on the knob, so he gets multiple L-R “wiggles” for each revolution. For Crank Crank Revolution, he just has to rotate it in reverse.
Or even, since he’s apparently put up and down in there as well for some reason, have a DPDT switch that repurposes up ‘n’ down to be left and right. Actually you’d have to switch all 4 switches, but that’s possible with 2x DPDT , or 1x DP4T if you can find one. Otherwise just gang the 2 DPDTs together.
BTW HAD is making me re-enter my details on every post, is it just something changed on my end I’ve forgotten about, or something at HAD’s? Any other users?
i think it is a browser memory that stores the details, not hackaday. if i double click in a box in waterfox i get the previously entered details.
Actually yes I wasn’t being utterly accurate. If I click, as if to enter them, the browser remembers, though I still have to select, which then actually enters them into the box. Previously I didn’t need to, they were already filled-in after I clicked “reply”. So I’d just need to click “POST COMMENT”. I didn’t have to worry about the email address and posting-name fields, they were pre-filled every time I wrote a reply. Now, they’re not unless I actually select them from the box that pops up on an empty field.
This is Firefox, pretty recent version, haven’t upgraded since a fair while before the problem started. Maybe it’s a WordPress thing? I’m not a member, but neither are many of us I think.
– Same issue here on Chrome – used to autofill, but no longer does. I can click the field to get previous values, but it no longer autofills.
i think it is a browser memory that stores the details, not hackaday. if i single click twice in a box in waterfox i get the previously entered details.
The reason up and down are included as well is because the game Crank Crank Revolution needs to see the following sequence Left-Up-Right-Down-Left-Right-Up-Down-Left… etc.
The goal of the design was to keep it as simple as possible and without electronics. What’s easier then a set of reeds and a rotating magnet? Sure, technically there’s no reason why this cannot be done with an arduino, sure it could be done with a single 555 for the L-R motion only. But this design allows everyone to build it if they want as you don’t even need to solder if you don’t want to, just twist the wires tightly. But practically, soldering would be better.
The Joystick is neat and all but a Koala Pad, NEAT!
next step: attach a motor
Next step: attach a FIDGET SPINNER!