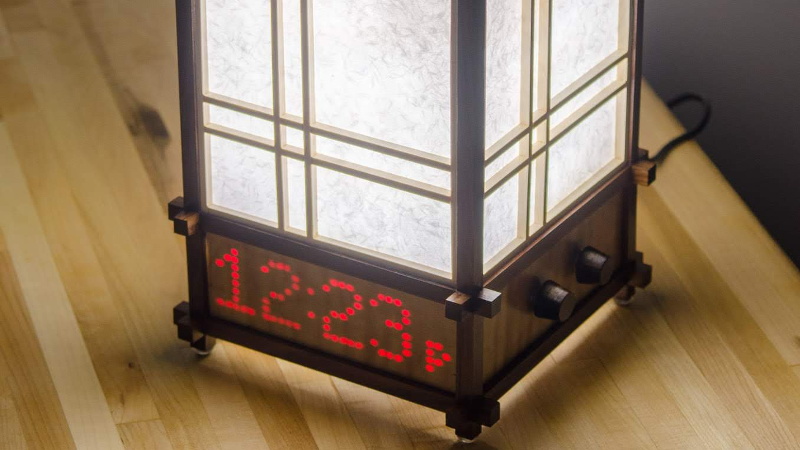
On the Hackaday.io page for his gorgeous “Sunrise Alarm Clock”, [The Big One] is quick to point out that his design is only inspired by Japanese lanterns, and does not use authentic materials or traditional woodworking techniques. Perhaps that’s an important fact to some, but we’ll just say that the materials used seem far less important when the end result looks this good.
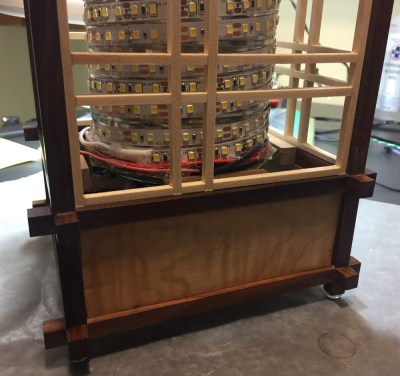
 Unfortunately [The Big One] hasn’t provided any interior shots of his clock, as it sounds like the aesthetics of the internal wiring isn’t quite up to the standard set by the outside of it. But he has provided a concise parts list, a wiring diagram, and source code, so we’ve got a pretty good idea of what’s under the hood.
The clock is powered by the uBBB 32u4, an ATMega32u4 development board that [The Big One] developed in conjunction with [Warren Janssens]. It uses the popular MAX7219 LED matrix for the display, and a DS3231 RTC module to help keep the time. There’s also a DFPlayer Mini module onboard that allows him to play whatever sound effects or music he wants when the alarm goes off.
Of course the star of the show is the LED strips which illuminate the shōji-style column. These have apparently been wrapped around a coffee can of all things, which not only serves as a convenient way of holding the strips, but [The Big One] says actually makes the speaker sound a bit better. Hey, whatever works.
This isn’t the first “lantern” clock to grace these pages, but compared to the high-tech presentation of previous projects, we can’t help but be impressed by the grace and elegance of this wooden masterpiece.


Thanks for the writeup! The internals are currently just a bunch of jumper wires… there is nothing worth showing! I may eventually make a PCB for it, but this works well enough for the time being.
I don’t see the source code referenced in this article, so I’m just judging by the schematic. You’ve got two rotary encoders that are devoted to the light and the music. Do they double up their roles somehow to allow setting the time, alarm, sleep, etc. ?
Source is at https://github.com/thebiguno/microcontroller-projects/tree/master/projects/alarm_clock/src.
That said, yes, the two encoders do work together.
A single short press of encoder 1 toggles light. Turning encoder 1 changes brightness.
A single short press of encoder 2 toggles music. Turning encder 2 changes volume.
A long press of encoder 1 enters the menu. From there, turning encoder 1 shows the different menu options (Alarm 1 / 2 / 3; Set Date / Time; Config). A short press of encoder 1 enters the menu item.
Once in a menu item, you turn encoder 1 to go to different fields. (i.e. when setting time, this will switch between year / month / day / hour / minute). When a field is selected, it flashes. Turning encoder 2 will modify the value of the selected field.
A long press of encoder 1 (or waiting a certain amount of time) exits the menu and goes back to the time display.
On a side note, I had originally started with a single encoder, but found that it was awkward to use by itself. I find that two encoders give a very intuitive and easy to use interface.
Cheers
thanks my issue has been fixed.