[PMercier] clearly loves his old Tektronix TDS3014 scope, which did however lack essentially modern connectivity such as an Ethernet port for control and a USB port for a convenient way to capture screenshots. So he decided to do some in-depth reverse engineering and design his own expansion card for it. The scope already has an expansion port and an expansion card, but given this model was first released in 1998, purchasing an OEM part was not going to be an option.
They don’t make ’em like they used to. Test equipment is today is built to last a decade — but usually lives on much longer. This is certainly true for the previous generations of kit. It’s no surprise that for most of us, hand-me-downs from universities, shrewd eBay purchasing, and even fruitful dumpster dives are a very viable way to attain useful and relevant test equipment. Now, while these acquisitions are more than adequate for the needs of a hobbyist lab, they are admittedly outdated and more to the point, inaccessible from a connectivity and communication standpoint. A modern lab has a very high degree of automated data acquisition and control over ethernet. Capturing screen dumps on a USB is a standard feature. These modern luxuries don’t exist on aging equipment conceived in the age of floppy disks and GPIB.
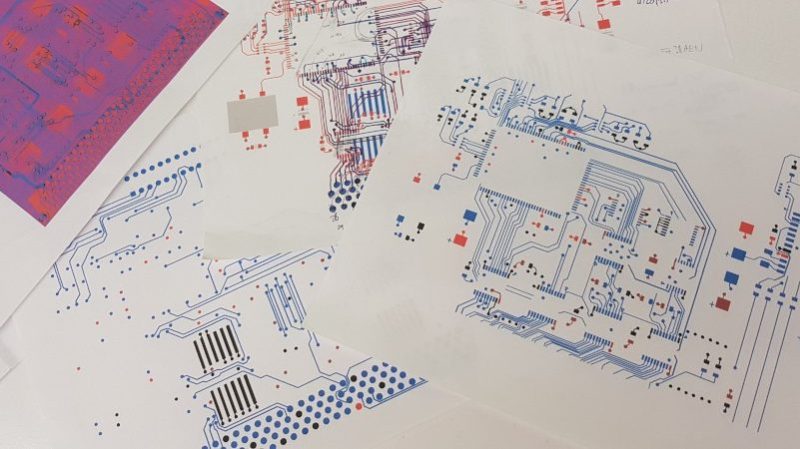
The first step [PMercier] documents is reverse-engineering the pin-out of the custom expansion connector on the scope. Some pins he notes were easy to deduce, others not so much. This was solved by examining some high-resolution photos of the original expansion card and then using Gimp to do a layered, copper track analysis of the 4 layer PCB! This uncovered most of the unknown pins and the rest required a laborious cross-examination of the scope’s CPU and its BGA package pin-out.
The last piece of the puzzle was to fool the scope into accepting his DIY expansion card. This turned out not to be as simple as pulling a control line. The correct one-hot encoded byte corresponding to the expansion card had to be determined and asserted onto the data bus at the right time.
This is truly a commendable Hack and we thank [PMercier] for meticulously documenting his progress! If rejuvenating old test equipment excites you, check out our article on reverse engineering an old HP scope to give it a new LCD screen.


Oh, man, I need this for my previous-generation DSO. (Due to an artifact of timing, I have a TDS1002, no letter. It still has a 68k, but the expansion cards use 2mm pin header (and a lot fewer pins) instead of this Amphenol connector.
I don’t suppose anyone already knows some places I could do some research?
What are you looking for exactly ?
Pinout of the 50-pin connector? Parts on the expansions? I found one picture on eevblog forums of a tds2mm which contains the following parts: 74LS374 MAX238 M5M51008 PALCE18V8 SCN68681C NAT9914 FPX3.68 SN75160 SN75161, plus a socketed ROM, something covered with a label “163-0807-00”, and one part I can’t read.
All I really want is the ability to get screen shots off the ‘scope.
FWIW I regularly pull scope shots and waveform data over GPIB, either through python or labview. On the two instruments I use the most (a lecroy scope and a HP/agilent/keysight multimeter) for a single short measurement (ie not a scope shot, just a measured voltage, say) GPIB is moderately faster than either USB or Ethernet because of the low overhead.
With that said, this is a really cool hack because USB is generally quite a bit easier to use and you never run out of usb cables, plus a usb cable costs like 1/100 what a gpib cable costs.
How much was Tektronix TDS3014 new? Its a 30 year old scope now and still manages $1K price :o same for the addons, $1K a pop.
Any chance this applies to a TDS210? I’d love to have an interface to my PC, but the cards are $150 minimum!
TDS200, TDS1000, and TDS2000 use mostly the same modules. (TDS2CM, TDS2CMA, TDS2CMAX). The TDS2MEM is compatible with only the 1000 and 2000 and not the 200.
Oh, I didn’t know this method had a word. Thank you for the term of “One-hot encoded” bit :)