Water droplets are beautiful things, though photographing them can prove difficult without a little help. Precise timing is key, and that’s what led [Alex Pikkert] to build a timing controller to help nail the perfect shot.
It’s a job that’s ideally suited for the average microcontroller. In this case, [Alex] chose the venerable Arduino Uno. Paired with a bunch of buttons and a 16 x 2 character LCD, it has a simple-to-navigate interface for dialling in a shot. The trick to splash and droplet photography is to first open a valve to release a droplet, and then fire a flash a set time after to capture the droplet in flight, after it’s hit the surface of the liquid. [Alex]’s design uses a MOSFET to trigger the water valve, and optoisolators to safely trigger the flash and camera.
[Alex] has gotten some impressive results with the rig, and it would serve as a great starting point for anyone looking to get into the field. We’ve seen similar builds before, too. If you’ve got your own fancy photography rig for those otherwise-impossible shots, be sure to drop us a line!


555 comment in 3, 2, 1, …
Why 555, if you can control two droplets with 556?
And if you already have a dripping faucet, you can save the contolled valve, and use LED/phototransistor pair to detect the droplet.
A 556 is twice as good as a 555 IMHO.
The dropcontroller (www.dropcontroller.com), featured here a short while ago is a more comprehensive system.
I, too, thought about it. But there might (might! I’ve no practical experience!) be a snag.
If you are working with periodic drops, the water surface will be at unrest from the previous drop. This might yield different results. Unless you have such a low frequency that it becomes unpractical.
That’s perhaps why the original author went with a controllable valve.
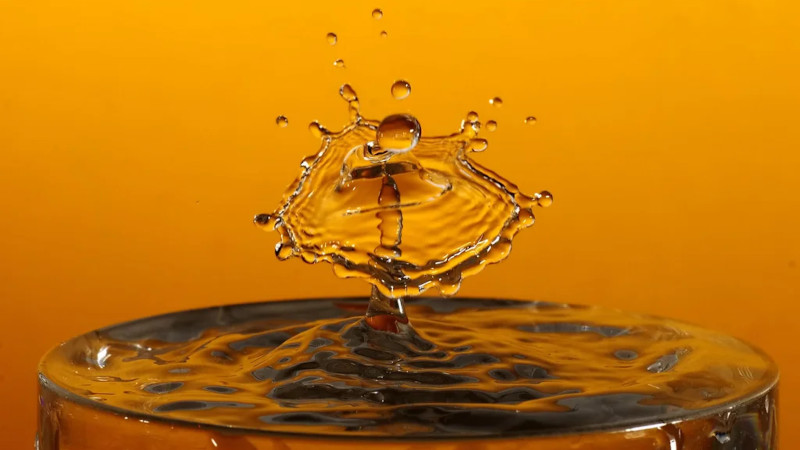
Besides, the photo above looks like a subsequent drop smashing into a peak from a preceding one. This might require even more control over the drop sequence’s timing.
But hey — I barely know what I’m talking about.
“periodic drops” makes me think:
http://www.pas.rochester.edu/~advlab/Final-Paper2007/DALLAN_ChaosFaucet.htm
and
http://hornacek.coa.edu/dave/Junk/europe.drip.pdf
Many years ago in a past life as a model maker/set builder we had to help a photographer setup to take the classic droplet/crown shot.
He’d hired a Mazoff trigger (similar to the project mentioned in this article), but try as he might he couldn’t adjust the delay accurately enough to get the shot he wanted.
After a bit of a think I suddenly remembered my high school physics and the 2nd equation of motion.. instead of changing the delay, just move the IR beam a fraction of an inch until he got the results he wanted.
Leave the tap dripping. Set the camera to take photos at intervals. Save the good shots.
Just take a video, and pull the frames out that you like… I do this with my drone cameras. Tough flying, and trying to setup a good still picture, specially, if the subject moves, or it’s a one chance deal. Messed around trying to do stills, and not that happy with most. Pulling frames from video, usually gave better results. You do get higher resolution, and better quality images with stills, but frame grabs are plenty good for anything I’d ever use them for.
The Exploratorium created an exhibit to do precisely this over 10 years ago. Unsurprisingly, it uses all the same tech, including Arduino. As suggested by Antonic, we used a small laser and photoresistor to time the flight more accurately (and even better, repeatably), as drop separation dynamics are a bit chaotic, but once in freefall time to impact is pretty regular. The visitor can change the shutter delay to explore the various phases of the evolution of the droplet and splash. it’s very popular.
https://www.exploratorium.edu/exhibits/water-drop-photography