We’ve known for a while that you can buy interface boards to turn old laptop screens into standalone monitors, but complete sets with 4K panels and control boards are also now becoming widely available on sites like eBay and AliExpress, and prices are dropping. These sets are also available with low-profile connectors like micro HDMI and USB-C, which allow for some very compact builds.
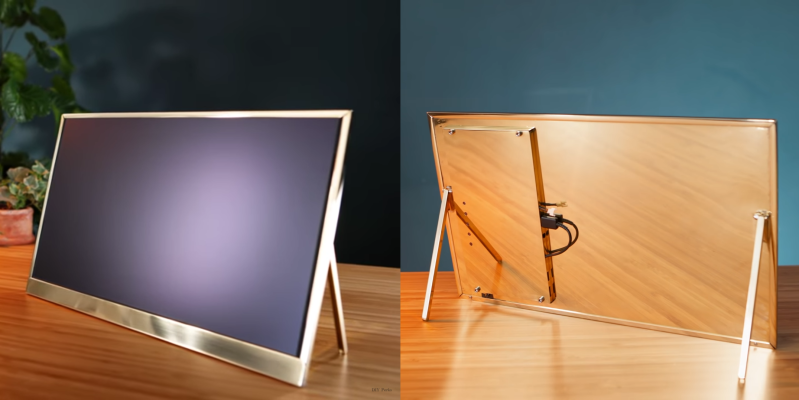
[Matt] from [DIY Perks] used one of these sets to build a slimline USB-C monitor with a brass enclosure. Video after the break. The enclosure consists of brass sheets and U-channel pieces soldered and screwed together. There is quite a bit of residue and discoloration after soldering, but this was removed with a bit of sanding and polishing. A pair of adjustable legs were added to allow it to stand on its own, and an additional chamber on the back holds the control board, an old smartphone battery, and a battery protection circuit. [Matt] also added a pair of removable speakers, which are sealed speaker units covered in brass mesh and plate.
We’ve covered several DIY monitor builds over the years, and they are perfect as an additional monitor for a laptop, or for pairing with the Raspberry Pi 400 with its integrated keyboard. We really [Matt]’s builds, which include a smartphone-based 4K projector, and a very effective cooling system for an expensive DSLR camera.


No mention of a touch panel used?
I think that the video is meant as a guide how to build an external monitor from an old laptop screen or any bare-bones screen bought online, so the model of screen is irrelevant for the video.
The video, implies that he is using an LP156WF4, but that screen does not have a built-in touchscreen. The video’s description on youtube links four complete screen and controller board kits, one of which has touch support, so one could guess that he is actually using the NV156FHM-T10 which is the first kit linked.
Check the description for the video on youtube. There is a link to an ebay listing for the display (integrated touch panel) and the controller.
As soon as I saw the picture on the HaD homepage, I thought, “Dang it if that’s not a DIY Perks biuld…”
You can tell from the polished wood, high contrasted colors, and of course, a fake plant–there’s always a plant.
DIY Perks is the BBC of user generated content on YouTube. Just the detail, care, and quality of the build is amazing. Then there’s the video production itself. It has in a word, “production values”, light, sound and all the different shots.
Beautiful build – brass fever is a real thing. Let’s see what fingerprints, time and/or salt air do to that…
He likes the patina.
Just takes a bit of Brasso on a cloth will clean it up nicely. Or like most things made of brass, a few light coats of Mohawk Brass Lacquer will keep it shiny for years.
I’m going to have to research how to do this w/ old tablets with good resolution, but won’t receive updates…
There you go https://hackaday.com/2019/07/18/put-those-ipad-displays-to-work-with-this-edp-adapter/
I’ve got an old 1440×900 LED LCD from a Dell XPS m1530 that would be perfect for this
me too. i’ve already slapped another control board on it and am using it as a side monitor. I’ve yet to find a touch panel with usb c and controller combo like the on featured in the vid, let me know if you find something.
I’ve got a late 2007 iMac with a fantastic, 27″ screen. I want to make it a monitor for its replacement…
There some youtube tuto for that
But basically you need:
1/the reference of the panel
(Usually LG LM27… (Xx)(Xx)) pay close attention at the 4 last character between parenthesis
2/ search on google or ebay or aliexpress the reference in 1 ,dont forget add a power supply associated.
3/ insulate and buy short adapter for the usb and video output .
Regards
Thanks for the tip!
Must do one for mine too ,but i dont know if its the panel or the gfx card who dont work