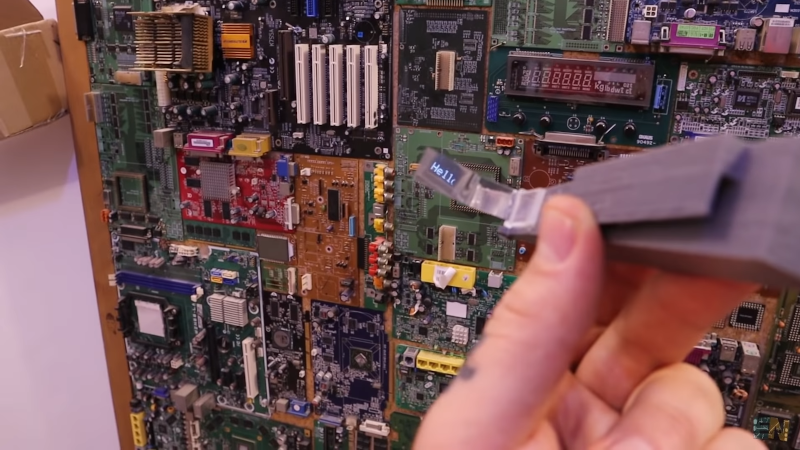
Sometimes it is hard to probe a circuit and then look over at the meter. [Electronoobs] decided to fix that problem by making a Google Glass-like multimeter using an OLED screen and Bluetooth module.
The custom PCB doesn’t have many surprises. A small board has a controller, a battery charger, a display, and a Bluetooth module. One thing he did forget is a switch, though, so the board is always on unless you arrange an external switch.
The CPU was pulled from an existing Arduino module which, we suppose, has the virtue of having a bootloader already set up, but we’d probably just use a new chip if we were building it. The optics require a mirror and lens so you can see the display in focus. Paradoxically, the display is in the back, allowing you to focus on it easily.
If you haven’t used the Bluetooth modules before, this is a good introduction project and shows two ways to connect the modules together.
We should mention, the project took inspiration from a similar project by [Alain Mauer] over on Hackaday.io. We’ve seen plenty of designs for these glasses-mounted displays, including a good one by a 13-year-old.


This version:
https://hackaday.com/2016/10/05/hackaday-prize-entry-head-up-for-high-voltage/
looks (and propably works) better.
I’m sure Electronoobs HAS NEVER SEEN IT :D
Hoping sarcasm is welcome, since he’s copied projects all over the web
Hmm, I have a keysight multimeter U1282A nice format, like the higher res than most duty cycle reader for poignant automotive injector and fuel flow testing and the free windows ‘meter logger’ for windows seems to offer a voice output, though honestly I’m not tempted to try it lest I’m unnaturally attracted to the voice, reminds me of a distrubing SciFi movie – after all we are all emotionally malleable most more so hence psychologically cautious but, I digress it’s a red wine weekend I won’t whine any more…
So nice to see implementation of an approach to getting data in view at minimum of attention fuss, thanks for post.
I imagine strapping that Keysight to your head puts quite a strain on your neck…
That’s what the red whine is for….
That’s why I love the Testofon. It converts readings into audio frequencies so you can keep your eyes on the probe and let your wetware guesstimate the value you’re reading. Since I’m fixing broken stuff and ballpark values are almost always sufficient, this thing allows me to find the fault /fast/.
This is exactly a use case for which I bought Vuefine glasses mounted display few years ago but never got to finishing it.
Only 1 “e”…
https://www.amazon.com/Vufine-006011-Wearable-Display/dp/B01MZ89QXF/
Interesting project, and a step to “what if AR was ubiquitous”?
I would totally buy this. Probing a circuit is just too hard.
Especially all those fines if one touches a circuit inappropriately.
How about to have a pico projector on headband?
Perhas add a pico projector on an adjustable desk lamp stand.
Add a 3D depth camera like a leap motion. As you test voltages it labels them and displays them overlaid on the board. When you move the board the labels follow. Add the ability to enter custom labels and maybe a few shortcut labels and colour coding and it would be a great tool.
A bit like the augmented reality pool table but for circuit diagnosis.
Hmm, why not some small LCD close to the end of the probe ie far away to be safe but within narrow angle field of view close to the poin bit probing + voice output option :-)
Perhaps use low power short range rf comms from the multimeter to the LCD…
they are trying low power lasers shining directly in your eye. I would think that’s kind of weird, but so is wearing a maks in a bank….
Excellent project
the way i solved this problem… a much less impressive hack but i’m still full of my own genius at how great it is to actually use…
i just made a little plywood pocket vertically mounted on my workbench, right beside my oscope. my multimeter sits in it. for years, i’ve struggled with where to put the multimeter where i could see it and work with it at the same time…i’d have it balanced on my knee, crap, it fell on the floor again. huge improvement :)
So a stray probe onto a mains circuit, and it discharges via your head???
I’d rather have a bottle in front of me, than a frontal lobotomy!
How’s it going to discharge via your head? The sensing is handled remotely, the measurement data is sent via bluetooth to the HUD.
Wait. Bluetooth can wirelessly transmit a mains AC voltage. Wow this opens up so many possibilities.