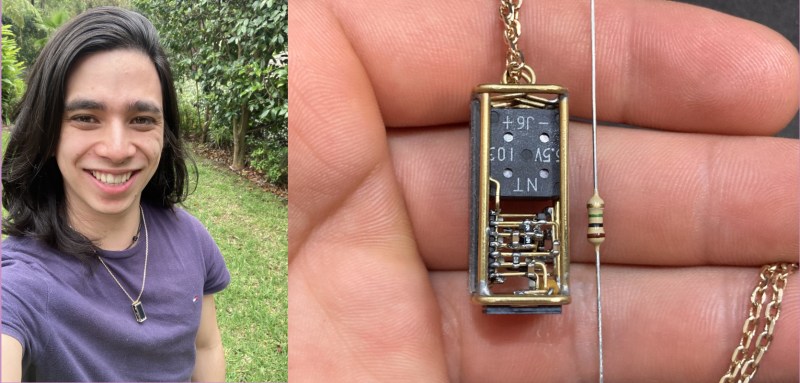
[NanoRobotGeek] had a single glorious weekend between the end of the term and the start of exams. Did they buy a keg and party it up? No, in fact, quite the opposite — they probably gained a few brain cells by free-form soldering this beautiful chirping bird pendant at 0603 instead.
 The circuit is a standard BEAM project built around a 74HC14, but [NanoRobotGeek] made a few changes to achieve the ideal chirp sound. As you can see in the video after the break, it chirps for around 30 seconds and then shuts off for 1-2 minutes before starting up again.
What is better than a BEAM project? A portable one, we say. Although the chirping would probably get old pretty quickly, there’s just no substitute for working so small that you can carry it around your neck and show it off.
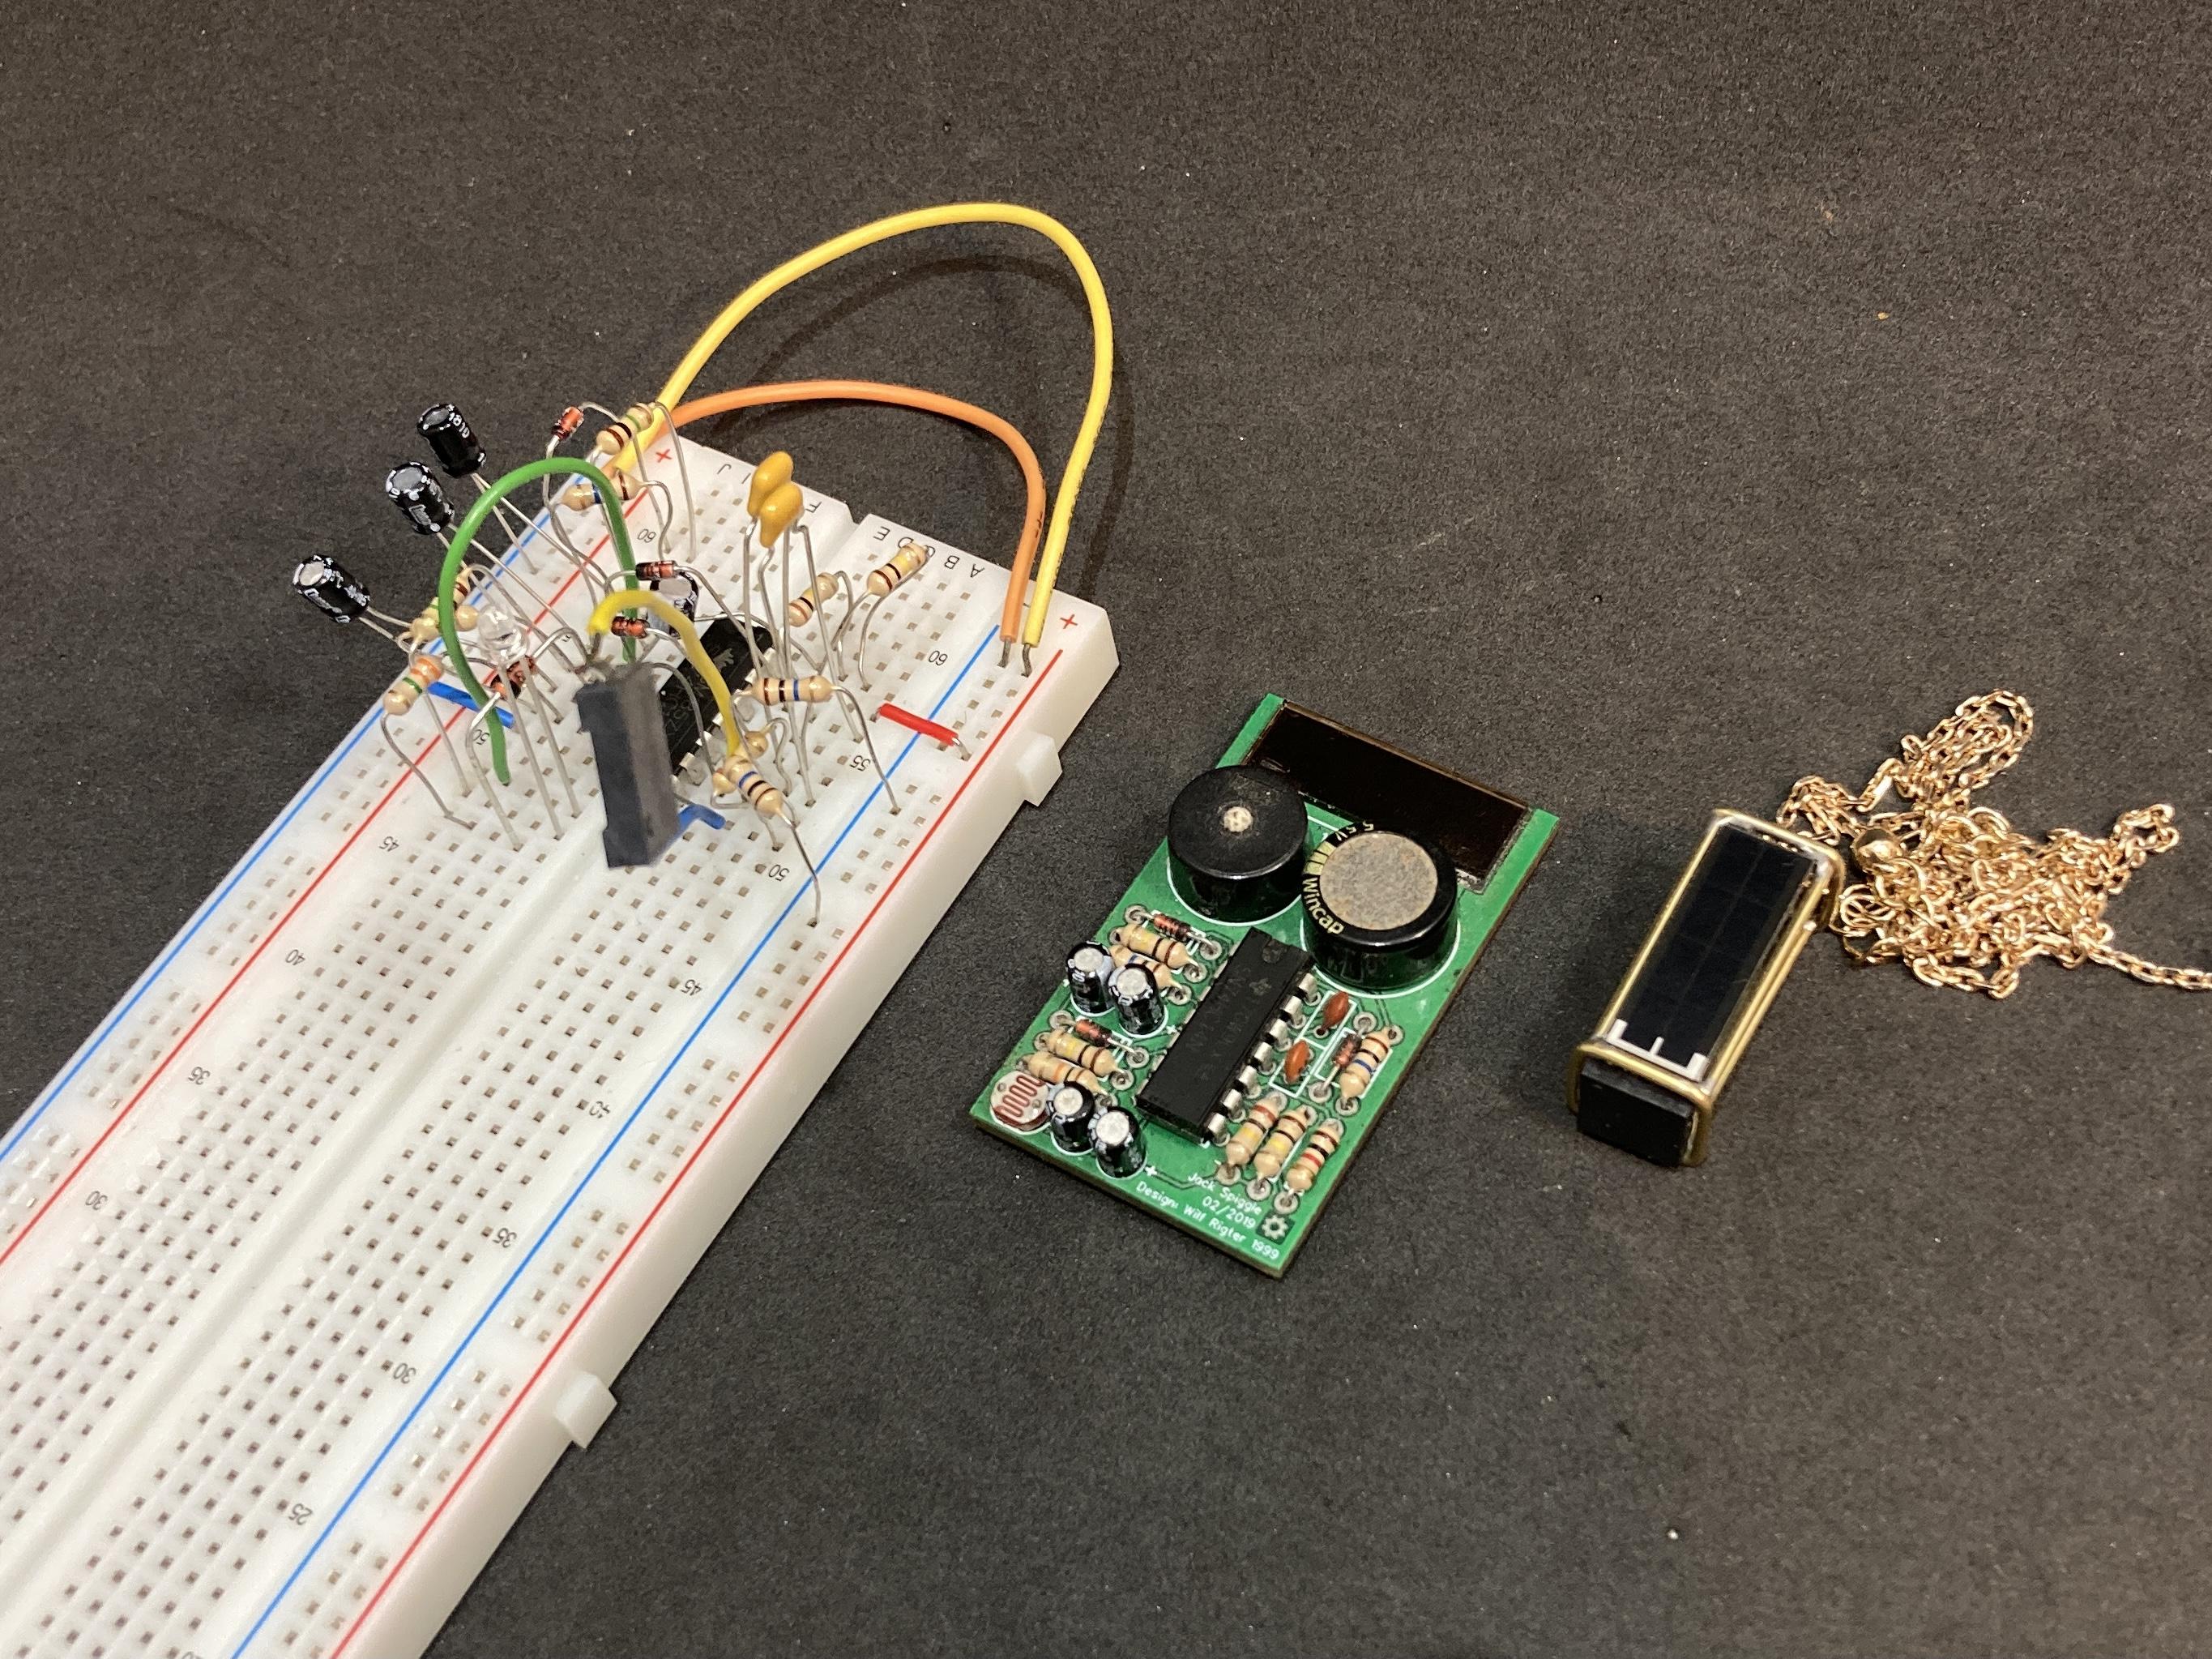
This one is kind of a long time coming, because [NanoRobotGeek] started by breadboarding the circuit and then made a PCB version way back in 2019, which they were attempting to miniaturize with this project. We think they did a fantastic job of it, and the documentation is stellar if you are crazy enough to attempt this one. You will need a lot of blu tack and patience, and pre-tinning is your friend. Be sure to check out the demo after the break.
The name checks out, and this isn’t [NanoRobotGeek]’s first foray into tiny circuit sculpture — just take a look at all we’ve covered.


Awesome!
I’ve always been a fan of free formed circuits. I must applaud the quality and compactness here. Personally I avoid working with smd as much as possible. This project looks and sounds great, birdsong can be somewhat difficult to preproduce.
I actually love the look of more open freeformed circuit too but I always instinctively try to make everything compact. Have you seen Kelly Heatons analog bird sound generators? They sound crazy lifelike!
Very beautful work… And people ask why I have a microscope in my workshop. Thanks for sharing.
Incredibly I never used any magnification for this project. Wish I could have but I’m not used to working through a microscope and it gives me headaches. Blessed to be nearsighted I guess 😅.
I used to do without but I also remember when BEAM bots were the new kids. My microscope was a gift from a former employer if I’d do contract work.
BTW, thanks for the updated BOM. I have most of the parts here already but was puzzling out the rest. That solar cell is just what I was looking for. I ordered 10 Thanks!!
Not a problem, don’t know how it got deleted in the first place. And sounds like you’ve got a handle on things but let me know if there is a problem with the parts or anything (through Instructables or Instagram is better than here). All the ixolar panels that I have tried are great, they blow out my cheap polycrystalline cells in sunlight but more impressively they seem to do better than some of my sanyo amorphous cells indoors! Needless to say I have been trying to use them more in my recent projects.
I hope he used lead-free solder.
Why lead-free? You have to ingest lead, to get into the blood stream…
Oh lol whoops, I thought it said “hope he didn’t use lead-free…”
Interesting. You learn something new every day. Thanks for the correction.
Additionally, you can also inhale it. Solder fumes are not good either, but skin contact seems safe(-ish).
Damn straight! Personally I feel like you can do this kind of delicate freeforming with a garbage iron, no flux, bad tweezers, etc., as long as you have some nice solder. Best investment I made was some 60/40 multicore solder after using the cheapest hobby store solder for so long.
I’m almost out of my favorite lead based multicore. But I found I had a lb spool of the .5mm. It should last a while. I have a Metcal soldering station and a needle tip insert.
It’s really awesome to see new BEAM projects still being made. Love how this one turned out.
Thank you Dan. Every time I share a BEAM project, a couple of people come out of the woodwork who really enjoy BEAM circuits but it never appears to inspire too many new BEAM enthusiasts which is unfortunate.