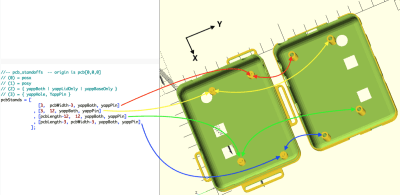
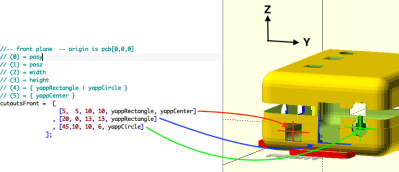
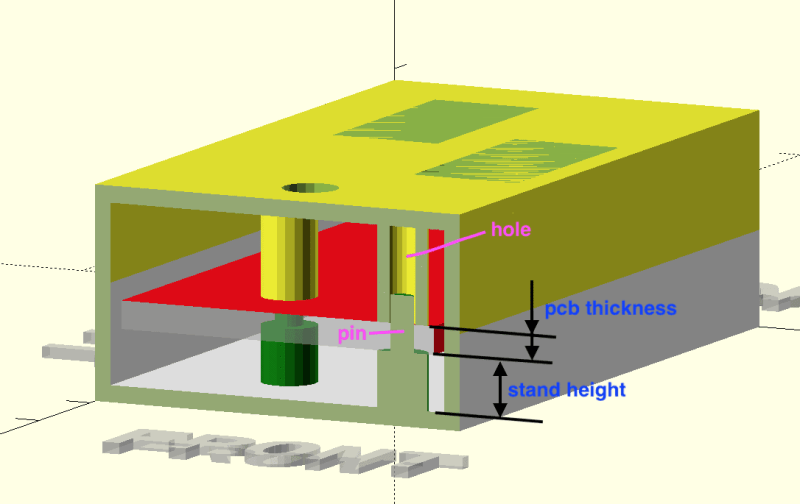
When it comes to taking an idea from concept to prototype reality, depending on the type of project, there can be quite a few sub-tasks along the way. Take for example, your latest electronic widget design. You’ve finished the schematic, and the PCB layout is a work of art (if you do say so yourself) but having that kicking around on the desk unprotected with wires dangling is not the end game. Now you’ve got to make an enclosure of some kind, and I don’t know about you, but this is the bit where this scribe struggles a little to get something to fit nice. Even if you’ve got the latest 3D printer dialed in to within a gnat’s whisker of perfection, you’ve still got to come up with the design, and those dimensions need to be really accurate. So, for those of us who are great at the PCB, but suck at the enclosure, [Willem Aandewiel] has been busy making the tool just for you, with his PCB-orientated Yet Another Parametric Projectbox generator (YAPP.)

Without hesitation you can head over to the YAPP GitHub, grab that sweet OpenSCAD code, and get cracking with the demos. Provided for your convenience are a number of examples for enclosing some common items, such as Arduinos and ESP32 modules, so you can use those as a springboard to get your own code in place. YAPP works based off the PCB — by specifying programmatically since this is OpenSCAD — outer dimensions, mounting post locations first. Next you define openings in the six faces of the box, and the tool happily spits out a platter with the base and lid ready to drop into Cura (or your slicer of choice) What could be easier?

And before you start on non-rectangular designs, this is a rectangular box generator for rectangular PCBs. That is all this is designed for, and as far as we can tell, it does that one job well.
Of course, this is by no means the first enclosure generator to grace these pages, far from it. Here’s one for starters. If you’re here for tips to help make better designs, check this out, and finally 3DHubs also has a nice guide for you. Happy printing!


I tried it and it seems a very nice box generator.
A few things though, one is that the author’s familiarity with his own project =/= anyone else’s familiarity. There is no discussion on the Github page of how to run it – which one of the 11 SCAD files is the one to start with?
I picked YAPP_testBox and that seemed to be it, so then I tried a few things. It works well, but there are a bunch of magic values for items that really should be calculated and limits checked with max() and min() as it was easy to get posts and such just appearing in mid-air and also post screw holes filled in due to impingement with other parts, just with changing the PCB board length and width alone.
Still it is pretty cool and I would definitely use it myself if I needed a PCB box. Nice work!
The first link in this article takes one to their personal site with an extremely detailed usage guide. The fourth line in their git readme also leads there. It seems to include instructions on which scad files to include.
You seem to be fairly familiar with scad, and I’d imagine the author would happily accept pull requests.
Fair idea on the pull requests, at present I have a few lifetimes of projects I’m working on (including two that I will submit to HaD when ready) as it is.
I did look at the home page …which also doesn’t say which script to start with. Instructions should be consistent across both the home page and github page.
Also given the number of examples as separate SCAD scripts, this generator would be an ideal candidate to use an OpenSCAD feature not often used – JSON loading – to condense the data differences down to an external file.
That is, if a file by the same name as the SCAD but with a .json extension is present then this is automatically loaded by OpenSCAD and sets up variables for different models
here’s the gist of a YAPP_testBox.json:
{
“parameterSets”: {
“Arduino Clone”: {
“$fn”: “71”,
“wallThickness”: “1.5”,
“basePlaneThickness”: “1.2”,
“lidWallHeight”: 5.0,
. . .
},
“Arduino Uno”: {
“$fn”: “59”,
“wallThickness”: “1.2”,
“basePlaneThickness”: “1.0”,
“lidWallHeight”: 4.5,
. . .
},
“some other box”: {
. . .
}
. . .
}
Then these different parameter sets are now selectable in the Customiser dropdown (the one that usually only has “design default values” in it) and away you go, different model datasets all under the one script.
Look here:
https://mrwheel-docs.gitbook.io/yappgenerator_en
Sure, if you want to redesign it again again
Would be even better if it could read an IDF (.emn) file to get the board outline and mounting hole locations.
Get on it man….
This could be used to generate test fixtures if one could implement support for an array of testpoint coordinates that makes holes for needle sleeves.