This is usually how it happens — [mrzealot] had been using some awful chiclet-style keyboard without much of a care, and topping out at 50-60 WPM using an enhanced hunt-and-peck method. But he really wanted back-lighting, and so got his first taste of the mech life with a Master Keys Pro S. Hooked, [mrzealot] started researching and building his endgame keyboard, as you do once bitten. It looked as though his type would have as few keys as possible, and thumb keys laid out in arcs.
And so the cardboard prototyping began, with real switches and keycaps and a split design. After getting tired of adjusting the halves’ position on the desk, [mrzealot] threw that plan out the window and started scheming to build a monoblock split. He had a steel switch plate cut for this prototype, and used cardboard for the bottom layer, complete with a little hatch to access the Pro Micro’s reset button.
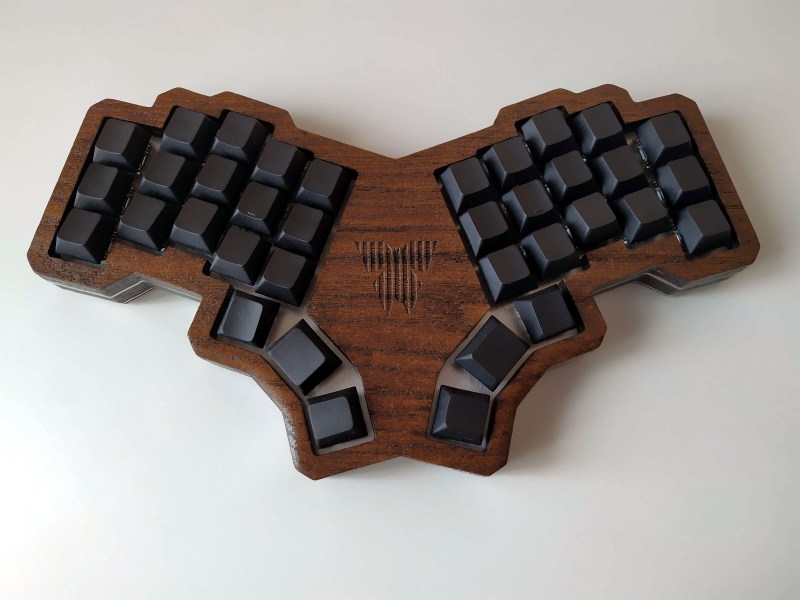
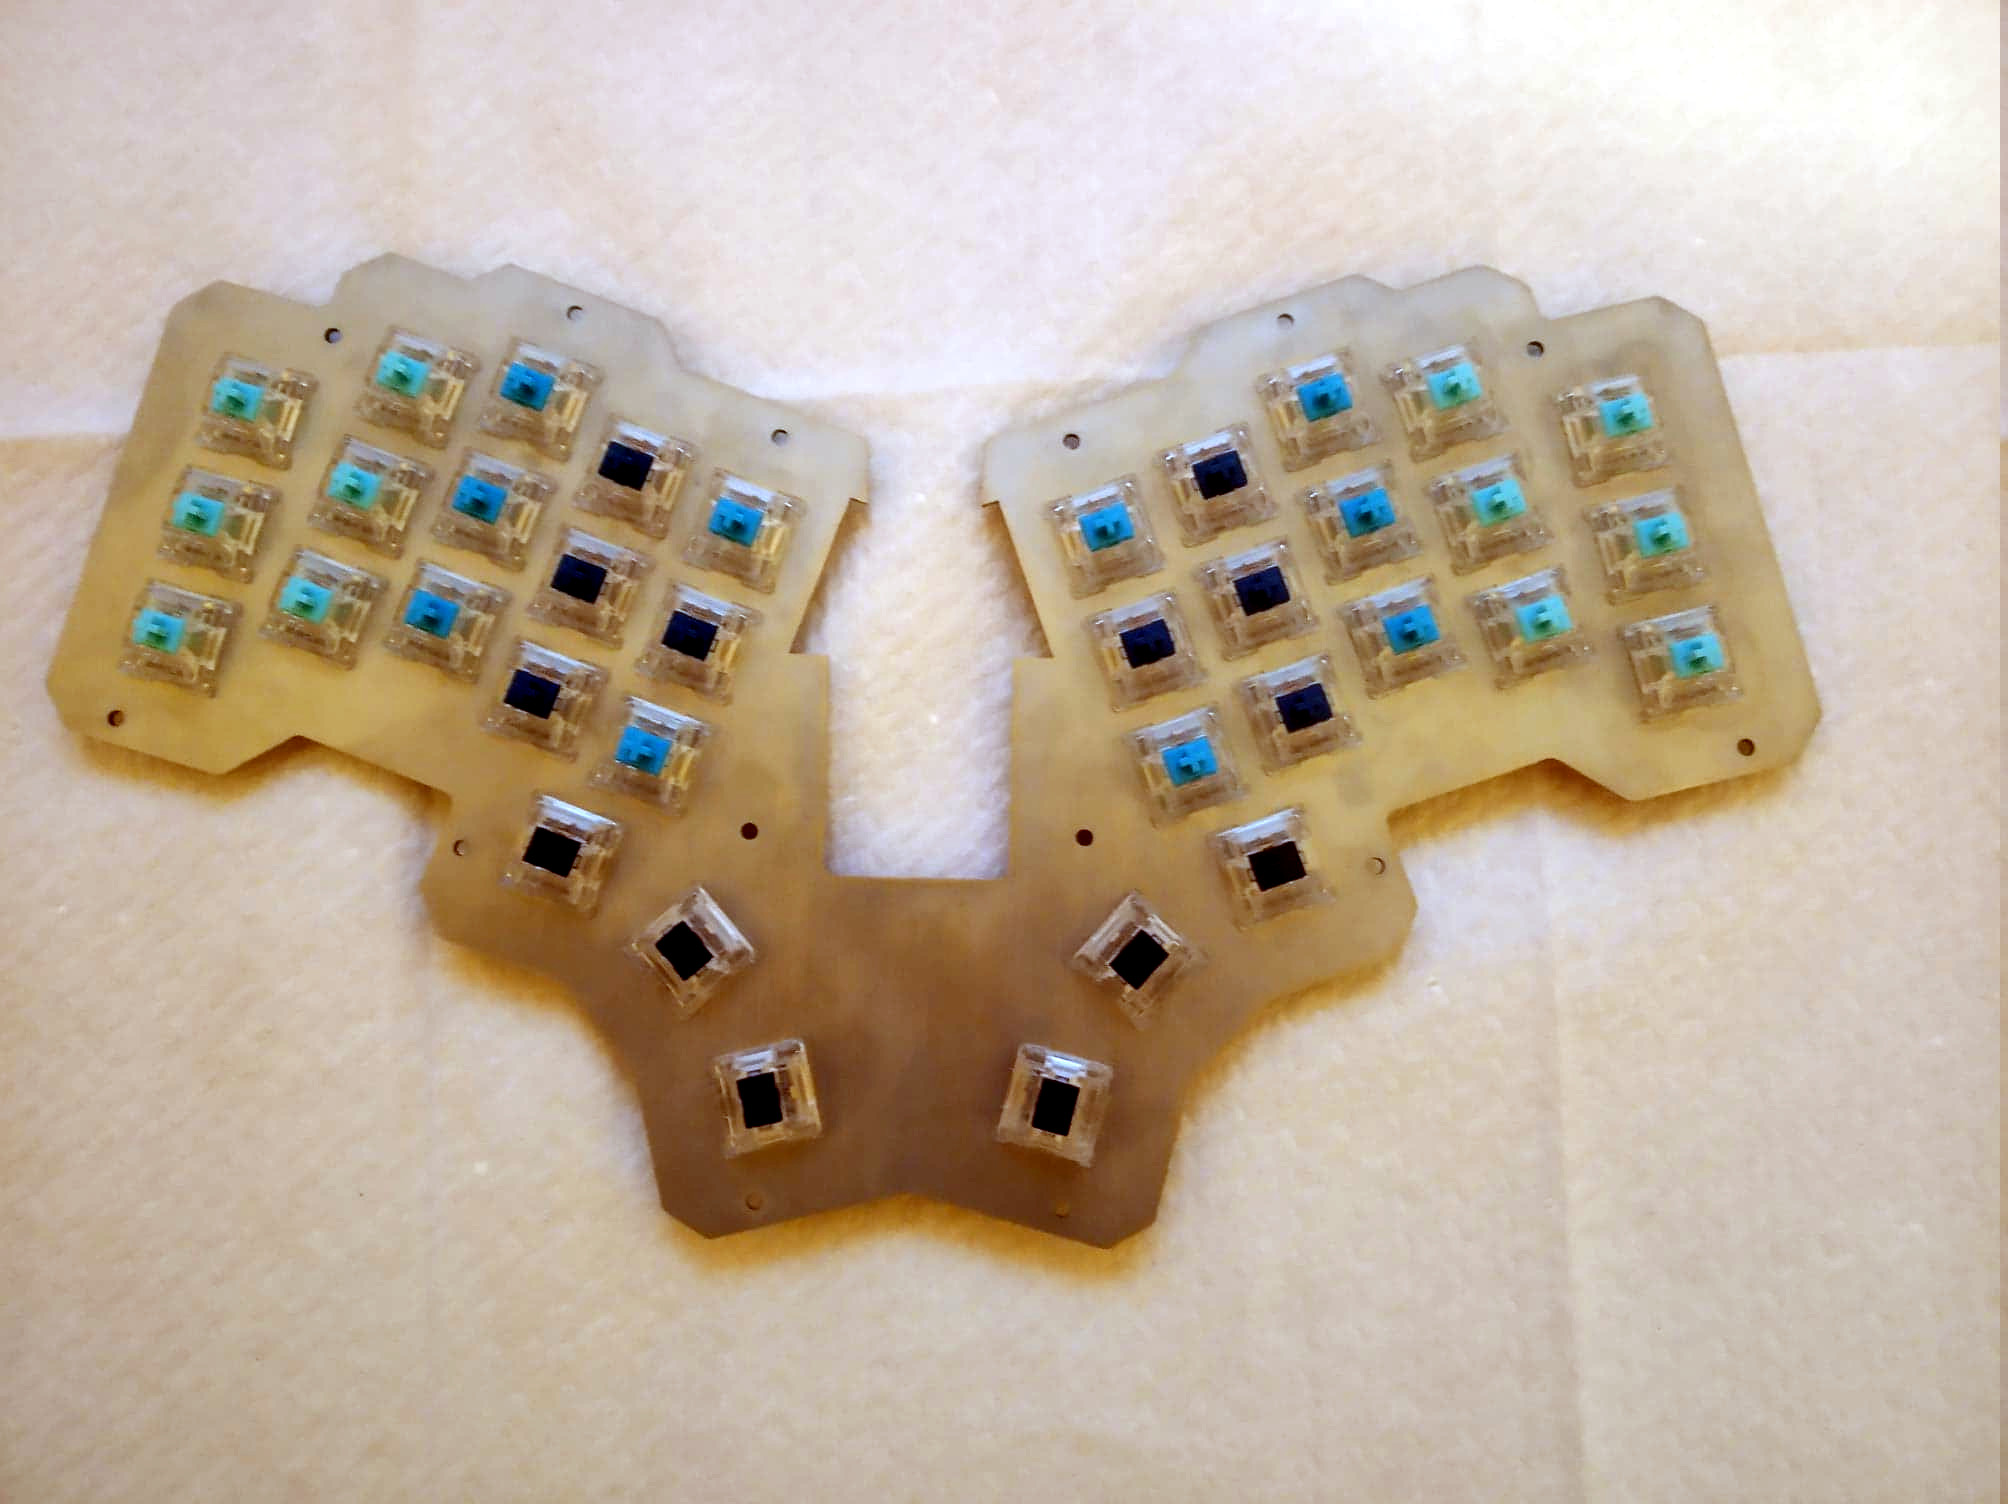 Now satisfied with the 36-key layout, it was time to go wireless with a Feather nRF52 Bluefruit LE. This is where things get serious and final, with a laser-cut layered oak case and thick, blank, PBT keycaps.
Under all that plastic lies a range of actuation force levels on the key caps that (in our opinion) range from heavy to really heavy — 62 gram switches on the pinkies and ring fingers, 65 g on the middle, 67 g on the index fingers, and a whopping 78 g for the thumb clusters.
We just love the way this ended up looking, and are pretty jealous of that neoprene layer on the bottom. Beauty aside, there is some real utility here to be shared. In designing the layout, [mrzealot] created a keyboard generator called ergogen that will get you closer to your endgame without the need for CAD skills, just YAML.
Those of you who read Hackaday closely may recognize the term ‘ergogen’ from [Matthew Carlson]’s coverage of [Ben Vallack]’s guide to creating a low-profile keyboard. This is something else in the same vein.
Thanks for the tip, [HBBisenieks].


Pretty sure that layout isn’t for me, but it does look really special.
For me the actuation force doesn’t seem all that heavy pretty sure the IBM keyboards I so love are considerably heavier, though I don’t much care how heavy or light the keypress is (within reason) as its the feel of the key that is far far more important, it for me must have a nice tactile bump at the point the switch actuates with some travel afterwards, those mushy smash into the bottom of the deck to be sure they register type keyboards just feel wrong and are far more fatiguing to use fast than a much heavier key with the tactile bump…
Every time I see such a well executed build I really want to dust off my doodles on a ‘perfect’ keyboard (at least what I think I’d want) and give it a go. Not to mention order a sample of all the myriad of key switch now available, surely one of them will feel just right…
My favorite layout is the one used by Monterey on their K104 and other models prior to 1995. Big backspace, big right shift, backwards L enter. With the advent of WinKeys and the right Winlogo key and the menu key nobody ever uses displacing the backslash-pipe key, the “Big Three” layout was killed off with the displaced key taking the place of the upper leg of enter, ot the left end of backspace or right shift.
My first PC keyboard must have been a Monterey. At least it was one with that layout. I always hit the right end of backspace and right shift, and the upper leg of enter. To this day I have problems with hitting the backslash when I go to hit one of those three keys, depending on which one the keyboard I’m using at the time has amputated.
There’s no reason to have the right winlogo key or the menu key anymore. My Dell Latitude E6530 doesn’t have them, but it still has the backslash where the upper leg of Enter ought to be. It’s because despite being a full board with numpad, it has the page up, page down and up arrow crammed into the right end of the bottom row.
Goatse Keyboard lmao
What a great build! And a very detailed article too. I thought I knew a thing or two about keyboard, but reading the entire story thought me quite a couple of new facts and tricks.
A bit more info on the key map would be nice though. What goes where and why? Have you ever looked into the Miryoku layout?
But it’s an excellent built, I hope it will turn out to be the heirloom you intended it to be.