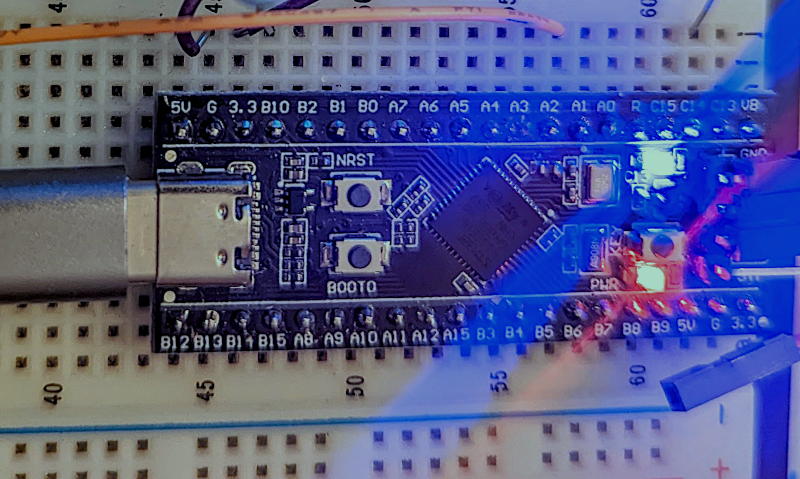
Last time, I told you how to get started with the “Black Pill” STM32F411 board using the Mbed OS. The example program, admittedly, didn’t use many of the features of the OS, unless you count what the USB serial port driver uses behind the scenes. However, this time, we’ll make a practical toy that lets you adjust your PC’s volume level with a pot.
The Black Pill is a good choice for this application since it has analog inputs and can act as a USB keyboard. In fact, the Mbed OS has drivers for all kinds of USB devices. We’ve seen the serial port, but you can also look like a mass storage device or a mouse, for example. Just for practice, we’ll create two threads of execution. One will read the pot and send a message over to the other thread. That thread will communicate with the PC as a USB keyboard. Any computer that understands media keys on a keyboard should work with the device.
Threads
Creating threads is very simple. For many cases, you just define a void function that takes no arguments and use it with a Thread object:
readknobThread.start(vol_thread);
Of course, the function shouldn’t return unless you want the thread to end. As I mentioned in the last post, you can sleep with the ThisThread::sleep_for call. There is also a yield call if you simply want to give up the time slice without sleeping for a specific amount of time.
You can also create a function that does return and have it execute if there is idle time where no threads are ready to execute. Call rtos_attach_idle_hook to set that function. If you don’t provide one, the default causes the processor to sleep.
You can get fancy with threads, mainly by changing their stack size and priority. The join method of the Thread object lets you wait for a thread to terminate. You can set a thread’s name during the object’s construction. However, to do so, you have to specify all the other options, too. This is handy when you are debugging so you can tell one thread from another easily. Here’s how:
Thread readknobThread(osPriorityNormal,OS_STACK_SIZE,nullptr,"KNOB");
Thread keyboardThread(osPriorityNormal,OS_STACK_SIZE,nullptr,"KBD");
Normally, though, you can just stick with the default constructor. You can always change the priority later. You can also set the default stack size (normally 4 kB) in the project’s json file, as long as you want all threads to use the same default.
Volume
How hard is it to make the Black Pill look like a USB keyboard and send, say, a volume down command? Easy:
USBKeyboard kbd;

...

kbd.media_control(KEY_VOLUME_DOWN);
This could be a very simple program indeed. However, I wanted to play some with multithreading so I made it a little harder. The program has two threads. One watches the potentiometer and decides if it has moved up or down by a set amount. Then it issues a command using a mailbox to the other thread.
The other thread waits for mail to arrive and acts on it by sending media keys. This, too, is a bit overdone since there is really only one piece of data shared between the threads. But the mail mechanism can transfer arbitrary structures, so it is useful to know about it.
Multithread Communications
The Mbed OS offers several features to help threads cooperate:
- ConditionVariable – A mechanism for one thread to signal other threads that a condition changed.
- EventFlags – Similar to condition variables, but allows a thread to wait on multiple events. You can wait for any of a set of flags to signal or wait for all of the set to signal.
- Queue – A queue allows one thread to load up pointers that another thread consumes.
- Mail – This is similar to a queue, but stores the sent data rather than pointers.
- Mutex – A mutex is a resource that only one thread can own at a time. This allows threads to cooperate without interfering with each other.
- Semaphore – This is similar to a mutex, but has a count associated with it. You can’t use a mutex in an interrupt handler, but you can use a semaphore.
For this simple example, assuming we wanted to use threads at all, we could have used nearly any of these mechanisms. A global variable along with a condition variable, an event, a mutex, or a semaphore would have worked fine.
A queue would also work, but I decided to use mail. The sender simply calls try_alloc on the mailbox to allocate space for a new entry. Then you populate the new entry and call put.
The receiver does a try_get and, when done with the data, calls free on the mailbox to release the memory back to the pool.
A Problem
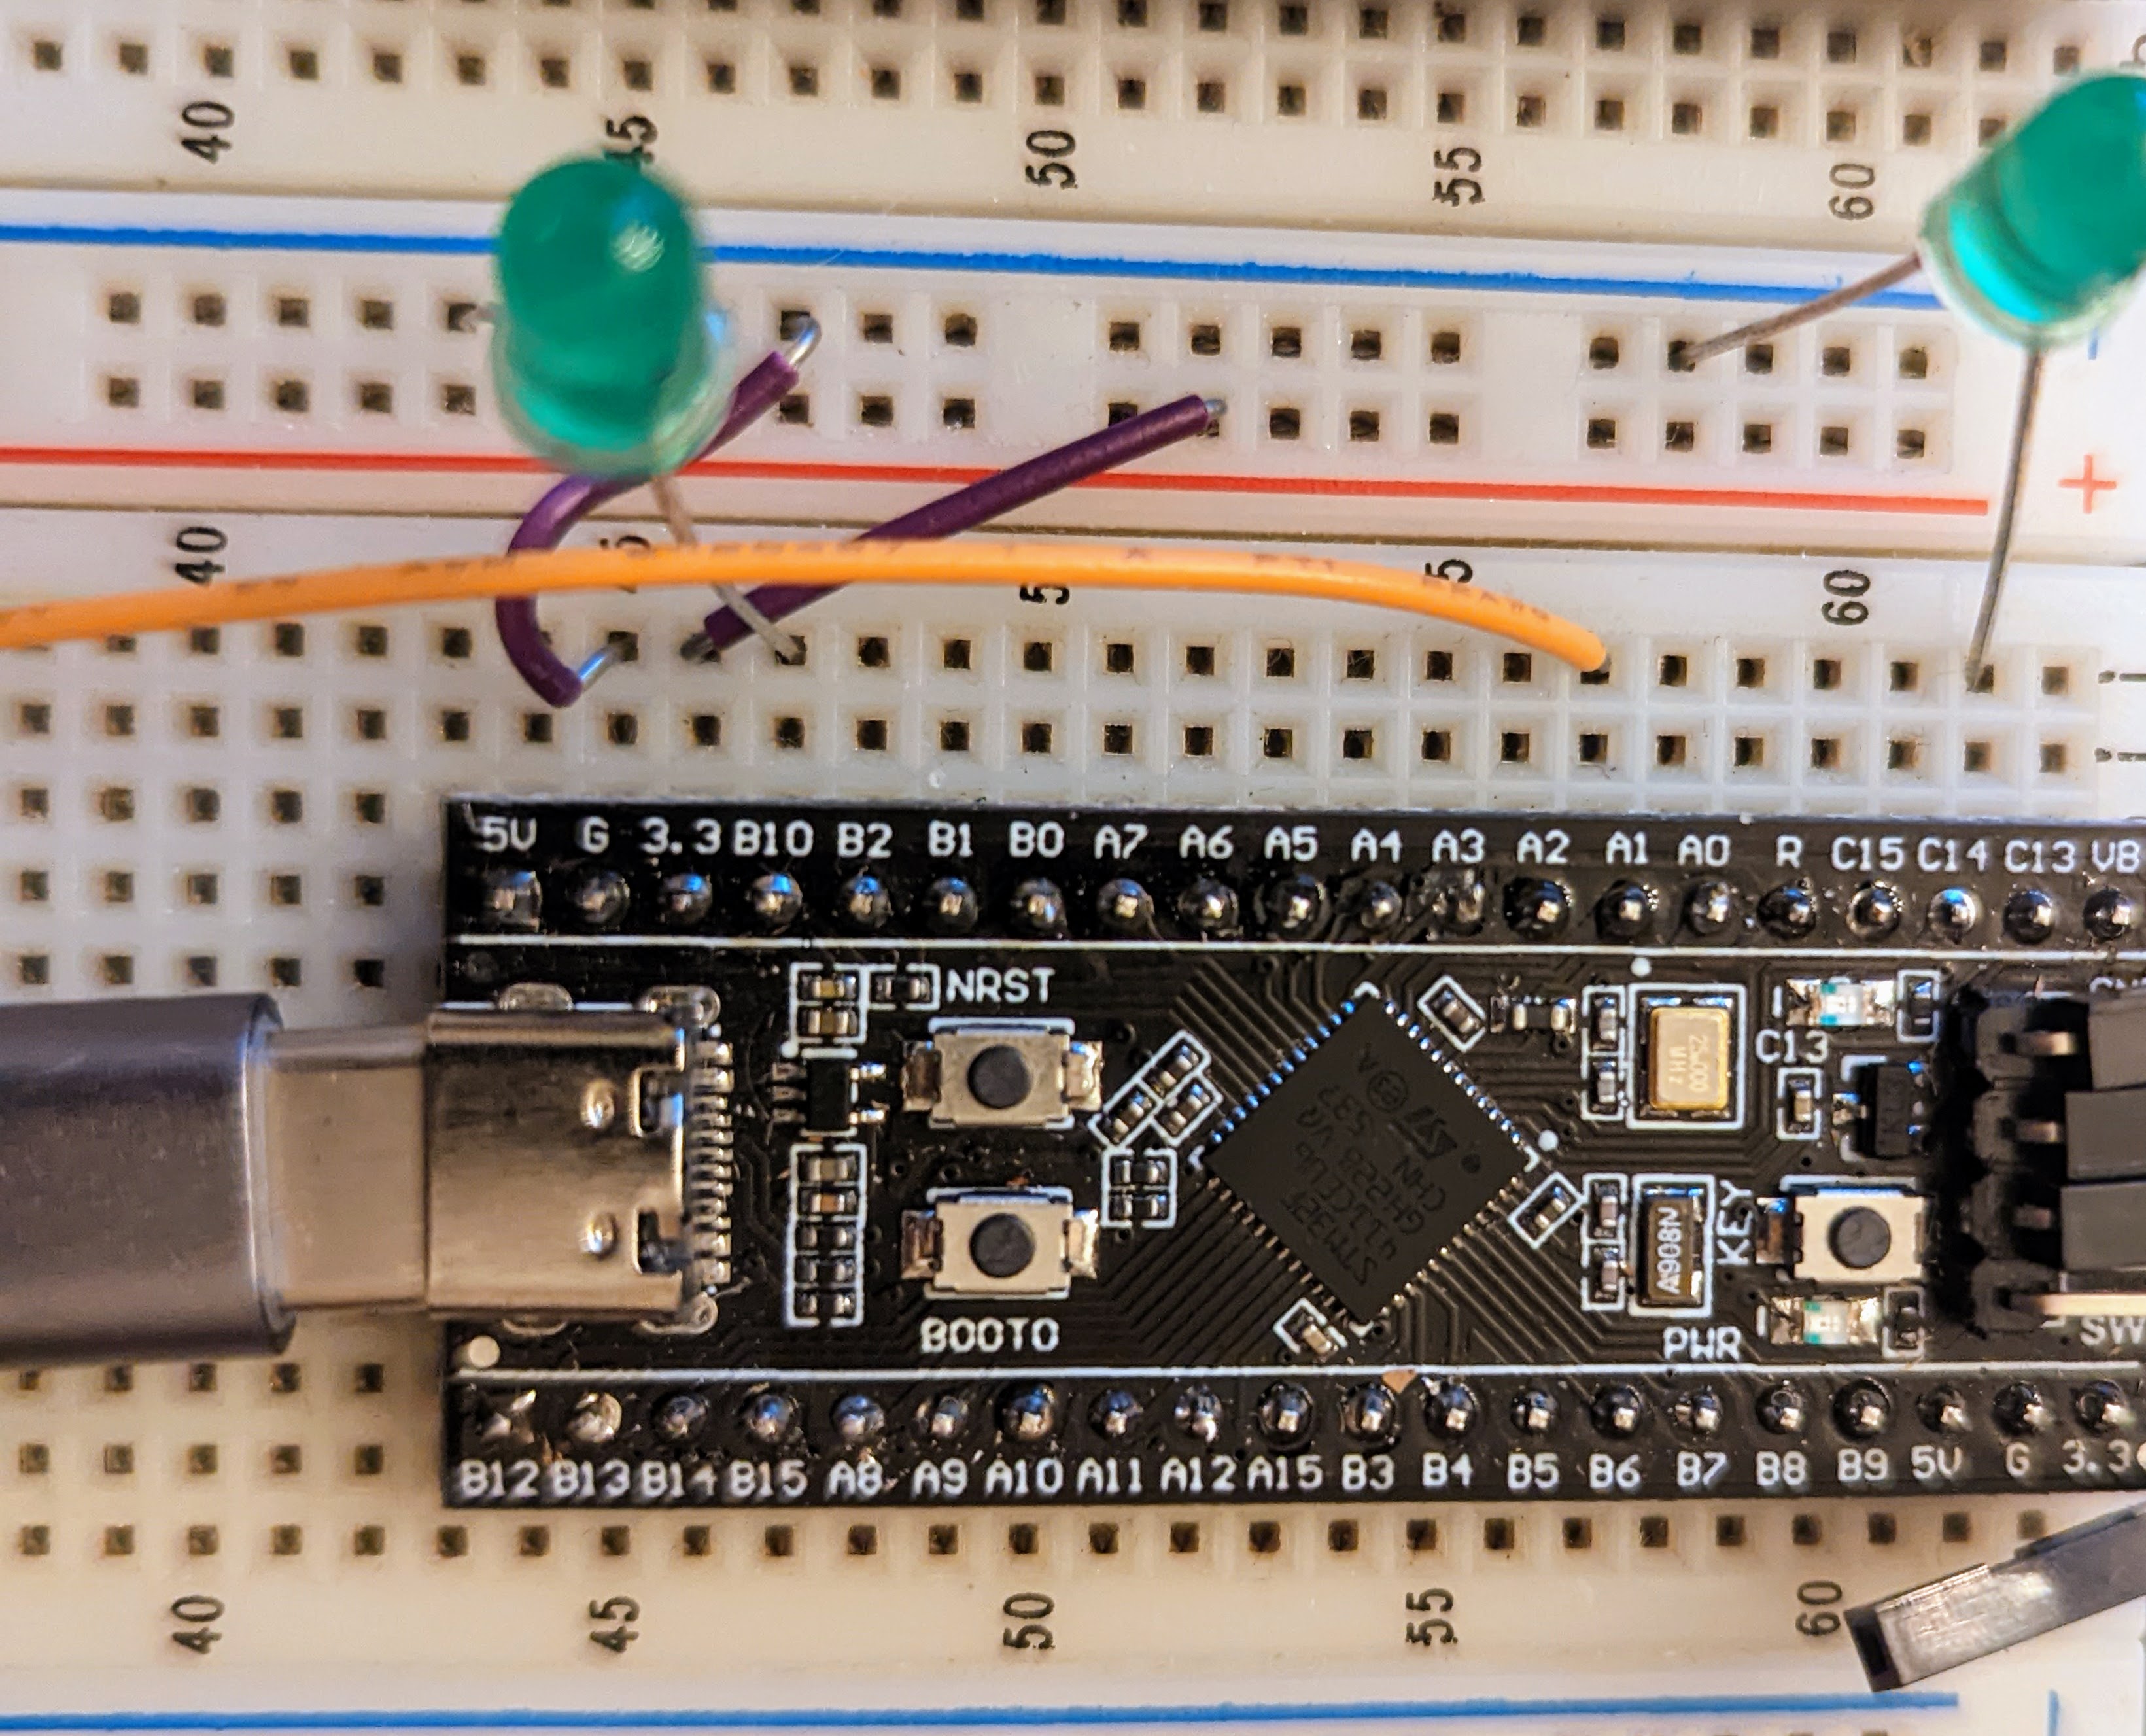
The only problem with the design is that a pot is not an optical encoder. It will stop around 0 ohms and also at the maximum value. This means the pot can get “stuck.” For example, if the pot is already all the way down when the device starts, you can’t lower the volume any lower than it started. You also have problems if you, say, turn the volume down and someone else turns it up using a different method.

To combat this, the code uses the Black Pill’s button as a mute button. In addition, it resets the idea of the pot’s position when you mute or unmute. So if you are stuck, you can follow the procedure of muting the audio, roughly centering the pot, and then unmuting.
Granted, this would have been a better place for an encoder, but I wanted to do analog input and I happened to have some breadboard-mountable pots.
The Result
The resulting code is on GitHub. I wanted to oversample the analog input since there was quite a bit of noise on the line so I created the AnalogInOversample class:
#ifndef __ANALOGINOVERSAMPLE_H
#define __ANALOGINOVERSAMPLE_H

// Simple class to read 16-bit counts from ADC and average N samples
// Up to you not to overflow 32-bits!

class AnalogInOversample : public AnalogIn
{
protected:
   uint8_t N; // # of samples
public:
// constructor assumes 16 samples, or set your own
   AnalogInOversample(PinName pin, uint8_t n=16,float vref=MBED_CONF_TARGET_DEFAULT_ADC_VREF)
     : AnalogIn(pin,vref) { N=n; }
// access N
   uint8_t get_N(void) { return N; }
   void set_N(uint8_t n) { N=n; }
// Here's the meat of it
   unsigned short read_u16(void)
     {
     uint32_t samples=0; // 32 bits for 16-bit samples
     for (int i=0;i<N;i++) samples+=AnalogIn::read_u16();
     return samples/N;
     }
};

#endif
There’s More
Of course, there’s plenty more you can do with these boards. You can also apply most of what we’ve talked about with Mbed to any of the supported boards. If you need ultimate control and performance, perhaps you’d prefer something a bit less abstract. But if you need a simple RTOS, you can do worse than spend some time learning about Mbed.
That said, the STM32Duino project is also very robust and if you are experienced with the Arduino, you might prefer it. However you go, these boards are a good value and certainly easy to work with.


I’ve been working on an Engine Control Unit using the black pill. Love the fact that the black pill has a Floating Point Unit. It really increases the computational power over something like a bluepill. However I didn’t want to be on top of the Arduino ecosystem and want to have the ability to expand into other microcontroller ecosystems, so i compile all of my libraries, tests, and executable using CMAKE. So far I have been able to start my car with it, but I am still adding more functionality and features in order to make it fully featured. Project can be found here https://github.com/FL0WL0W/EFIGenie
i was reading this with incredulity, using threading and C++ to implement an ISR to poll I/O pins on a microcontroller?? had to remind myself i’m reading specifically a primer on Mbed. i wouldn’t use something that complicated for this sort of project, well, ever, but maybe i’d consider it if i needed usb. oh.
sigh someday i’m gonna have to learn how to use usb correctly
Yeah it is definitely an overkill example.
I agree you could poll analog in this case, but if you were really doing something complex — and actually, faking keystrokes over USB is not totally trivial — you don’t really want to hang on the analog measurement for the pot, so the threading does make a little sense.
It is always hard to strike a balance here between showing you yet another blinking LED or showing a huge example with 25,000 lines of code that would take a week to study. Exactly where that sweet spot between too simple to be of value and too complex to help you learn easily is differs from person to person so I try to strike a balance somewhere.
As for ISRs, there aren’t really any user-defined ones in this code, although in the next mbed program I’ll show you there are. However, the ISRs are not actually threaded nor are they anything different than usual. The threads are there so you don’t interfere with the other functions (which are not doing much, but still). The code attaches member function to the ISRs, but that’s not really that bad. It could be done with static members and been even more efficient, but if you look at the latency measurements (I will show you that next time, too), it really isn’t that bad.
If you’re after such applications, then Micropython (or Circuitpython) will get you there in a fraction of the time you’ll need to get Mbed going.
Such ‘simple’ control/interfacing/user interaction tasks is where Micropython really shines. Also very easy to add displays to get some visual feedback.
If you’re after fast, realtime control, or have to use the smallest (cheapest) hardware available for that task, then forget that you’ve ever heared of Python.
I use black pill devboard for several bench instrument tasks. Could you have use a cleaner potentiometer in the image of your breadboard component? Looks like a bunchofdustbunnies attacked the pot…
The camera is brutal to us all!
Dwarf bunnies with chemical laden fur!
Those tiny pots are way down on the scale of reliable. They maybe good for a random noise source or random number generator.
Go for a 100PSI blast of air first with full rotation whilst blowing with a fine jet tip (non OHSA) into any cracks in the case.