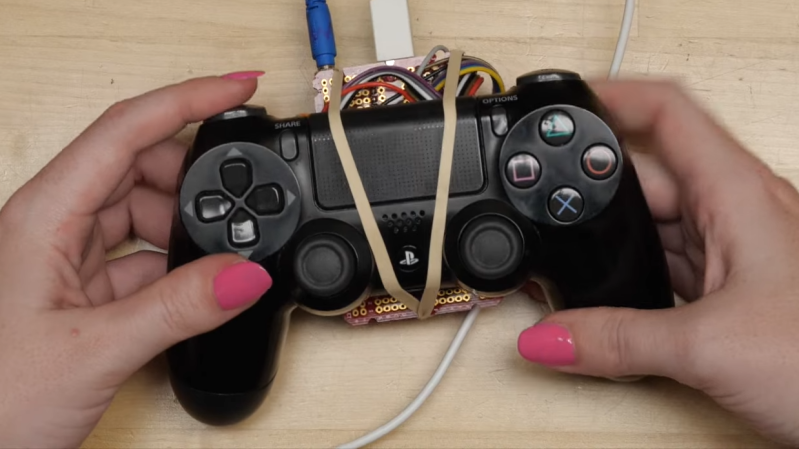
[Becky] had some PS4 controllers that were sadly no longer functional. However, most of the buttons and joysticks still appeared to be okay. Thus, she set about designing a replacement PCB to breathe new life into these formerly bricked gamepads.
In the case of the PS4 controller, most of the buttons are of a membrane type, that talk to the main board inside via a series of contacts on a flex cable. Thus, [Becky] designed her PCB to interface with that to read most of the buttons. A breadboard and an LED came in handy to figure out which pads corresponded to which buttons on the controller. Replacement joysticks were sourced off Amazon to solder directly on to the replacement PCB.
[Becky] also took advantage of Fusion 360’s design tools to 3D print a simulcra of the final design. This helped get the fit just right inside the gamepad’s shell.
The replacement PCB itself acts as a breakout so that the gamepad’s controls can be wired up to a microcontroller. In this case, the controller was repurposed to work with an RP2040 microcontroller running a looping audio project. The various buttons and controls fire off samples to allow simple performances.
Those eager to replace the guts of their own controllers can make their own, as [Becky] has shared the design files online. If you just want to interface a PS4 controller in a less invasive way, though, consider this alternative technique. Video after the break.


Great hack :-)
Brilliant idea 👍
Interesting project, but I can’t say I’ve ever had a broken PS4 controller where the circuitry failed, only thumbstick button and drift issues.
I’ve had the system since launch day, and three of my first party DS4 controllers have done this. First, the sticks start literally chemically deteriorating in some gross way, thrn if you replace them, the ocb inevitably dues a few months later.
All in all though, I can’t imagine this was any kind of beneficial hack. The amount of time and effort, and the cost of parts… This doesn’t strike me as a “bet positive” investment of one’s energy, just get a new controller at that point. I’m all for the “because we can” motivation for hack projects, I just wish people would stop posting articles like this one pretending any of it was somehow a PRACTICAL application of those tools/skills.
Why do you show a half finished picture as your only picture? It makes it look like a janky project with a piece of stripboard attached to the back, Why not show a picture of the PCB and the reassembled controller?
Putting a half finished picture as the first thing everyone sees is not the way to go. It immediately makes me think that this is not a good or well done project. Show us something good first, then show the journey, not a janky prototype. Sure show that later in the article but don’t show it as the only picture in the whole article.