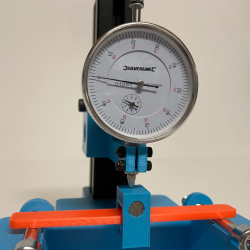
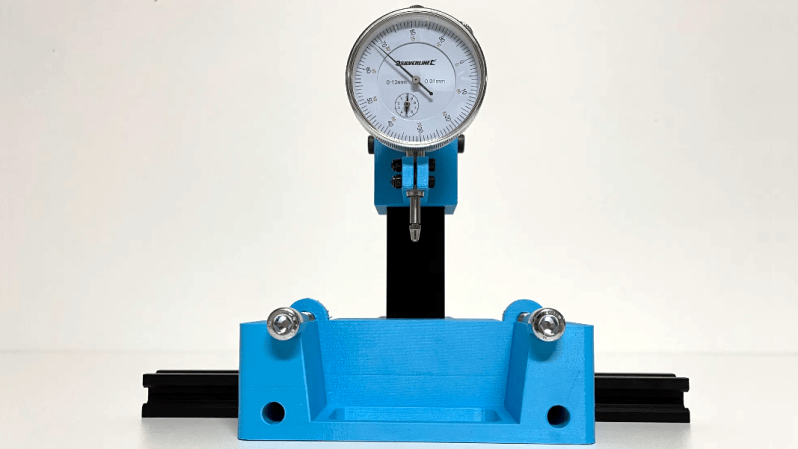
If one is serious about testing the stiffness of materials or parts, there’s nothing quite like doing your own tests. And thanks to [JanTec]’s 3-Point Bending Test rig, there’s no need to reinvent the wheel should one wish to do so.

Some simple hardware, a couple spare pieces of 3030 T-slot extrusion, a few 3D-printed parts, and a dial indicator all come together to create a handy rig that will let one get straight to measuring.
Here is how it works: stiffness of a material is measured by placing a sample between two points and applying a known force to the middle of the sample. This will cause the material to bend, and measuring how far a standardized sample deforms under a known amount of force (normally accomplished by a dial indicator) is how one can quantify a material’s stiffness.
When a material talks about its Young’s modulus (E) value, it’s talking about stiffness. A low Young’s modulus means a material is more elastic, a high value means the material is more stiff. (This shouldn’t be confused with strength or toughness, which are more about resistance to non-recoverable deformation, and resistance to fracture, respectively.)
Interested in results, but don’t want to get busy doing your own testing? Someone’s already been there and done that: here’s a great roundup of measurements of 3D-printed parts, using different filaments.


I’m reminded of the words my materials teacher drilled into us…
‘harder, stronger, more brittle, less ductile less tough’
Exactly how does this qualify as a hack?
its a cobble that will give usefull data to someone iterating a part that keeps failing
or to put it another way,you cant tell autodidacts anything
but you can entice them with test equipment