Knocking over expensive camera equipment is an unfortunate occupational hazard when filming projects in a workshop. [Dane Kouttron] wanted to stop sacrificing lights to the cause, so he came up with a practical use for a weeble: A self-stabilizing monopod.
Inspired by a giant scale weeble built by [Colin Furze], [Dane] first did the math to determine the parameters for the build. It’s all about achieving torque equilibrium with a hemisphere of concrete, and [Dane] walks us through the equations, arriving at the conclusion that a 2 lb. camera on 4 foot pole, one needs a hemisphere with a mass of 28 lbs. and a radius of just under 4 inches. To achieve this weight in the given volume would require extra dense concrete with steel shot added.
After some CAD work and 3D printing the 4-part mold was assembled, with RTV silicone sealant acting as both adhesive between the parts and mold release agent. [Dane] first did a test mold with concrete he had laying around. With success achieved, he pursued the real mix but had issues with an error in the concrete-water ratio and the difficulty of mixing in the steel shot. On the second attempt he managed to extract a functional hemisphere from the mold, with the pole held in position during curing by a 3D printed bracket.
The hemisphere bottom of the hemisphere has a flat spot to keep it stable when bumped lightly. [Dane] added a Manfroto quick-release mount to the end of the pole to allow easy attachment of lights and cameras. It might be a bit hefty to carry around, but it’s takes up less floor space than a tripod and is sure to save [Dane] from expensive bumps-turned-crashes.
Camera cranes, small and large, are another great tool for workshop cinematography. For sheer overkill it would be hard to beat an 8-axis workshop-sized motion control robot.


Awesome project! Does it actually hold a full size DSLR? Have you tried rubber coating it so it doesn’t leave marks?
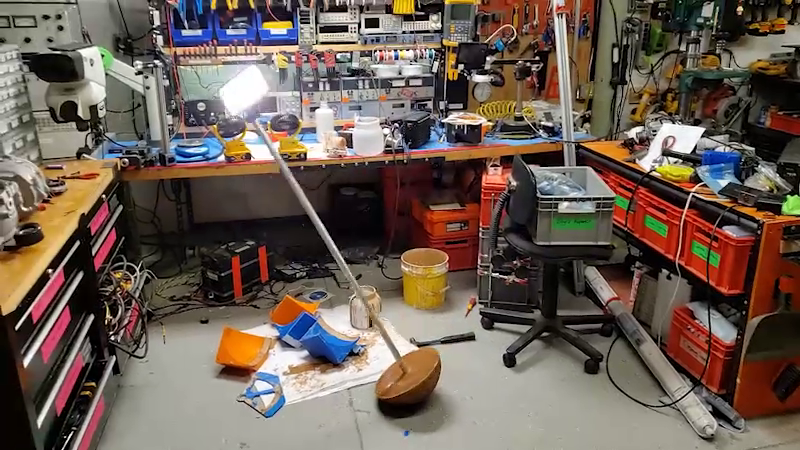
also really like the workshop in the background
I wonder if some spray-on rubberised truck bed liner stuff would work well?
Repurpose a pair of socks, nearly filling them with dry beans (white, pinto, kidney, etc), and sew the ends closed. Use them like “sandbags”, placing them on the floor just below the curved surface of your “weeble” to minimize spontaneous wobble of the light supports if you have drafts or gusts of air. VERY useful when you need to tilt the light support on purpose. Easy to make, easy to move, easy to transport, and easy to replace if they get wet or gross.
Umm… is sand expensive where you live? I feel like using actual bags of sand would make better sandbags.
Sand would leak through the socks.
Are bags expensive too? Bags would also make better bags than socks do.
But then we’d be back to sand bags, when the whole point was bean socks.
I hope I don’t get into a situation where my whole point is bean socks.
Could also just make the bottom center area flat or concave. It would still upright itself if something bumps into it, but be stable on horizontal surfaces.
I have made weights by sowing some pieces of cloth together and filling them with gravel. The stuff they put in concrete costs around 30ct / kg in small quantities, and you can make the bags any size you like. The grinding of the pebbles against each other produces more dust then I expected. The next time I will buy a bit more expensive gravel, maybe crushed basalt.
Other options against the dust are to use a plastic bag as a liner, or coated rip-stop nylon or similar, the stuff used for tents.
I need one of these in my lab! Excellent, thoroughly detailed writeup!
After looking at the Title Photo, I don’t feel so bad about the clutter in my shop.
If only my shop was so useful.
Love it!
One of my passions for the past 40+ years has been skateboarding, I’ve seen many near-misses and no-misses with guys and their boards colliding into lighting equipment when filming/photographing tricks.
This could be a good setup for those guys.
3D printed quadrants to make a hemisphere, or cut a playground ball in half set in bowl shaped hole in ground and pour, it ends up covered in colorful scuff proof soft plastic. Make 2 at a time. If it releases glue it back on, no sandy grit at all if you seal the top too.
Make a mold that has a spiral of flat sides that will sit stable at many angles with rotation at the top to set the final position. No bags or tubes of sand needed.