A Concrete Solution To Balance And Protect Camera Gear

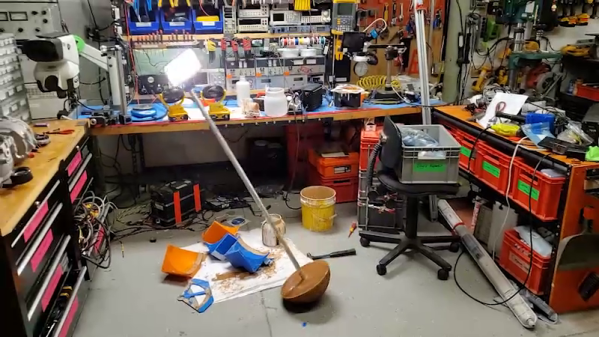
Knocking over expensive camera equipment is an unfortunate occupational hazard when filming projects in a workshop. [Dane Kouttron] wanted to stop sacrificing lights to the cause, so he came up with a practical use for a weeble: A self-stabilizing monopod.

Inspired by a giant scale weeble built by [Colin Furze], [Dane] first did the math to determine the parameters for the build. It’s all about achieving torque equilibrium with a hemisphere of concrete, and [Dane] walks us through the equations, arriving at the conclusion that a 2 lb. camera on 4 foot pole, one needs a hemisphere with a mass of 28 lbs. and a radius of just under 4 inches. To achieve this weight in the given volume would require extra dense concrete with steel shot added.

After some CAD work and 3D printing the 4-part mold was assembled, with RTV silicone sealant acting as both adhesive between the parts and mold release agent. [Dane] first did a test mold with concrete he had laying around. With success achieved, he pursued the real mix but had issues with an error in the concrete-water ratio and the difficulty of mixing in the steel shot. On the second attempt he managed to extract a functional hemisphere from the mold, with the pole held in position during curing by a 3D printed bracket.

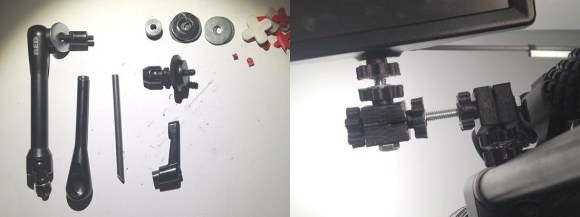
The hemisphere bottom of the hemisphere has a flat spot to keep it stable when bumped lightly. [Dane] added a Manfroto quick-release mount to the end of the pole to allow easy attachment of lights and cameras. It might be a bit hefty to carry around, but it’s takes up less floor space than a tripod and is sure to save [Dane] from expensive bumps-turned-crashes.

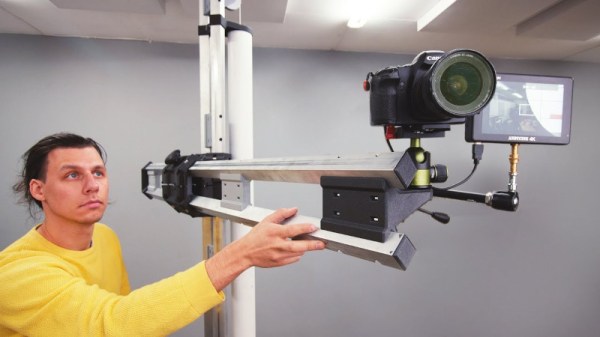
Camera cranes, small and large, are another great tool for workshop cinematography. For sheer overkill it would be hard to beat an 8-axis workshop-sized motion control robot.

DIYing A High End Camera Arm

One of the first purchases for anyone looking to shoot video should be a tripod. Key to getting clean and stable shots, they can nevertheless be limiting in their range of motion. Wanting something a little more high-end, but dissatisfied with the high cost of commercial options, [Alexandre Chappel] decided to build his own camera arm.

The build is based around square alumiunium tubing, with the high-tolerance material acting as the arm’s vertical and horizontal rails. 3D printed brackets and adapters are used to bolt everything together, along with several printed components used as drilling guides to help accurately machine the aluminium tubes. Adjustment is built into the carriages that travel along the rails, to help account for any slop in the 3D printed parts. A counterweight system is then installed to ensure the camera doesn’t hit the floor when not in the locked position.

It’s a tidy build, and one that has given [Alexandre] far more flexibility to shoot than his existing tripods. Additionally, adjusting the camera position is much quicker than before. Of course, when you’re building your own rigs, the sky is the limit. Video after the break.

Continue reading “DIYing A High End Camera Arm”

3D Printed Camera Arm Saves $143

arm04

Professional camera equipment is notoriously expensive, so when [Raster’s] LCD camera arm for his RED ONE Digital Cinema Camera broke, he was dismayed to find out a new one would run him back $150! He decide to take matters into his own hands and make this one instead.

The original arm lasted a good 4 years before finally braking — but unfortunately, it’s not very fixable. Luckily, [Raster] has a 3D printer! The beauty with most camera gear is it’s all 1/4-20 nuts and bolts, making DIY accessories very easy to cobble together. He fired up OpenSCAD and started designing various connector blocks for the 1/4-20 hardware to connect to. His first prototype worked but there was lots of room for improvement for the second iteration.  He’s continued refining it into a more durable arm seen here. For $7 of material — it’s a pretty slick system!

Between making 3D printed digital camera battery adapters,  3D printed camera mounts for aerial photography, affordable steady-cams, or even a fully 3D printed camera… getting a 3D printer if you’re a photography enthusiast seems to make a lot of sense!