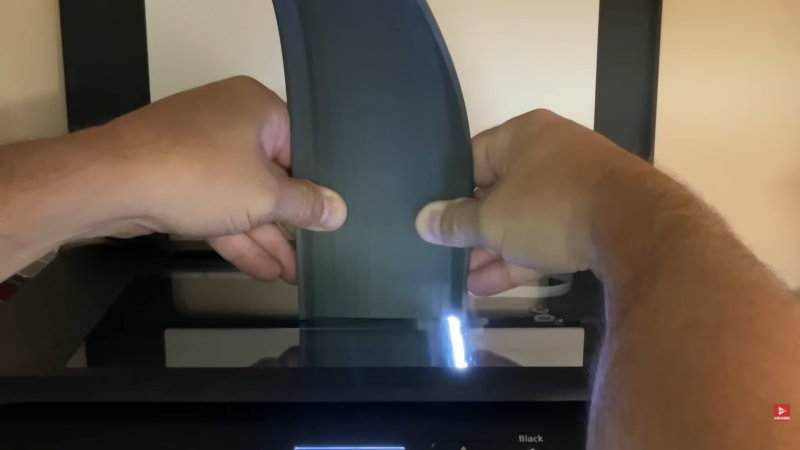
[Chuck Hellebuyck] wanted to clone some model car raceway track and realised that by scanning the profile section of the track with a flatbed scanner and post-processing in Tinkercad, a useable cross-section model could be created. This was then extruded into 3D to make a pretty accurate-looking clone of the original part. Of course, using a flatbed paper scanner to create things other than images is nothing new, if you can remember to do it. A common example around here is scanning PCBs to capture mechanical details.
The goal was to construct a complex raceway for the grandkids, so he needed numerous pieces, some of which were curved and joined at different angles to allow the cars to race downhill. After printing a small test section using Ninjaflex, he found a way to join rigid track sections in curved areas. It was nice to see that modern 3D printers can handle printing tall, thin sections of this track vertically without making too much of a mess. This fun project demonstrates that you can easily combine 3D-printed custom parts with off-the-shelf items to achieve the desired result with minimal effort.
Flatbed scanner hacks are so plentiful it’s hard to choose a few! Here’s using a scanner to recreate a really sad-looking PCB, hacking a scanner to scan things way too big for it, and finally just using a scanner as a linear motion stage to create a UV exposure unit for DIY PCBs.


I’m surprised the tracks printed so well vertically. It’s a great idea to 3d print more track instead of buying more kits for just a few pieces.
If you’re going to use a scanner for unintended things remember Epson does stuff like document the protocols of their hardware.
The Epson software is pretty average.
I got myself one of the cheaper Epson Perfection v39 II scanners and it just… sucked…
Even Image Capture on the Mac seemed to have trouble with it.
…then I got a massive job come in to scan ~600 slides and all the reviews said to get the Epson Perfection V850 Pro and it’s like a whole different team built this thing. Really good scans (inc IR scanning for dust removal), and bundled with Silverfast 9 meant there was actually good software.
tldr: I’m glad I stuck with Epson.
… thanks for reading my TED talk… :)
Hi Steven, I’m very interested in the Epson documentation. Can you share where you found these? I own multiple scanners, including an Epson V370. I hoped to use it more, but the software is rather unusable.
I’ve had good success with the NAP2 software, but I find these scanners are not too reliable as engineering tools. For example, my HP Envy 5530 is not square, and a second one I’ve bought had the same defect. I’ve also found the final output resolution depends on the scan area for the scanners. Connecting through it directly from n API would be ideal for repeatable engineering work.
It’s been decades since I looked. But there’s a reason Epsons always have SANE support (and Vuescan support for that matter). There used to be a developers site with protocol docs but I can’t find it now. Maybe downgrade this to “has a history of”.
SANE or Vuescan (or even the existing driver running in “Professional mode” with auto-thumbnails disabled) might help with greater control without doing the programming yourself.
are you saying it’s still possible to buy a scanner that doesn’t ‘just work’ with sane??
printing tall thin things is always risky, copy paste this 3 times and arrange into a triangular tower, with occasional mouse bite, cutaway linkages on the edges, you get a stable, tall, faster, self supporting print, and you’re making these in bulk anyways, so it’s all good.
I used 2D scanners a lot for 3D printing, CNC machining etc. I once had to align a log cut in half for a lid and pocket for storage as a box. To align the grain/rings I’ve scanned both sides, found wood marks that match on both sides and 2D printed out a template to align to the CNC X/Y axis so machined features would align.