As a manufacturer of test equipment and more, Tektronix has long had a need for custom form factors with its CRT displays. They initially went with fully glass CRTs as this was what the booming television industry was also using, but as demand for the glass component of CRTs increased, so did the delays in getting these custom glass components made. This is where Tektronix decided to use its existing expertise with ceramic strips during the pre-PCB era to create ceramic funnels for ceramic CRTs, as described in this 1967 video.
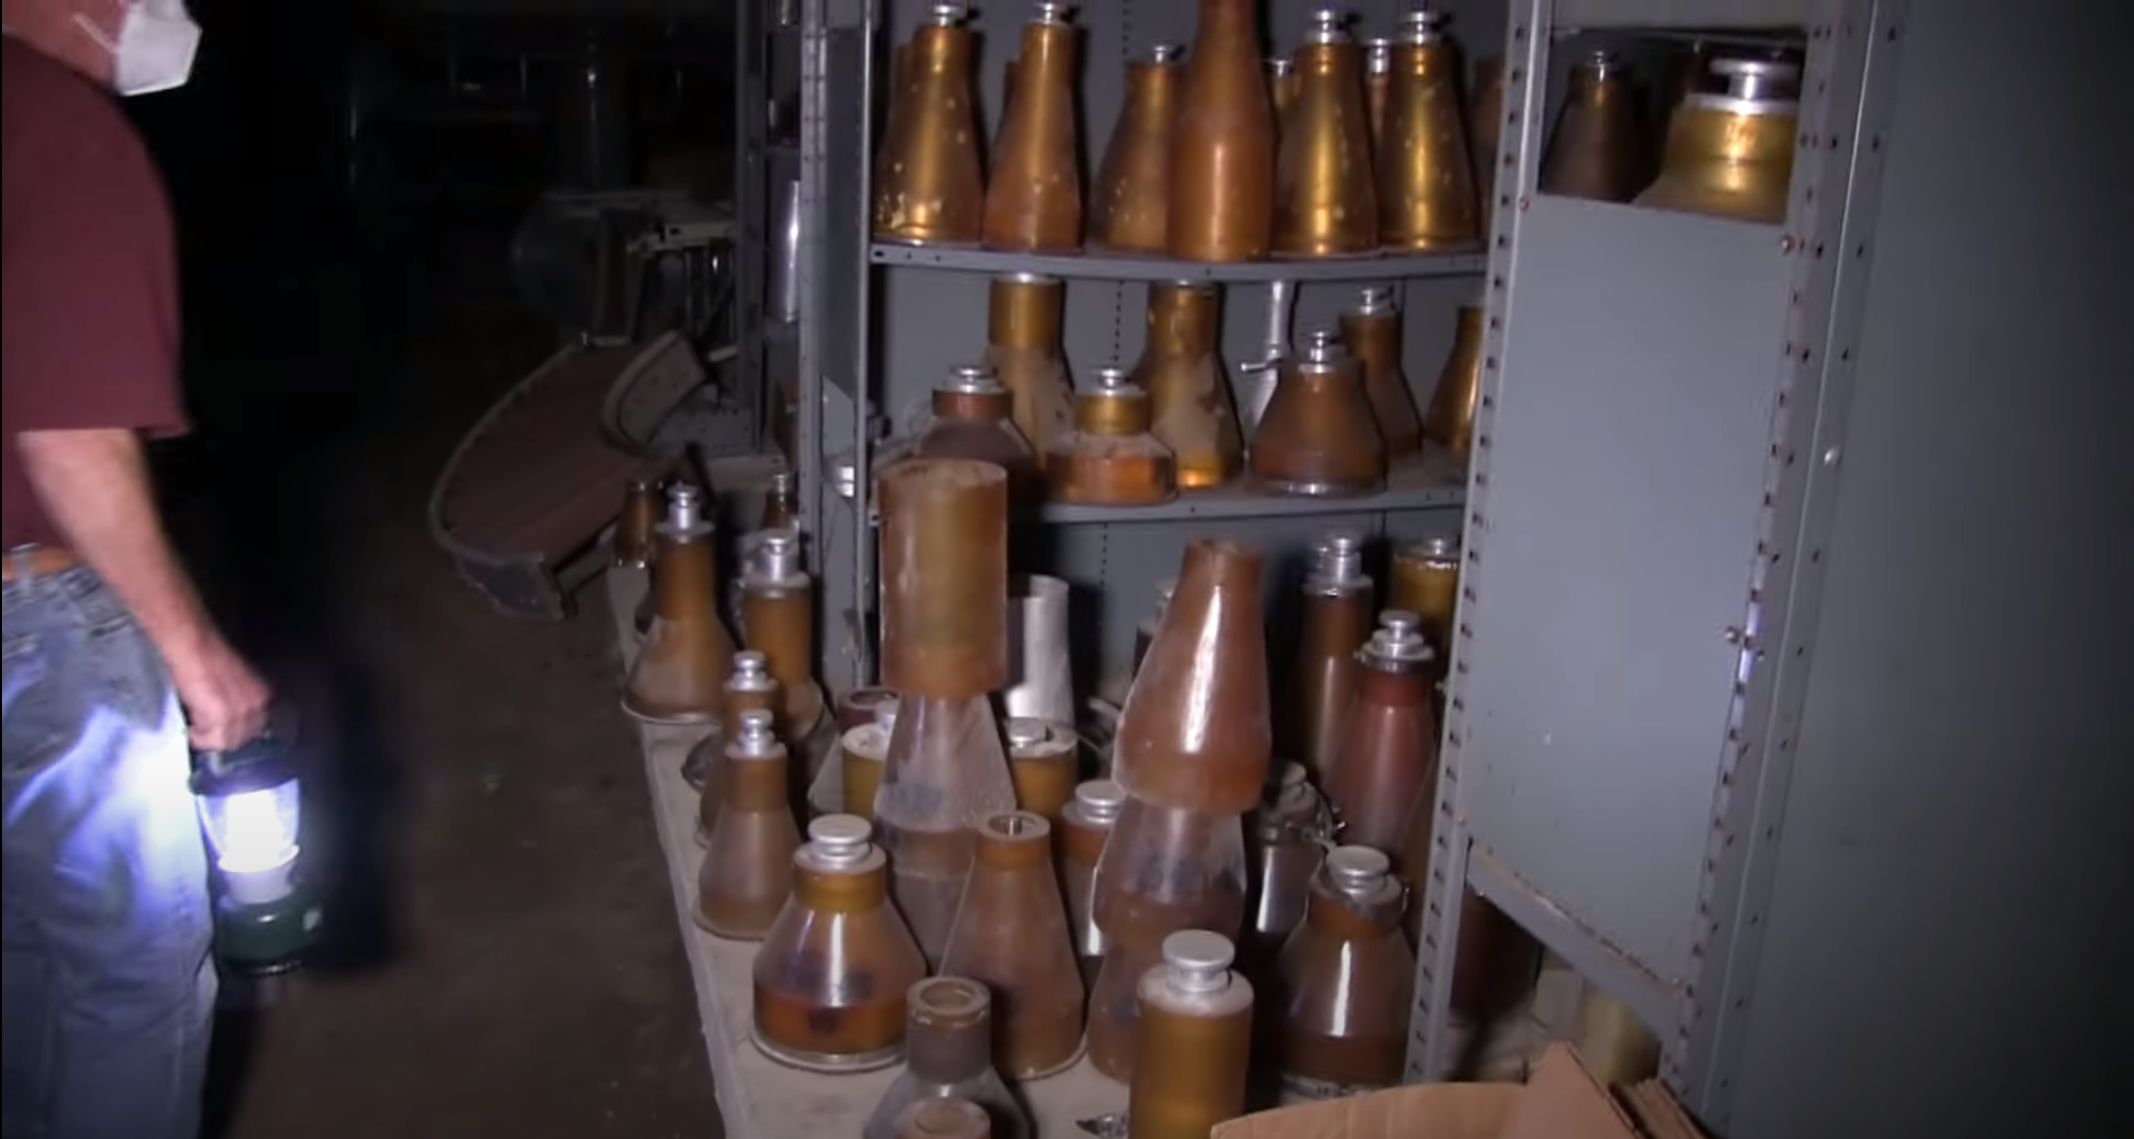
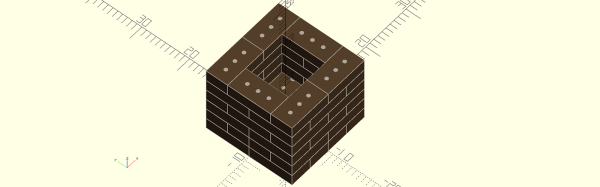
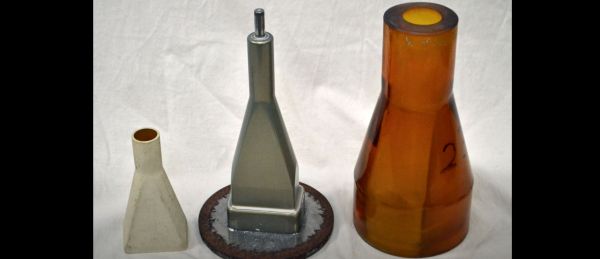
Recently, underneath Building 13 at the Tektronix campus, a ‘catacomb’ full of the molds for these funnels was discovered, covering a wide range of CRT types, including some round ones that were presumably made for military purposes, such as radar installations. These molds consist out of an inner part (the mandrel) made from 7075-T6 aluminium, and an outer cast polyurethane boot. The ceramic (forsterite) powder is then formed under high pressure into the ceramic funnel, which is then fired in a kiln before a full inspection and assembly into a full CRT, including the phosphor-coated glass front section and rear section with the electron guns.
The advantages of ceramic funnels over glass ones are many, including the former being much harder and resilient to impact forces, while offering a lot of strength for thinner, lighter structures, all of which is desirable in (portable) lab equipment. Although LCDs would inevitably take over from CRTs here as well, these ceramic CRTs formed an integral part of Tektronix’s products, with every part of production handled in-house.
Continue reading “Tektronix’s Ceramic CRT Production And The Building 13 Catacombs”