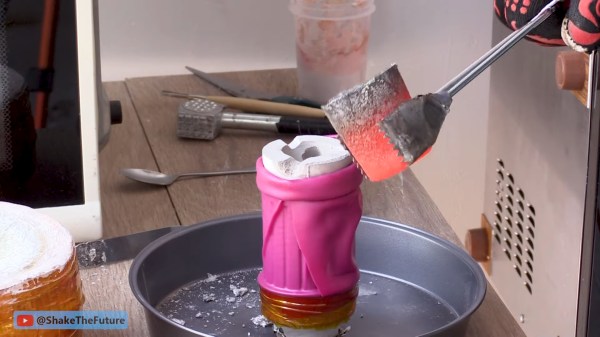
A red hot crucible is held with metal tongs above a white plaster mold. The mold is held in a bright pink silicone sleve atop a metal pan on a wooden workbench. Red cheese wax holds the sleeve to a metal funnel connected to a vacuum cleaner.

Lost Print Vacuum Casting In A Microwave

Hacks are rough around the edges by their nature, so we love it when we get updates from makers about how they’ve improved their process. [Denny] from Shake the Future has just provided an update on his microwave casting process.

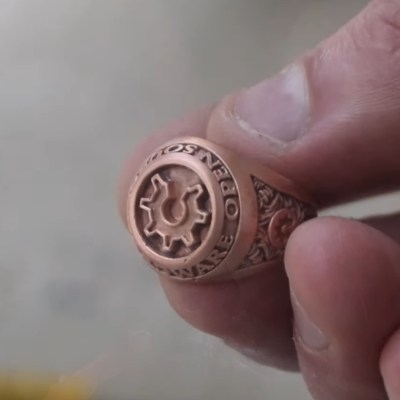
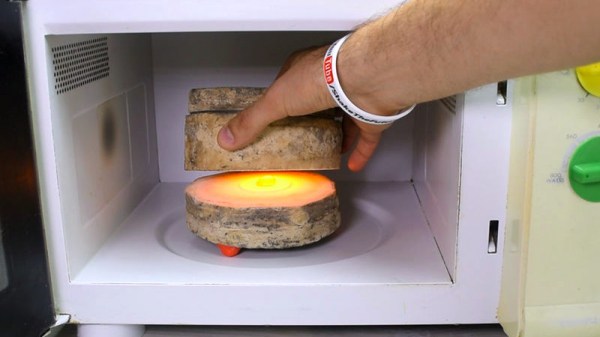
Sticking metal in a microwave certainly seems like it would be a bad idea at first, but with the right equipment it can work quite nicely to develop a compact foundry. [Denny] walks us through the process start to finish in this video, including how to build the kilns, what materials to use, and how he made several different investment castings using the process. The video might be worth watching just for all the 3D printed tools he’s built to aid in the process — it’s a great example of useful 3D prints to accompany your fleet of little plastic boats.A hand holds a very detailed copper ring. It is inscribed with the words "Open Source Hardware" and the open gear logo associated with open source hardware. It looks kinda like a class ring.

A lot of the magic happens with a one minute on and six minutes off cycle set by a simple plug timer. This allows a more gradual ramp to burn out the PLA or resin than running the microwave at full blast which can cause some issues with the kiln, although nothing catastrophic as demonstrated. Vacuum is applied to the mold with a silicone sleeve cut from a swimming cap while pouring the molten metal into the mold to draw the metal into the cavities and reduce imperfections.

We appreciate the shout out to respirators while casting or cutting the ceramic fiber mat. Given boric acid’s effects, [PDF] you might want to use safety equipment when handling it as well or just use water as that seems like a valid option.

If you want to see where he started check out this earlier version of the microwave kiln and how he used it to make an aluminum pencil.

Continue reading “Lost Print Vacuum Casting In A Microwave”

Nuke Your Own Uranium Glass Castings In The Microwave

Fair warning: if you’re going to try to mold uranium glass in a microwave kiln, you might want to not later use the oven for preparing food. Just a thought.

A little spicy…

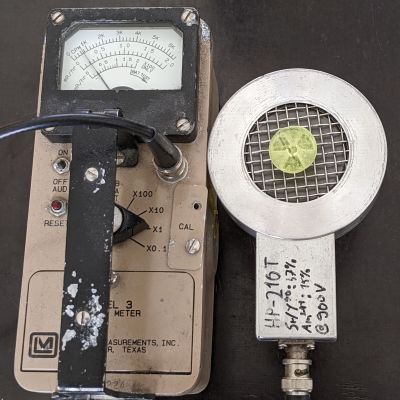
Granted, uranium glass isn’t as dangerous as it might sound. Especially considering its creepy green glow, which almost seems to be somehow self-powered. The uranium glass used by [gigabecquerel] for this project is only about 1% U3O8, and isn’t really that radioactive. But radioactive or not, melting glass inside a microwave can be problematic, and appropriate precautions should be taken. This would include making the raw material for the project, called frit, which was accomplished by smacking a few bits of uranium glass with a hammer. We’d recommend a respirator and some good ventilation for this step.

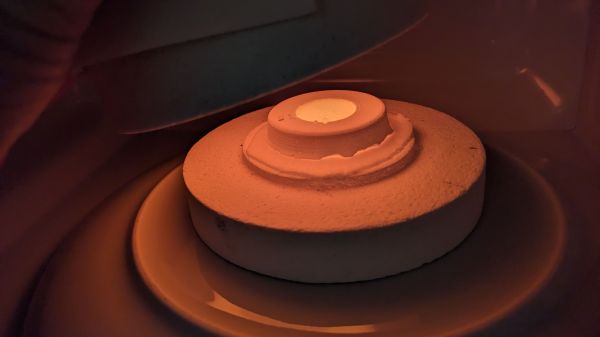
The powdered uranium glass then goes into a graphite-coated plaster mold, which was made from a silicone mold, which in turn came from a 3D print. The charged mold then goes into a microwave kiln, which is essentially an insulating chamber that contains a silicon carbide crucible inside a standard microwave oven. Although it seems like [gigabecquerel] used a commercially available kiln, we recently saw a DIY metal-melting microwave forge that would probably do the trick.

The actual casting process is pretty simple — it’s really just ten minutes in the microwave on high until the frit gets hot enough to liquefy and flow into the mold. The results were pretty good; the glass medallion picked up the detail in the mold, but also the crack that developed in the plaster. [gigabecquerel] thinks that a mold milled from solid graphite would work better, but he doesn’t have the facilities for that. If anyone tries this out, we’d love to hear about it.

Casting Metal With A Microwave And Vacuum Cleaner

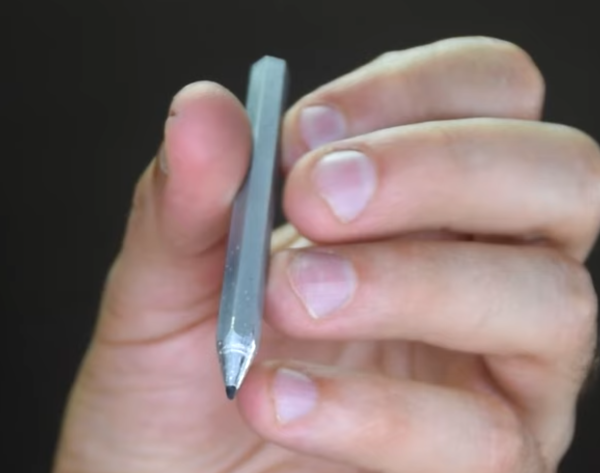
Metalworking might conjure images of large furnaces powered by coal, wood, or electricity, with molten metal sloshing around and visible in its crucible. But metalworking from home doesn’t need to use anything more fancy than a microwave, at least according to [Denny] a.k.a. [Shake the Future]. He has a number of metalworking tools designed to melt metal using a microwave, and in this video he uses them to make a usable aluminum pencil with a graphite core.

Before getting to the microwave kiln, the pencil mold needs to be prepared. A 3D-printed pencil is first created with the graphite core, and then [Denny] uses a plaster of Paris mixture to create the mold for the pencil. The 3D printed plastic is left inside the mold and placed in the first microwave kiln, which is turned on just enough to melt the plastic out of the mold, leaving behind the graphite core. From there a second kiln goes into the microwave to melt the aluminum.

Once the molten aluminum is ready, it is removed from the kiln and poured in the still-warm pencil mold. This is where [Denny] has another trick up his sleeve. He’s using a household vacuum cleaner to suck the metal into place before it cools, creating a rudimentary but effective vacuum forming machine. The result is a working pencil, at least after he wears down a few razor blades attempting to sharpen the metal pencil. For more information about how [Denny] makes these microwave kilns, take a look at some of his earlier projects.

Continue reading “Casting Metal With A Microwave And Vacuum Cleaner”

3D Printing Glass

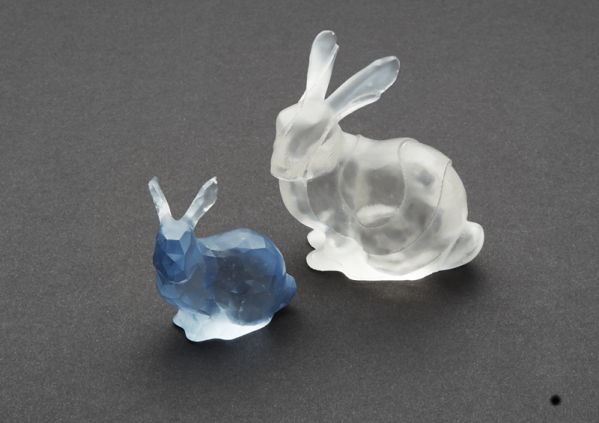
For most of us, 3D printing means printing in plastic of some sort — either filament or photo resin. However, we have all wanted to print in other materials — especially more substantial materials. Metal printers exist but they aren’t cheap. However, it is possible to print molds and cast metal parts using them. [Amos Dudley] prints molds. But instead of metal, he casts parts out of glass.

[Amos] covers several techniques. The first is creating a relief (that is a 3D shape that grows out of a base). According to the post, this prevents difficult undercuts. He then casts a mold from silica and uses a kiln to melt glass into the mold. You might expect to do that with a full-size kiln, but you can actually get an inexpensive small kiln that fits in your microwave oven.

Continue reading “3D Printing Glass”

A Microwave Kiln, From Scratch

We are normally told that microwave ovens are strictly for food only, and that anything else will cause all sorts of bad things to come our way. There can be few readers who haven’t at some time seen the shower of sparks when an inadvertent metallic object finds its way onto the turntable.

A particularly useful non-food application for a microwave oven comes in the form of the small kilns sold for glass fusing. These are ceramic cylinders coated internally with silicon carbide, and [ShakeTheFuture] shows us how to make your own.

Key to the process is ceramic fibre insulation, which is bonded both to itself and to the fused silicon carbide grit by a cured solution of waterglass, sodium silicate. The result can easily reach the required temperature for fusing glass, but also has an application in burning out surplus wax or PLA from a plaster mould. It’s particularly interesting to see the technique with the waterglass in action, and you can see a run-down of the whole thing in the video below the break.

Continue reading “A Microwave Kiln, From Scratch”

Fail Of The Week: When Good Foundries Go Bad

Like many of us, [Tony] was entranced by the idea of casting metal, and set about building the tools he’d need to melt aluminum for lost-PLA casting. Little did he know that he was about to exceed the limits of his system and melt a hole in his patio.

[Tony]’s tale of woe begins innocently enough, and where it usually begins for wannabe metal casters: with [The King of Random]’s homemade foundry-in-a-bucket. It’s just a steel pail with a homebrew refractory lining poured in place, with a hole near the bottom to act as a nozzle for forced air, or tuyère. [Tony]’s build followed the plans pretty faithfully, but lacking the spent fire extinguisher [The King] used for a crucible in the original build, he improvised and used the bottom of an old propane cylinder. A test firing with barbecue charcoal sort of worked, but it was clear that more heat was needed. So [Tony] got hold of some fine Welsh anthracite coal, which is where the fun began. With the extra heat, the foundry became a mini-blast furnace that melted the thin steel crucible, dumping the molten aluminum into the raging coal fire. The video below shows the near catastrophe, and we hope that once [Tony] changed his pants, he hustled off to buy a cheap graphite or ceramic crucible for the next firing.

All kidding aside, this is a vivid reminder of the stakes when something unexpected (or entirely predictable) goes wrong, and the need to be prepared to deal with it. A bucket of dry sand to smother a fire might be a good idea, and protective clothing is a must. And it pays to manage your work area to minimize potential collateral damage, too — we doubt that patio will ever be the same again.

Continue reading “Fail Of The Week: When Good Foundries Go Bad”

Cook Up Your Own High-Temperature Superconductors

It looks more like a charcoal briquette than anything, but the black brittle thing at the bottom of [Ben Krasnow]’s crucible is actually a superconducting ceramic that can levitate magnets when it’s sitting in liquid nitrogen. And with [Ben]’s help, you can make some too.

Superconductors that can work at the relatively high temperature of liquid nitrogen instead of ultracold liquid helium are pretty easy to come by commercially, so if you’re looking to just float a few magnets, it would be a lot easier to just hit eBay. But getting there is half the fun, and from the look of the energetic reaction in the video below, [Ben] had some fun with this. The superconductor in question here is a mix of yttrium, barium, and copper oxide that goes by the merciful acronym YBCO.

The easy way to make YBCO involves multiple rounds of pulverizing yttrium oxide, barium chloride carbonate, and copper oxide together and heating them in a furnace. That works, sort of, but [Ben] wanted more, so he performed a pyrophoric reaction instead. By boiling down an aqueous solution of the three components, a thick sludge results that eventually self-ignites in a spectacular way. The YBCO residue is cooked in a kiln with oxygen blowing over it, and the resulting puck has all the magical properties of superconductors. There’s a lot of detail in the video, and the experiments [Ben] does with his YBCO are pretty fascinating too.

Things are always interesting in [Ben Krasnow]’s life, and there seem to be few areas he’s not interested in. Of course we’ve seen his DIY CAT scanner, his ruby laser, and recently, his homemade photochromic glass.

Continue reading “Cook Up Your Own High-Temperature Superconductors”