
Three Different Digital Counters To Remind Us How Good We Have It

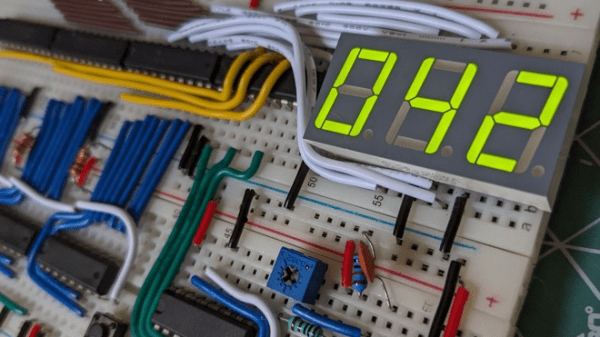
Integrated electronic modules like counters and displays are convenient and space-saving, which may also make them easy to take for granted. [Nagy Krisztián] demonstrates this by making three very different digital counter designs, each breadboarded with a 7-segment LED display. Push a button, and the displayed number increments by one for each press. It was a personal project that ended up educational in more ways than one.
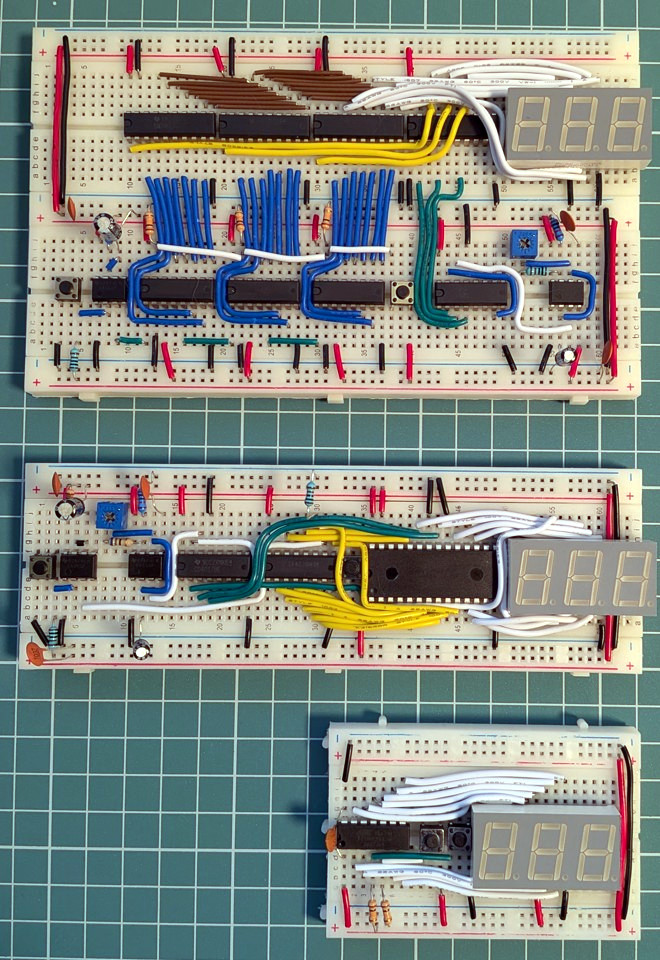
The progressively-integrated designs shrink in part count and board space, but the complexity doesn’t disappear. It just moves into software.

The first version uses discrete components only, and even though it handles the counting with CD4026B decade counter ICs instead of building counters from scratch with NAND gates, it’s still by far the largest of the three. The second version simplifies driving the display with an AT28C64B EEPROM acting as a sort of hardware lookup table translating binary counts into 7-segment digit display patterns. The third uses an ATtiny24A microcontroller, and unsurprisingly has the smallest footprint.

All of this highlights two things. One is that implementing even a simple counter and 7-segment LED readout is a nontrivial affair when one gets right down to it, even when taking advantage of purpose-built ICs. The second is that the complexity that is on full display in the first version doesn’t simply disappear as the footprint and component count goes down. Rather, it moves into software and other infrastructure, like the need for compilers and chip programmers.

The whole thing is both educational and a reminder of how good the average hardware hacker has it today. There are so many effective electronic assemblies, available to just about anyone at low cost, that it can be very easy to take it all for granted and forget just how much breadboard space and wires were needed for even simple-seeming things.

[Nagy] is certainly no stranger to dealing with a lot of wires, as we’ve seen when he fooled a 286 processor into thinking it was plugged into a functioning vintage motherboard.
Digital Counter From Stuff You Have In Your Junk Drawer

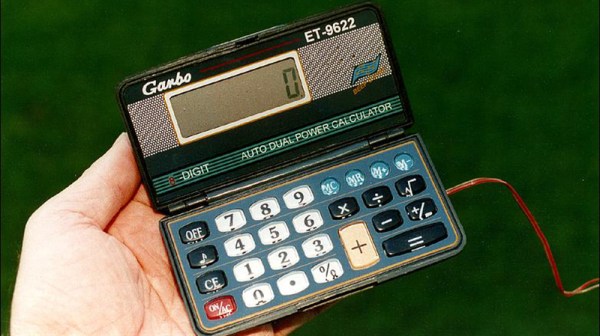
In vehicle racing, a properly tuned suspension is essential for making good time around the track. Weekend Race Warrior [Julian], thought that his right rear suspension might be bottoming out when making hard left turns. After thinking about it for a while, he came up with a super simple way to measure how many times his suspension bottoms out during a lap: a digital counter made from a calculator.

There are two types of calculators out there, one is good for this project and the other won’t work. To figure out which one you have, type in 1+1=. All calculators should display 2. Then, press the = button again. Some calculators will continue to show 2, but some will change to 3, then 4 and so on as many times as the = button is pressed. This is the type of calculator this project requires.

[Julian] opened up his calculator and soldered a pair of wires across the = button terminals. After a hole was drilled in the case for the wires to exit, the calculator was put back together. To count how often his suspension bottomed out, a normally open limit switch was installed on the car at a point where it would be triggered when the suspension bottomed out. The 2 added wires coming out of the modified calculator connect to that switch. Switch presses now emulate a = button press. Before starting a lap, 1+1= is pressed to display 2. At the end of the lap, if the suspension bottomed out, the switch would be triggered and the displayed value would increase. Remember to subtract 2 from that value to get the total number of events that occurred.

A mechanical switch makes this a great application for counting when things move a certain way but there are some more options. Connecting the switch-side of a relay to the calculator allows [Julian] to count brake presses (via the break light signals) or count how often his boost pressure goes over a certain amount (using a pressure switch).

Counting Really, Really Fast With An FPGA

fast

During one of [Michael]’s many forum lurking sessions, he came across a discussion about frequency counting on a CPLD. He wondered if he could do the same on an FPGA, and how hard it would be to count high clock rates. As it turns out, it’s pretty hard with a naive solution. Being a bit more clever turns the task into a cakewalk, with a low-end FPGA being able to count clocks over 500 MHz.

The simplest solution for counting a clock would be to count a clock for a second with a huge, 30-bit counter. This is a terrible idea: long counters have a lot of propagation delays. Also, any sampling would have to run at least twice as fast as the input signal – not a great idea if you’re counting really fast clocks.

The solution is to have the input signal drive a very small counter – only five bits – and sample the counter using a slower clock on board the FPGA. [Michael] used a 5-bit Gray code, getting rid of the problem of the ‘11111’ to ‘00000’ rollover of a normal binary counter.

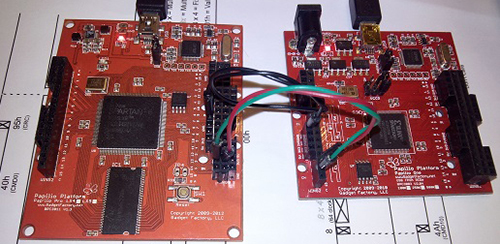
Because [Michael] is using a 5 bit clock with 31 edges sampled at 32 MHz, he can theoretically sample a 992 MHz clock. There isn’t a chance in hell of the Spartan 6 on his Papilio Pro board ever being able to measure that, but he is able to measure a 500 MHz clock, something that would be impossible without his clever bit of code.









