
What’s one to do with some nice little relays of questionable pinout, and prototyping board? How about a quietly clicky 4-bit counter using relay logic with tons of buttons?
[Agatha Mallett] made the counter after finding herself in possession of a quantity of relays burdened by terrible documentation (the datasheet shockingly lacks a pinout, and doesn’t even mention the coil being unidirectional). But since the relays are also small and of decent quality, they were a good candidate for a small relay logic-based project.
The key to the build is implementing D-type flip-flops using relays. This is done by holding the coil voltage of each relay between its set and release voltage levels. A small voltage bump will energize the coil, closing the relay and leaving it closed. Conversely, a small negative spike releases the coil, leaving it open. This forms the basis of the counter, and [Agatha] has a separate write-up all about the details of using relays in this way.
Implementing this was rather less straightforward than it may sound because it relies on balancing the coils of many relays on a figurative knife-edge of voltage, but not every component is perfectly identical. A tweaked resistor or capacitor here and there was needed before things settled into reliability.
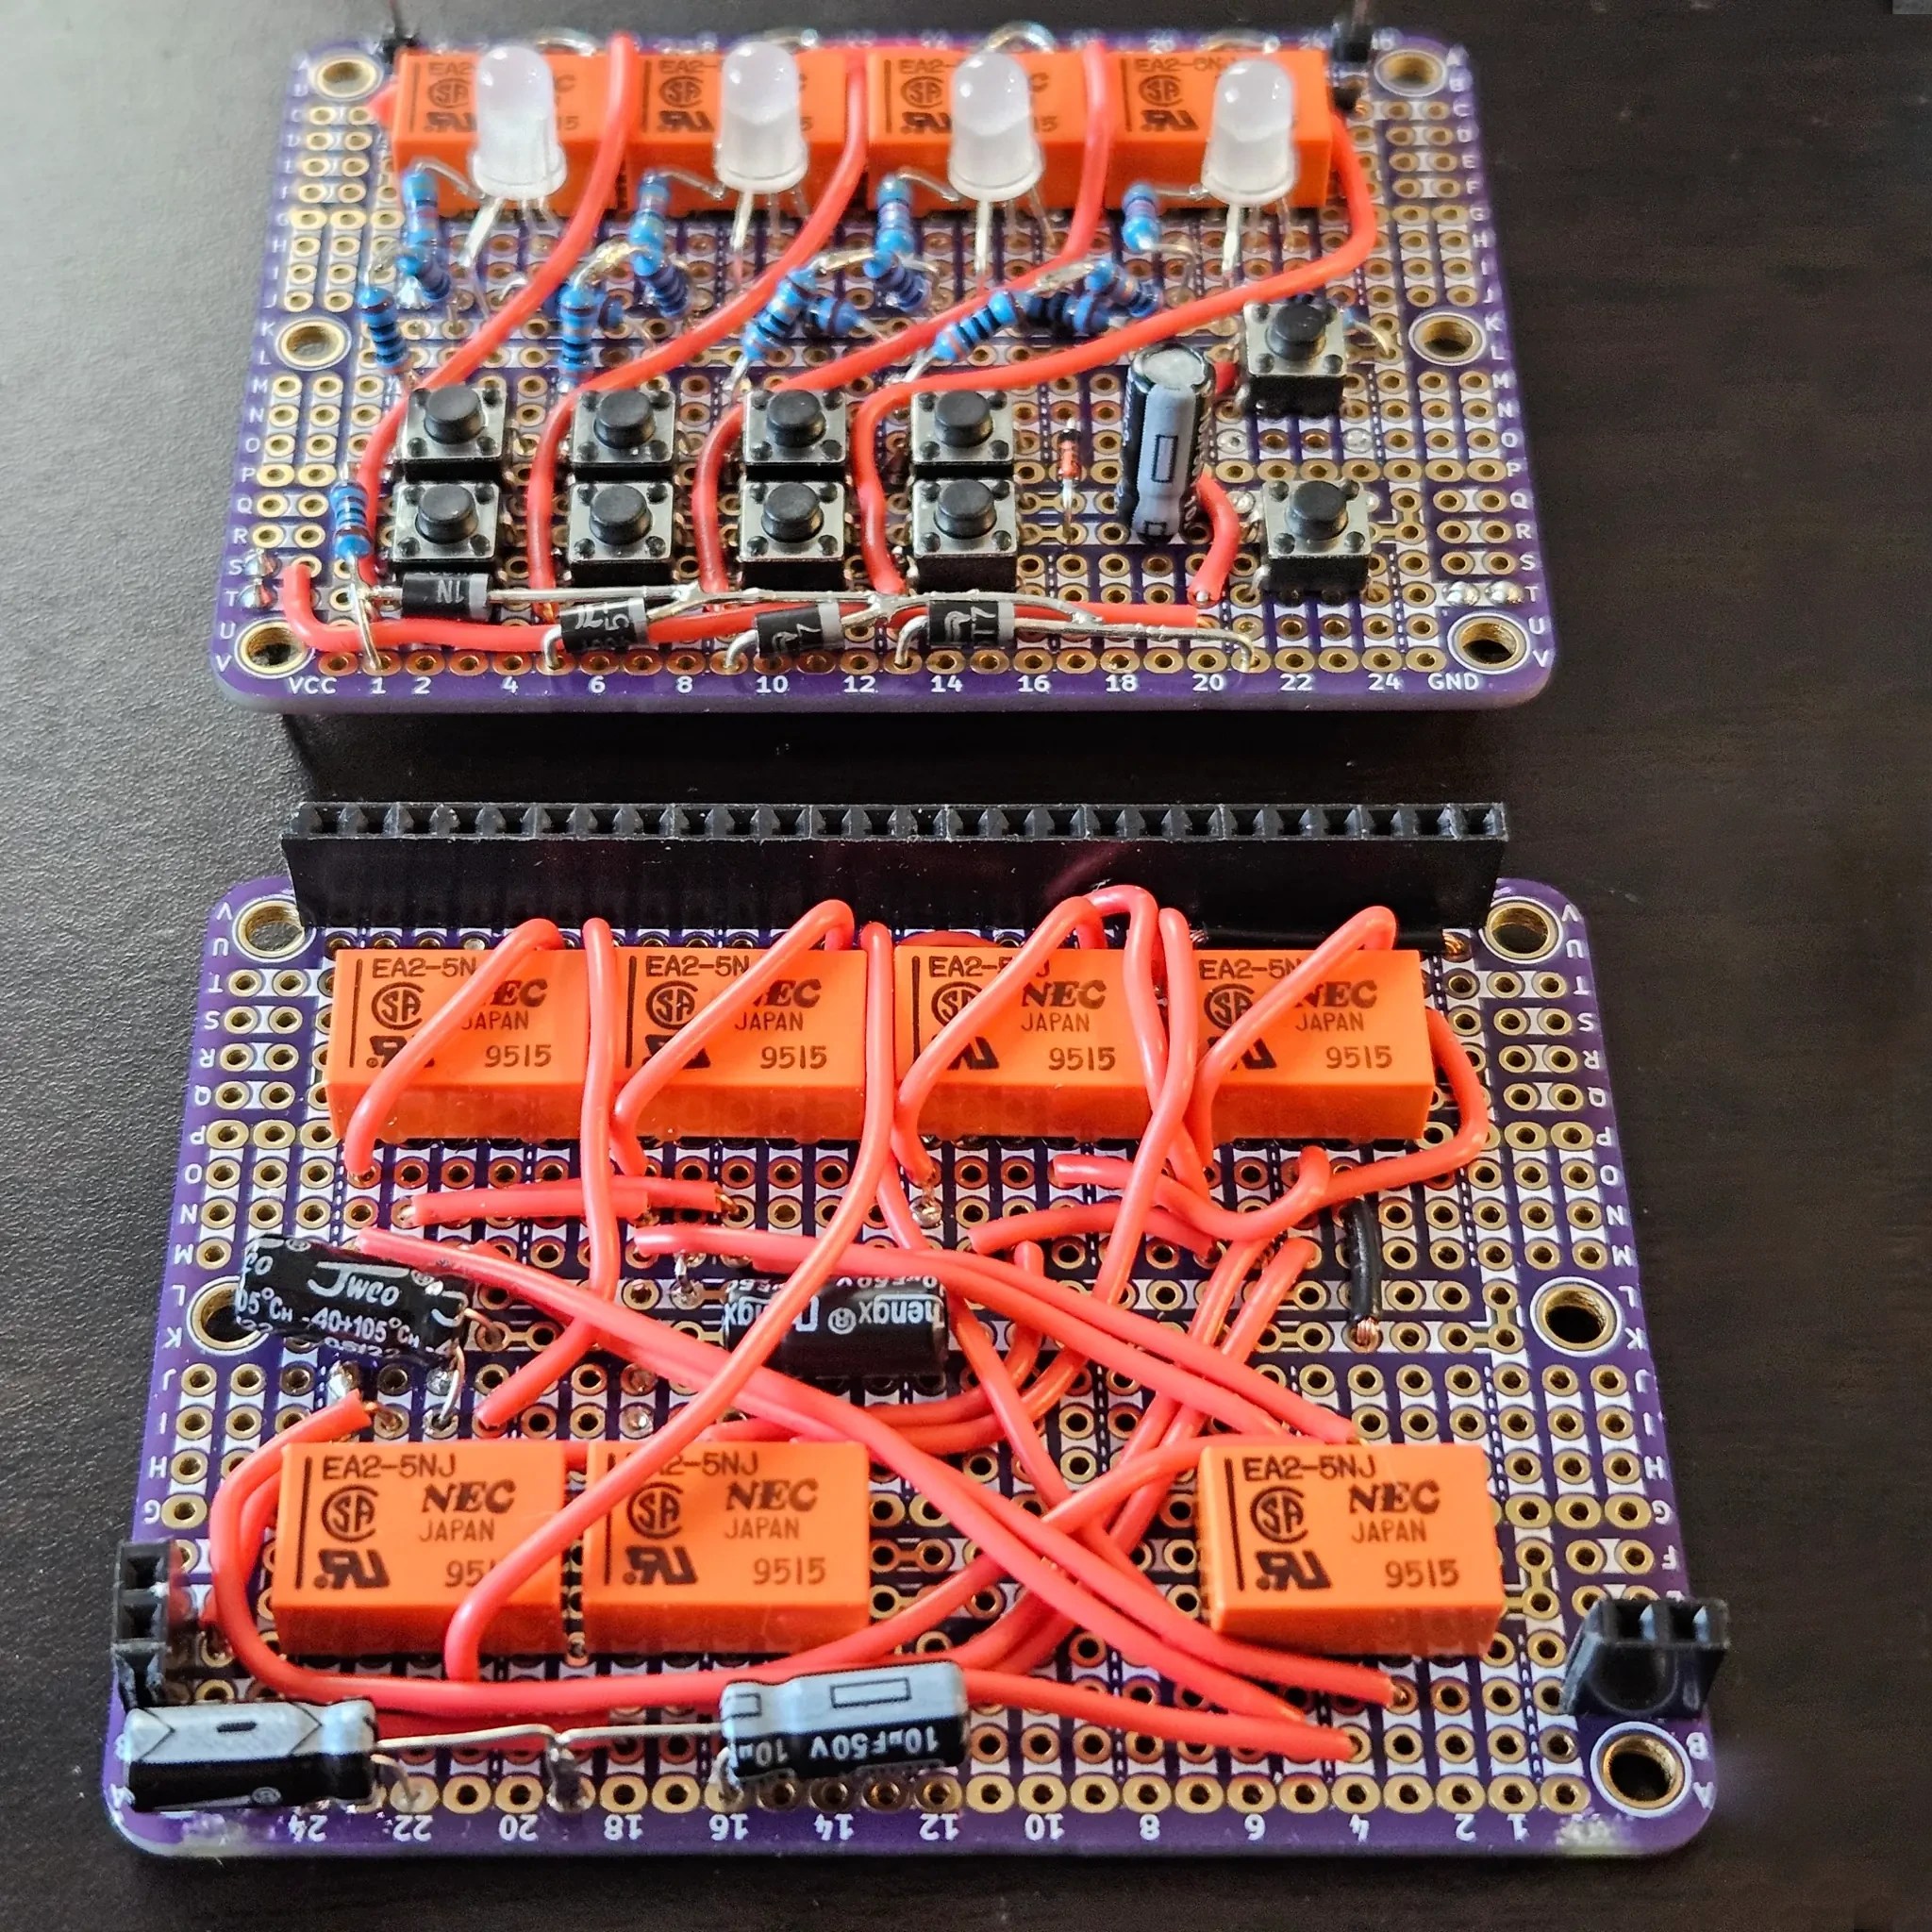
The end product has indicator LEDs, buttons to increment or clear the current count, and it even has buttons to set or clear individual bits. This is a project that begs to be interacted with, and there’s a short video on the project page so you can watch it go through its paces.
Thanks to [Jess] for the tip!


