One of our tipsters sent in a great video showing how to make knives out of old broken drill bits. It comes from [The Art of Weapons] YouTube channel which is run by a 15 year old from the UK. He’s applying old techniques to modern technology and it’s awesome to see someone young with these skills.
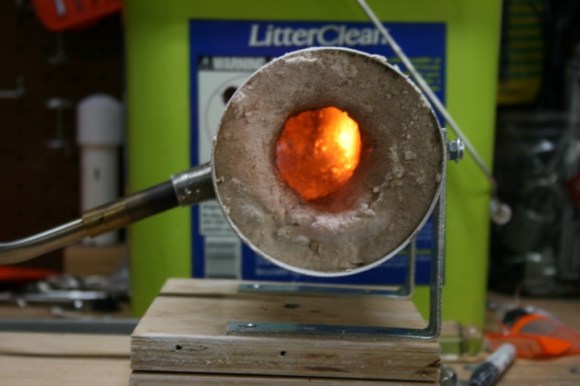
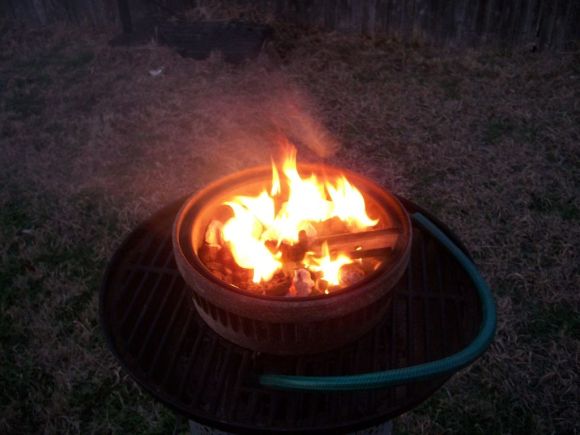
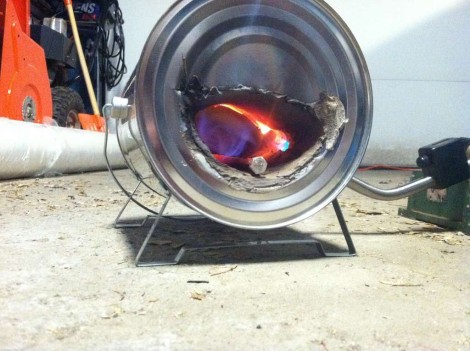
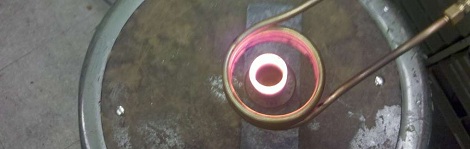
The beauty of this hack is aside from the tools you’ll need, it’s practically free to do. Worn out drill bit or other steel tool? No problem – heat it up and make something new. At the heart of this build is making your own forge. There’s lot of options, from using firebricks, to making a soup can forge like he did. From there, it’s really just a matter of annealing the steel (heating it up to red hot, and letting it cool down slowly in sand), and then heating it up again and forming it with a hammer and anvil.
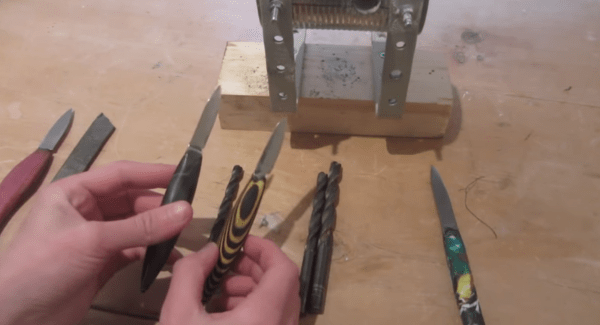
But he doesn’t stop there: he also shows us his method of making handles for knives out of hardwood — its a pretty cool process and the finished knives are beautiful. The video below is a bit long, but well worth the watch if you’re interested in trying your own hand at forging.
Continue reading “From Broken Drill Bit To Knife: Backyard Forging Basics”