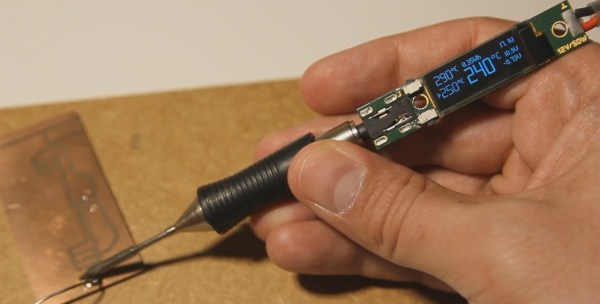
Having soldered one end of a wire to a switch, you move on to the next step in your hack, soldering the other end of the wire to the more temperature sensitive pin 11 on the 6847 video chip. You set the soldering pen’s target temperature to something lower. You position the end of a tinned wire just so, with the solder held between the ring and pinky fingers of the same hand. You stare hard at the pin while you still know which one it is. Luckily this soldering pen has a display in the handle, close enough for you to glance at it quickly and see that the target temperature has been reached. You solder the wire in place.
The previous hack was one I did back in 1982 to my TRS-80 color computer but alas, there was no display in the soldering pen’s handle. I was just too early for the sweet soldering pen that [vlk] is making, and has entered into the 2017 Hackaday Prize. It’s powered by a LiPo battery and can go from 25 to 400℃ in 5 seconds. The handle contains the electronics, including an STM32F031, and we’re impressed with how small he’s managed to get it all. Two buttons provide control and an OLED display simultaneously shows what looks like two target temperatures, the current temperature, voltages, battery charge level, and status. And if you want to make your own, his page even includes the schematics. Watch how easy it is to use in the videos below the break.
While [vlk]’s soldering pen has all the precision and ease of use you’d want, check out what is probably the simplest approach to soldering iron temperature control we’ve seen here. Or you could go for something in between, this one that’s also powered by LiPo batteries but has the display in a small laser cut box.
Continue reading “Hackaday Prize Entry: OLED Displays For Soldering Iron Tips”


