
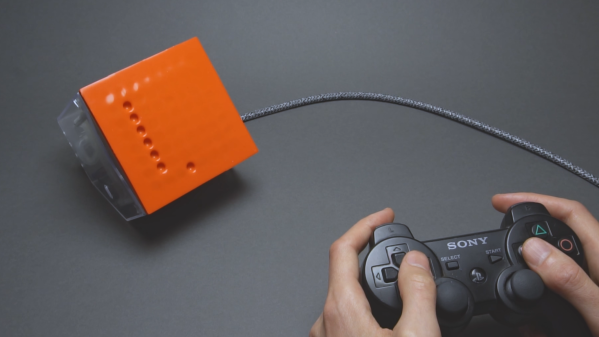
A man’s hands are shown holding a video game controller. A cable runs to a box with an orange front surface, which has a series of divots arranged in a points on a grid. These divots form a vertical line, with one other divot to the right of and below the line.

Playing Snake With A Pneumatic Display

[soiboi soft]’s vacuum-driven dot matrix display is part suction gripper, part touchscreen, and altogether impressive. Its display capabilities are entirely shadow-based, with each pixel being made of a cavity behind a flexible silicone sheet; when the display’s microfluidic logic circuitry activates a pixel, a vacuum pump pulls the sheet inwards, creating a visible hollow.

As in previous iterations, the display’s control circuitry is built around a pneumatic “transistor”, which allows an air channel to be opened or closed by applying vacuum to a control channel. As a first test, [soiboi soft] built a 16-pixel dot matrix display. Eight control channels – four row and four column channels – are multiplexed to individually control each pixel. The transistors act like one-way valves, so the pixels hold their state, even when pressed in by hand; simply add some circuitry to read a pixel’s state, and it would be a fully-functioning touchscreen. The supporting pneumatics also got an upgrade; the solenoid valves now cleanly mount to the back of the board, and the vacuum pump connects via a Luer lock adapter.

The 3D printing used to make certain parts and silicone molds caused issues when scaling up to a 64-pixel display, however. The parts were warping, destroying the seal necessary to keep pixels “on”. To straighten them out, [soiboi soft] pressed the printed part against a flat glass build plate in a vacuum bag and annealed it at 60 Celsius for several hours. This worked quite well, particularly when slightly raised rings were printed around the area to be sealed. Once all these bugs were worked out, the display was clear and decently responsive. [soiboi soft] was able to display letters, numerals, and animations, and even able to play Pong and Snake. It won’t be setting any refresh rate records, but it was nevertheless fully usable.

For another approach to playing Snake with microfluidics, check out this project. If printing molds and casting silicone seems too fiddly, there are always other ways to make microfluidic circuits.

The Repair And Refurbishment Of Silicone Keyboards

There are a lot of retrocomputers out there sitting in garages and attics, and most of them need work. After thirty or forty years, you’re looking at a lot of corrosion, leaking caps, and general wear and tear. When it comes to extreme refurbishment, we haven’t seen anyone better than [Drygol], and this time he’s back with an exceptional example of how far repair and refurbishment can go. He’s repairing the silicone keyboard of a Commodore 116 using some very interesting techniques, and something that opens up the door to anyone building their own silicone keypad.

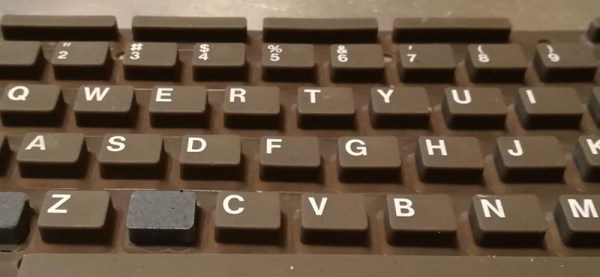
This project comes from from a member of a demoscene group that found an old C116 that needed a lot of work. The C116 shipped with a silicone membrane keyboard instead of the mechanical keyswitches of the C64 and other, higher-end computers. Unfortunately, this silicone keypad had a few keys ripped out of it. No one, as far as we can tell, has ever figured out how to make these silicone keypads from scratch, but [Drygol] did come up with a way to replace the ripped and missing keys. The process starts with making a silicone mold of the existing keyboard, then casting silicone into the negative of that mold. After a few attempts , [Drygol] had a custom silicone button that matched the shape and color of the original C116 keyboard. The only thing left to do was to attach tiny conductive carbon pads to the bottom of the newly cast buttons and fit them into the existing keyboard.

This is an interesting refurbishment, because there are a lot of vintage computers that used silicone keyboards in the place of mechanical keyswitches. The Speccy, The Commodore TED machines, and a lot of vintage calculators all used silicone keyboards. Until now, no one has figured out how to make DIY silicone keypads, and repairing silicone was out of the question. [Drygol]’s attempt isn’t perfect — it needs key labels, but screen or pad printing will take care of that — but it’s the best we’ve seen yet and opens the doors to a lot of interesting projects in the world of vintage computer repair.








