Most Of What You Wish You Knew About Coils Of Wire But Were Afraid To Ask

If you are a novice electronic constructor, you will become familiar with common electronic components. Resistors, capacitors, transistors, diodes, LEDs, integrated circuits. These are the fodder for countless learning projects, and will light up the breadboards of many a Raspberry Pi or Arduino owner.

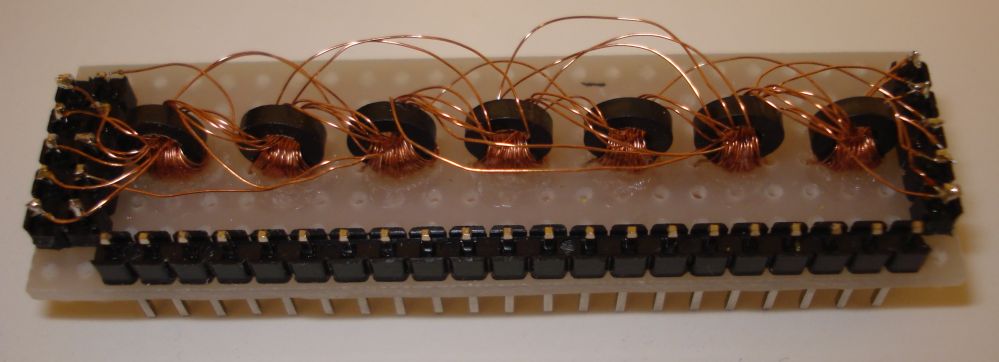
There is a glaring omission in that list, the inductor. True, it’s not a component with much application in simple analogue or logic circuits, and it’s also a bit more expensive than other passive components. But this omission creates a knowledge gap with respect to inductors, a tendency for their use to be thought of as something of a black art, and a trepidation surrounding their use in kits and projects.

We think this is a shame, so here follows an introduction to inductors for the inductor novice, an attempt to demystify them and encourage you to look at them afresh if you have always steered clear of them.

Continue reading “Most Of What You Wish You Knew About Coils Of Wire But Were Afraid To Ask”

Build Your Own Elektrosluch 2 And Save €45

[Jonas] over at LOM Instruments is running an Indiegogo campaign for his newest creation, Elektrosluch 2. Like it’s predecessor, Elektrosluch 2 is a means to listen to the electromagnetic sounds of the world around you. Fans, computers, cell phones, routers, and just about anything electronic create strange and interesting sounds when probed with Elektrosluch 2. The campaign seems to be doing well enough with its target audience of experimental music and audio folks. However at €45 ($62.37) it’s a bit pricey for our blood. Unfortunately, [Jonas] hasn’t open sourced the project. All hope is not lost though, as Elektrosluch 2 appears to be simple enough that our astute readers should be able to build their own.

The concept is easy to understand: a coil of wire placed within a magnetic field will have an induced current proportional to the strength of the field. Electric Guitar pickups operate on the same basic principles. [Jonas] appears to be using two coils – probably tuned to different frequencies. We’re talking about relatively small magnetic fields here, so the signal will need to be amplified. In the Elektrosluch 2, the amplifier is an 8 pin SOIC which we can’t quite make the label out on. A few capacitors and resistors limit the bandwidth to audio frequencies.

[Alan Yates] created a similar circuit to diagnose dead Christmas lights. In [Alan’s] case, he used a pin instead of a coil. Two transistors and a handful of discrete components performed the amplification duties.

Continue reading “Build Your Own Elektrosluch 2 And Save €45”

Making A Core Rope Read-only Memory

[Kos] tipped us about an article he made presenting his experiences in designing and implementing a core rope memory. This magnetic read-only memory (ROM), contrary to ordinary coincident-current magnetic core memories (used for RAM), uses the ferrite cores as transformers. If you look at the picture above, you’ll count 7 of them. This sets the memory word size (7bits).  A new word is added to the memory by passing (or not) a wire through the ferrite holes. If you then pass an alternating current through this wire, a current will be induced (or not) in the other wire turned 30 times around the ferrite (alias transformer secondary).

In [Kos]’s setup, an input pulse of 5V generates output pulses of 15V. For demonstration purposes, he “wrote” a simple program that lights up digits in a seven segment display. Therefore, different numbers will light up depending on which wire he uses to pass the AC current.

These days core memory hacks are few and far between. But looking at this one, and the one we saw in August, makes want more. If you know of any others don’t hesitate to send us a tip.