Putting A Little More Juice In Your Emulation Station

After you’ve built a snazzy Raspberry Pi-powered retro gaming console, you might be wondering if you could have just a wee bit more power and run some of those other games you might remember, such as Xbox, Wii, or PS3. Perhaps in the future, a later revision of an RPi could handle it but currently, to emulate the 6th/7th generation of consoles, you need something a little beefier. Luckily, [Zac] got his hands on an old gaming laptop and turned it into his own game console.

The first step was to take the laptop apart and discard the parts not needed. [Zac] stripped away the battery, Bluray drive, and spinning hard disk. That left him with a much smaller PCB that could fit into a small case. The power button was integrated into the keyboard but came into the motherboard by the flat cable keyboard connection. So by bridging a few pins, he could power up the laptop. Next, he upgraded the RAM, wifi card, an NVMe drive, and redid all the thermal paste and putty to try and keep things cool while overclocking the GPU.

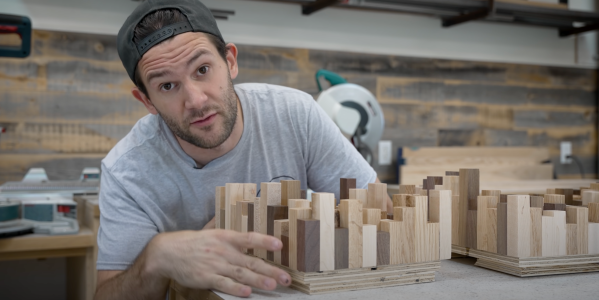
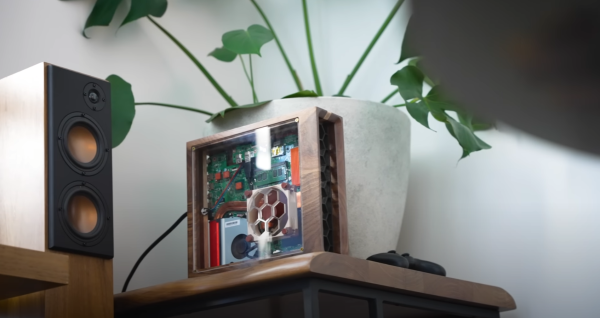
The case for the machine heavily used his CNC as it was walnut with a mid-section made of plywood. The top has a gorgeous cast acrylic window to see inside. The part the [Zac] was dreading with the fine pitch soldering. Ultimately he got both wires connected with good connections and no bridging. Because it’s just a PC at its heart, almost every game is on the table. Emulation, some more moderate PC games, streaming from his office PC, and cloud gaming services allow him to access most games made. We love the concept and the idea.

We love the aesthetic of the build but if you prefer to keep your consoles looking a little more faithful, why not put your mini PC inside of an actual N64 case? Video after the break.

Continue reading “Putting A Little More Juice In Your Emulation Station”

Zac shows off his sound diffusion panels

Taking The Bark Out Of Reverb With Wood Scraps

For the past few years, many have become used to having virtual meetings in their homes. Spaces like kitchen tables, couches, spare bedrooms, and hammocks in the yard have all become “offices”. As you can imagine, many of these spaces aren’t well known for their acoustic qualities. [Zac] built a sound diffusion art piece out of scrap pieces of wood to help his office sound better when recording.

Reverb is caused by sound bouncing off hard, flat surfaces like drywall. These reflections are picked up by the microphone and lead to a noticeable drop in perceived sound quality. There are generally two ways to kill reverb in a space: diffusion and absorption. Diffusion is the technique that [Zac] is going for, with thousands of faces at different angles and locations, it breaks up the harsh reflections into millions of tiny reflections. Absorption is usually accomplished with foam and other typically soft substances.

[Zac] happened to have a large pile of offcuts and extra material from past projects of various wood species, making it easy to make a visually interesting piece. He used a table saw to rip them to a consistent width and a drum sander reduced them all to the same depth. Next, the long sticks were cut with a miter saw into 5 different lengths, leaving him with thousands of little pieces of wood. The hard part began when he had to glue several thousand pieces to a plywood backer board with CA glue. Sanding, finishing with poly, and a french cleat made the three pieces ready to hang on the wall.

Overall, the effect is stunning. While we’d love more hard data on the improvement, it certainly does sound better anecdotally. If you’re interested in more woodworking, take a look into making an inlay without a CNC. Video after the break.

Continue reading “Taking The Bark Out Of Reverb With Wood Scraps”