After 20 or so years of development, digital cameras may soon be superior to film in almost every way, but there are a few niches where film cameras reign supreme. Large format cameras, for example, are able to produce amazing images, but short of renting one for thousands of dollars a day, you’ll probably never get your hands on one. For his entry to The Hackaday Prize, [Jimmy.c..alzen] decided to build a digital large format camera, using an interesting device you don’t see used very often these days – a linear CCD.
[Jimmy]’s camera is built around a TAOS TS1412S, a linear CCD that is able to capture a line of light 1536 pixels across. The analog values are clocked out from this chip in sequence, going straight into an Arduino Due for processing, saving, and displaying on a small screen.
Inside the camera, the sensor is on a pair of rails and driven across the focal plane with the help of a stepper motor. The effect is something like the flatbed scanner to camera conversions we’ve seen in the past, but [Jimmy] is able to adjust the exposure of the camera simply by changing the integration time of the sensor. He can also change the delay between scanning each column of pixels, making for some really cool long-exposure photography techniques; one side of an image could be captured at noon, while the other side could be from a beautiful sunset. That’s something you just can’t do otherwise without significant digital manipulation outside the camera.
![]() The project featured in this post is an entry in The Hackaday Prize. Build something awesome and win a trip to space or hundreds of other prizes.
The project featured in this post is an entry in The Hackaday Prize. Build something awesome and win a trip to space or hundreds of other prizes.


Neat. I’ve always mused about things like this, as I have a large format 4×5 camera. The film is expensive, and developing it is a pain (although at least I have all the materials.) With the right scanner and Ilford Pan F 50 I can get scans that reach grain at around a gigapixel and a half, so it’s neat to keep around though…
Check out the Artista EDU 4×5 film. It’s about 60¢ a sheet at Freestyle photo, but still looks pretty good. I use it in my Graflex.
I wonder if there are any similar linear CCDs that read color, as that would be far cheaper than using color film in large format, which costs about $15 a shot after developing.
Make the same shot three times in a row and use color filters for Red, Green and Blue. Much easier than a RGBG pattern that repeats every line…
Indeed. There are some professional systems that do this. If you don’t mind the requirements for stillness, they can get among the highest quality shots, particularly because you don’t have to end up demosaicing.
Or……possibly use a stepper-motor-driven color filter wheel, also controlled by the Arduino?
Very neat build. I have some little Toshiba linear sensors sitting around (B&W only) which I really want to play with some time…..
While I’m all for a good digital large format conversion, I’d like to point out that you can buy a large format camera for a few hundred dollars. I’m not sure what you canrent for thousands of dollars a day, but it must be impressive!
The Mamiya Leaf is around $20K and some digital backs are over $30K. The early scanning backs for RZ-67 and Hasselblad were really expensive. Maybe that is were the thousand dollar rental idea comes from. And I totally agree. You can check eBay for 6x7cm, 4×5 and 8×10 cameras and they are cheap. Scanned B&W large format negatives are great and if you don’t need an enlarger and all that, processing is pretty simple. (Try Diafine for a two bath developer with fairly independent temperature and development times for super simple processing. Check for old stock or photo club sales and avoid the $30 cost of a pack of new A&B cans. Or get a Jobo off eBay for an all-in-one processing device.)
Also, the all day scan is NOT exclusively digital. You could scan a slit across film the same way. I’m sure it was done back in the days of similar techniques, like the rotating panoramic camera with moving roll film.
That said, I’m taking a close look at this setup.
Those are medium format. Large format is actually cheaper, especially if you start with something like a used Speed Graphic
I should have said inches. 4×5 and 8×10 is pretty standard nomenclature. I had an old 8×10 view camera for a while and did B&W group photos in college. The 8×10 film made fantastic contact prints (It looks like Ansel Adams did your fraternity group photo.) and I could crank them out quickly.
The Canon and Nikon etc., DSLRs now have 24 MPixel sensors and sharp sharp lenses. Divide by 3 for B&W and you have 8 MPixel images. This project has 6 MPixel from a 4×5 size rig. But I can’t say I have not thought about doing this many times and cudo’s to [jimmy] on the implementation. I wish the project page had some mechanical details.
If you look on the left side of my page for the camera there is a link to github. I included the drawings I made when constructing it. It’s not much, but perhaps it can be of some use.
As an aside, though — Bill is entirely right. 4×5 and 8×10 are indeed large format, but 6×7 (cm) is medium format, and Hasselblad / Mamiya are exclusively medium format.
Furthermore, this is getting one that’s digital — not just the camera itself (or a digital back).
However…
The reason it looks so poor is that he’s scanning through the ground glass!
Never mind on that assessment, I was misinterpreting one of the photos of the setup…
so I will alter my description of what I think the most serious issue to be the way the sensor is held / aligned, and I can imagine that it is experiencing issues with skew.
and to keep yammering, the built in A/D of most uC’s is total crap for this kind of thing, so I suppose I can blame the Arduino.
Depending on how fast he’s scanning, wouldn’t it be better to add a colour wheel? They go pretty fast in projectors at least. It would increase file size by 3x, but wouldn’t reduce the resolution if he did a complete sweep per scan-line.
It doesn’t have to involve giant chunks of glass, even a solid wheel with a slit of R, G, B glass in it would do, just let them illuminate each part of the CCD as they pass.
Option B, would have 3 CCDs, each with a colour mask in front. There’s a system where you can use yellow, white, and cyan instead of RGB. It has the advantage of letting much more light through, and by subtracting values you can calculate RGB, eg white-yellow=blue, cyan-blue=green etc.
http://www.quadibloc.com/other/cfaint.htm
Is a very interesting piece on colour filters, and the whole website belongs to an utter genius, puts a bit of faith back in humanity for me if I should accidentally catch a daytime rabble-circus on TV.
There was a brief period where flatbed scanners used fluorescent tubes for illumination and had a 3×2.5k pixel CCD with RGB filters…
I kept on meaning to build a large format camera like this one using this scanner for parts … but lamed out. oh well.
Yup. I think it’s all RGB LEDs now. To squeeze the power budget in under 2.5W and thereby save having to include a separate PSU. And increasing resolution x3 is a nice break. But mostly I think down to USB’s power limit.
I dunno, all those hundreds of watts in a PC PSU, you could weld with them. Yet getting more than half an amp out is asking for miracles. USB 3.0 is a nice advance, but how hard would it be to have proper socket for power, with maybe a resistor or a Zener connected to a couple of pins in a plug to communicate the desired voltage. Those, and a couple of proper-sized connectors for the actual amps. PCs have been crying out for cheap low-voltage power ports since they first put data ports on them.
Anyway yeah, the older scanners with the RGB CCD (and a white fluorescent tube) would be well suited. And scanners have had ridiculously-high resolutions for decades now, an old one would still be good enough. Would be more simple mechanically.
Don’t you fancy doing it yourself though, 3xCCD with a bit of coloured glass in front of each?
Thats interesting about the white-yellow-cyan filters, I had never heard about that before. And the scanning speed isn’t very fast at all: about 40ms per image column at the fastest speed, up to about 500ms at the slowest (without delay).
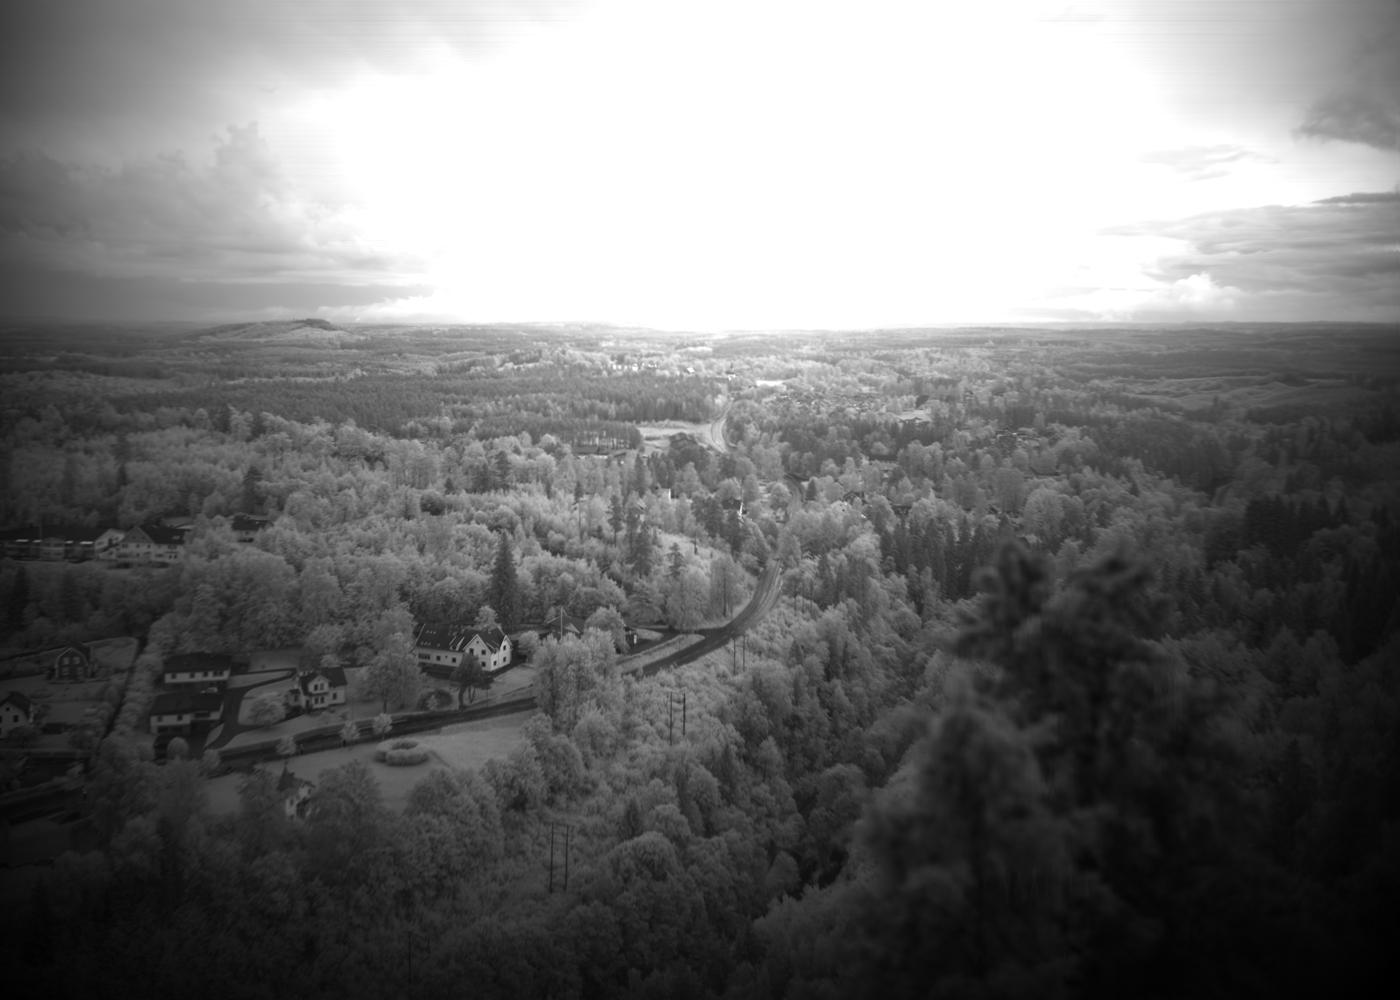
“Click to embiggen. It’s seriously worth it.”
I disagree. The photo shows serious vignetting, focus and exposure issues, and the response of the sensor is obviously deep in the IR range without any filters. It’s frankly a crap photo because it’s technically worse than what just about any cheap point&shoot camera could produce.
A sheet of IR-blocking stuff shouldn’t be too expensive. Leaving IR in might be a nice option for experiments, but yep a filter should probably be included. Just mount it over the front hole, or “aperture” if that’s proper usage.
Leaving IR in without filtering visible light out, or vice versa, isn’t really an option because the lens doesn’t focus both ranges of wavelenghts in the same spot. You always end up with a blurry image if you don’t have some sort of uber-lens designed for just the purpose.
The point was more that the IR shows up in the image as levels that aren’t visible in the original scene – your exposure won’t be correct, and will probably look pretty terrible.
And since IR focuses at a different point you get a blurred image when focusing for visible light.
Does it make that much of a difference? Cameras manage red, green, and blue fine. I’d guess the IR isn’t that far into the IR spectrum, not too far from red. I think this camera is designed to focus visible light, with the IR just showing up as distortion of the brightness.
http://en.wikipedia.org/wiki/Superachromat
No lens can focus all colors perfectly on the image plane at the same distance. THat’s why, when you’re taking a black and white picture, the film is usually more sensitive to a single wavelenght rather than all wavelenghts, so a simple lens can be used without causing excessive blur. That’s why it’s called monochrome photography. (although some films are panchromatic)
Or you could just stop down. The difference in response between IR and visible light for most lenses is well within range of the hyperfocal distance. For any kind of landscape shot providing you’re not shooting wide open it really makes no practical difference.
Virtually all film is panchromatic — otherwise it would make things look really odd.
Print paper is typically orthochromatic so you can use a safelight, and the light through your pan film is already B&Wish.
I agree the image isn’t perfect by any means. But keeping in mind I spent about $150 in total think it is quite interesting.
I think is a great effort. How about an IR filter for the lens? (Can’t find the Github link).
It’s on the left side under the project images with thumbnails.
Since it’s a line scan could you not use a prism and just put the sensor line on a specific color? Thereby avoiding or selecting IR.
Thats a great idea! I could use that to make color images as well.
You could make color images with colors out of the normal RGB set…
The image shows artifacts that are easily calibrated out via filtering, applying a flat field, etc. What is lovely about larger format images ARE the distortions, the limited depth of field, foreshortening, etc.
My 6 year old Cannon 610 can kick the teeth out of this setup but I’d be sad to stop shooting film.
I have been applying a dark frame and a flat field, you should see the images before calibrating, they look awful. Perhaps I should use several flat fields, say one each at 25%, 50% and 75% exposure to make a higher-order correction. I wonder how Nikon/Canon etc are doing it. One thing I have notices is that dust on the sensor is a lot more troublesome than in a ordinary 2D sensor. Every speck gives a line across the field.
This has been done before by Prof. Andrew Davidhazy at RIT:
http://www.davidhazy.org/andpph/
Lets give some credit where credit is due..
Does that mean we can also criticize his webdesign skills?
Hardly. It looks like Andrew started web programming before there was an ‘official’ internet.. ;)
I fear he blossomed on myspace :o
I’m missing something here – I though the point of large format was getting high resolution images, but clearly that’s not happening here.
I am too, as someone who uses large format cameras.
It’s a neat idea, but the sensor is too low resolution to take advantage of the medium, and Jimmy’s mechanicals seem to be inadequate in terms of rigidity. Neat idea none-the-less, but there are much better implementations that he can learn from and make a much better setup.
Do you know where I can find a higher resolution sensor? There are many problems with the current design I agree, but rigidity is not one of them. I can sit on the camera if I want :)
I guess you need to go to 8×10 format :-) Use three arrays and set the middle one off a little so you can line up the scans with no blank space. 18 Mpixel B&W and 54 Mpixel with a color wheel. Watch eBay for a bargain on a Calumet and a lens, Hmmm. That is a fun project. Even keep it simple, stepper driver stays the same, and use the rest as three units in parallel on single piece of PCB. Open Source studio digital 8×10 back. OK. Dibs! That’s my HaD entry :-)
You think big! I like it! Three sensors would give a 8380×4608 pixels image (38Mpixel), scanning , say, 285x356mm (11″x14″). An enormous image :) *rubbing hands and snickering*
The linear CCD sensor in a nikon 9000 scanner is 4000 dpi and 9448 pixels. Please don’t ask to borrow mine.
I think the guts were all pretty much produced by Kodak. Up until somewhat recently you could buy a hardware development kit with those guts.
Just another perfectly fine project disfigured by an unqualified hyperbole write-up.
“one side of an image could be captured at noon, while the other side could be from a beautiful sunset. That’s something you just can’t do otherwise without significant digital manipulation outside the camera.”
Slit-scanning is always awesome, whether analogue or digital.
I think its by far the best way to visualize time for specially-bias species like us.
Crud. I just remembered 20-ish years ago when somebody was selling Russian/ ex-Soviet ‘medium’ format cameras and tons of other neat stuff fairly cheap. thankfully(?) I was fairly broke at that time so I was saved having all that neat stuff.
Kiev88 much?
It seems everyone is forgetting the other major benefit of LF cameras, aside from resolution; the movements! Rise, fall, tilt, swing, shift, all the best parts. The kind of stuff that digital just can’t compete with. Obviously he hasn’t implemented the movements into this model, but he is off to a very good start. He could maybe even build this thing into a snap-in back for a Sinar monorail or something.
http://www.betterlight.com/products4X5.html
They do make these things so good on him for pulling it off cheaply and with the DIY spirit.
Very cool. Great work. No one is giving the author credit- whereas we bitch about simple arduino projects, reading out CCDs is tough work- timing is fun!
Color, blah…. looks good as is! you could always put an IR filter in front of the lens.