High-Speed Spectrometer Built With Cheap Linear CCD

If you’ve ever dreamed of building a proper spectrometer, it looks like the ESPROS epc901 CCD sensor is absolutely worth your attention. It’s fast, sensitive, easy to interface with, and at just $24 USD, it won’t break the bank. There’s only one problem: implementing it in your project means either working with the bare 2×16 0.5 mm pitch BGA device, or shelling out nearly $1,400 USD for the development kit.
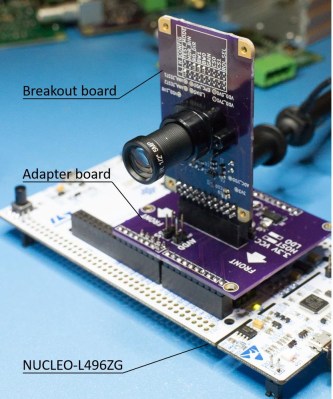
Thankfully, [Adrian Studer] has come up with a compromise. While you’ll still need to reflow the BGA to get it mounted, his open hardware breakout and adapter boards for the ESPROS epc901 make the sensor far easier to work with.

It’s not just a hardware solution either, he also provides firmware code for the STM32L4 based Nucleo development board and some Python scripts that make it easy to pull data from the sensor. The firmware even includes a simple command line interface to control the hardware that you can access over serial.

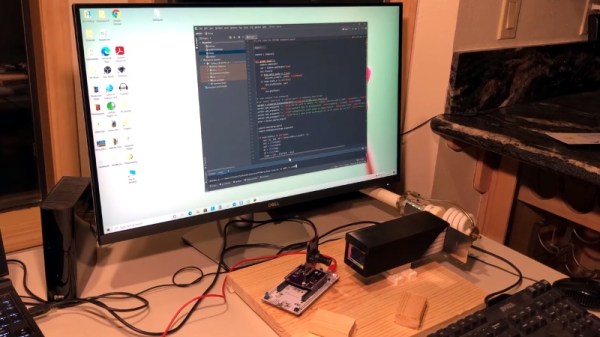
With the sensor successfully wrangled, [Adrian] partnered with [Frank Milburn] to build an affordable spectrometer around it. The design makes use of a 3D printed chamber, a simple commercial diffraction grating, and an array of entrance slits ranging from 0.5 to 0.0254 millimeters in width that were laser-cut into a sheet of stainless steel.

In the videos after the break, you can see the finished spectrometer being used to determine the wavelength of LEDs, as well as a demonstration of how the high-speed camera module is able to study the spectral variations of a CFL bulb over time. [Adrian] tells us that he and [Frank] are open to suggestions as to what they should point their new spectrometer at next, so let them know in the comments if you’ve got any interesting ideas.

We’ve seen an incredible number of spectrometer builds over the years, and some of the more recent ones are really pushing the envelope in terms of what the DIY scientist is capable of doing in the home lab. While they’re still fairly niche, these instruments are slowly but surely finding their way into the hands of more curious hackers.

Continue reading “High-Speed Spectrometer Built With Cheap Linear CCD”

THP Entry: A Digital Large Format Camera

Click to embiggen. It's seriously worth it.
Click to embiggen. It’s seriously worth it.

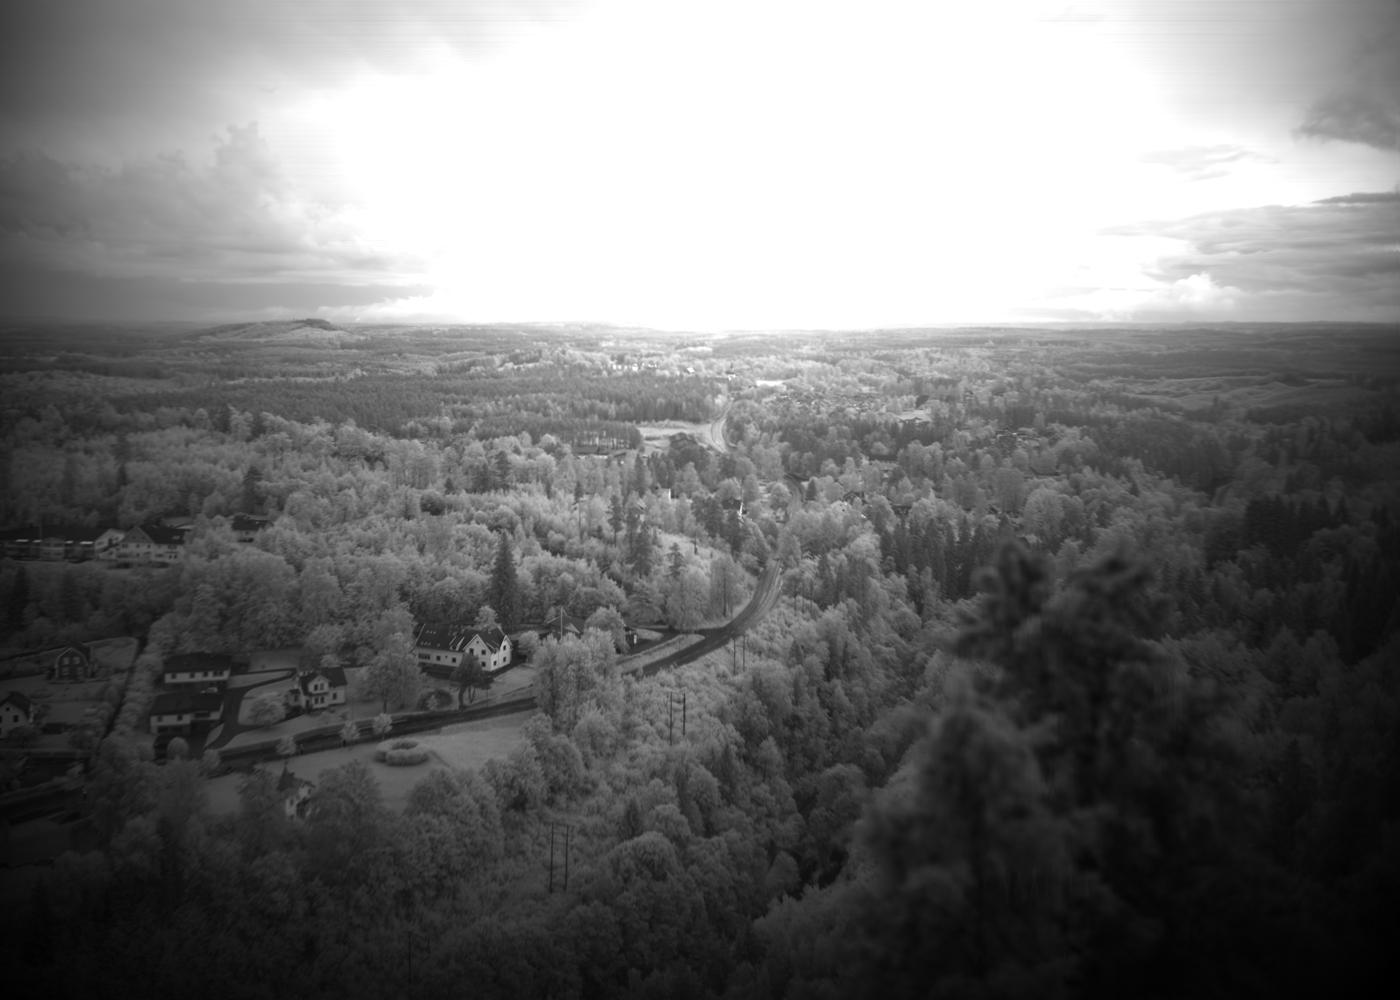
After 20 or so years of development, digital cameras may soon be superior to film in almost every way, but there are a few niches where film cameras reign supreme. Large format cameras, for example, are able to produce amazing images, but short of renting one for thousands of dollars a day, you’ll probably never get your hands on one. For his entry to The Hackaday Prize, [Jimmy.c..alzen] decided to build digital large format camera, using an interesting device you don’t see used very often these days – a linear CCD.

[Jimmy]’s camera is built around a TAOS TS1412S, a linear CCD that is able to capture a line of light 1536 pixels across. The analog values are clocked out from this chip in sequence, going straight into an Arduino Due for processing, saving, and displaying on a small screen.

Inside the camera, the sensor is on a pair of rails and driven across the focal plane with the help of a stepper motor. The effect is something like the flatbed scanner to camera conversions we’ve seen in the past, but [Jimmy] is able to adjust the exposure of the camera simply by changing the integration time of the sensor. He can also change the delay between scanning each column of pixels, making for some really cool long-exposure photography techniques; one side of an image could be captured at noon, while the other side could be from a beautiful sunset. That’s something you just can’t do otherwise without significant digital manipulation outside the camera.


SpaceWrencherThe project featured in this post is an entry in The Hackaday Prize. Build something awesome and win a trip to space or hundreds of other prizes.

Video: Working With The 3pi Robot’s Line Sensors

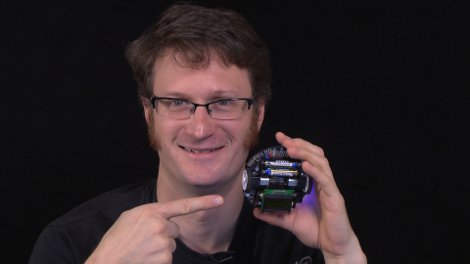
This week, we are serving up part five in our series where we are using the Pololu 3pi robot as a fancy development board for the ATmega328p processor. This week we are taking a quick break from working with the perpherals specific to the processor and will show how to work with the 3pi’s line sensors. A quick look at the schematic for the 3pi might lead you to think that you should be reading the line sensors with the A2D peripheral. Even though they are wired to the A2D pins, they need to be read digitally. In the video, [Jack] will show how to read raw values from the sensors and then how to calibrate the results so that you can get a nice clean 8-bit value representing what the sensors are seeing. Of course, that would happen under normal circumstances. Murphy had his way in this video and it turned out that our studio lighting was interfering a bit with the sensor readings when we were shooting so we didn’t get as good of a calibration as we would have liked when we shot.

Video is after the break.

In case you have missed the previous videos here are some links:

Part 1: Setting up the development environment
Part 2: Basic I/O
Part 3: Pulse Width Modulation
Part 4: Analog to Digital conversion

Continue reading “Video: Working With The 3pi Robot’s Line Sensors”