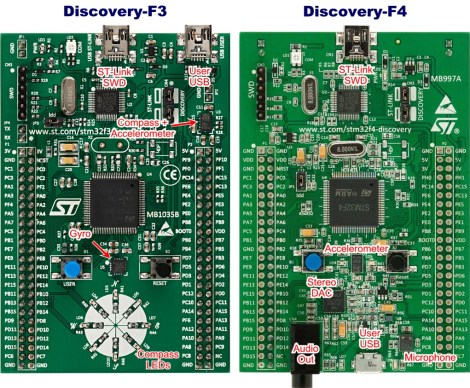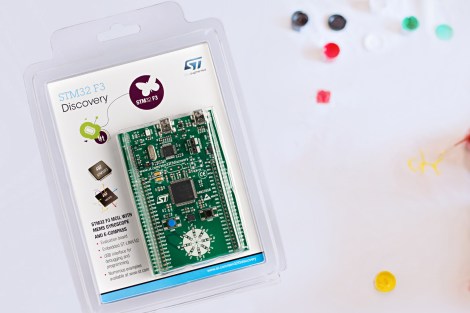
The STM32 F3 and F4 Discovery boards have been around for a while now. We’ve looked at both separately and they’re impressive dev boards for the price. Now can get a closer look at each from this in-depth comparison of the two Cortex-M4 development tools.
To start off, both of the boards have the same size and footprint (there are two dual-row pin headers which break out the connections to the ARM chip). Fundamentally the F3 and F4 chips have a different level of features, but the boards themselves are aimed at different applications as well. The F3 series of microcontrollers looks to be more affordable than the F4, containing less program memory, no Ethernet capability, and only one USB port. But both have hardware floating-point abilities and they’re blazing fast. The boards offer a MEMS accelerometer for prototyping. But the Discovery-F3 also contains a gyroscope while the Discovery-F4 provides audio hardware like a microphone, and DAC.
If you want to use a Linux box to develop with these tools you might find this guide helpful.


