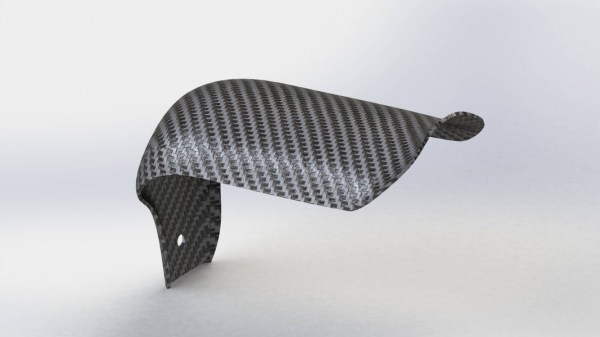
[Stefan] is building a fixed wing drone, and with that comes the need for special mounts and adapters for a GoPro. The usual way of creating an adapter is pulling out a ruler, caliper, measuring everything, making a 3D model, and sending it off to a 3D printer. Instead of doing things the usual way, [Stefan] is using photogrammetric 3D reconstruction to build a camera adapter that fits perfectly in his plane and holds a camera securely.
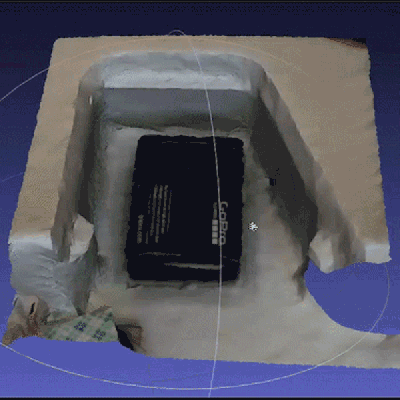 Photogrammetry requires taking a few dozen pictures with a camera, using software to turn these 2D images into a 3D model, and building the new part from that model. The software [Stefan] is using is Pix4D, a piece of software that is coincidentally used to create large-scale 3D models from drone footage.
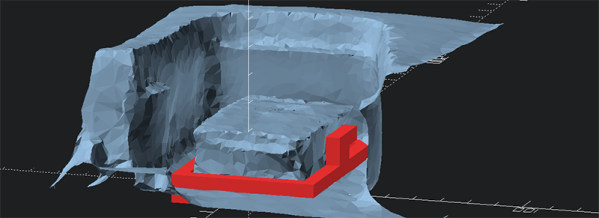
With the 2D images turned into a 3D model, [Stefan] imported the .obj file into MeshLab where the model could be cropped, smoothed, and the file size reduced. From there, creating the adapter was as simple as a little bit of OpenSCAD and sending the adapter model off to a 3D printer.
Just last week we saw photogrammetry used in another 3D object scanner. The results from both of these projects show real promise for modeling, especially with objects that are difficult to measure by hand.