Hackaday Europe 2026: Open Source Hardware Goes Underground, Literally

These days open source is everywhere, and frankly, we couldn’t be happier about it. But even with as prevalent as open software and hardware has become, we still occasionally hear about a project that takes the concept somewhere unexpected. Which is precisely why we were so eager to hear more about the fascinating work [Phil Underwood] has been doing.

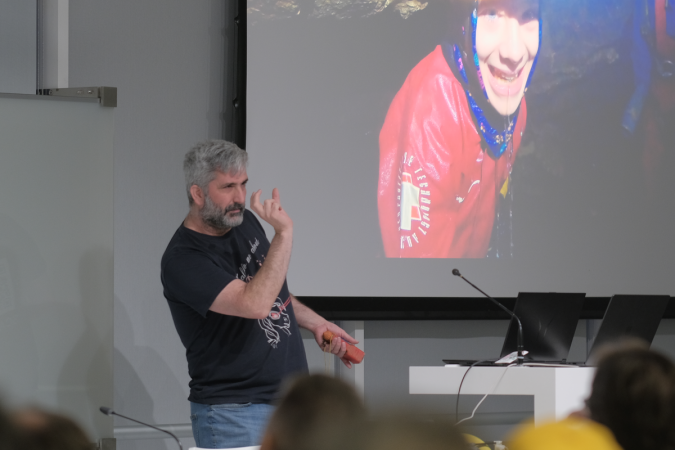
In his talk Open Source Caving: 20 Years of Making Cave Mapping Tools at Hackaday Europe 2026, [Phil] takes us through a series of progressively more advanced open hardware devices that he’s designed to increase the speed and accuracy of underground mapping efforts. Along the way, he’s learned a number of valuable lessons about designing hardware that’s robust enough to handle the uniquely challenging environment underground while still being accessible enough for a hobbyist to build and use.

Continue reading “Hackaday Europe 2026: Open Source Hardware Goes Underground, Literally”

Using A Mirror To 3D Scan Both Sides Of An Object At Once

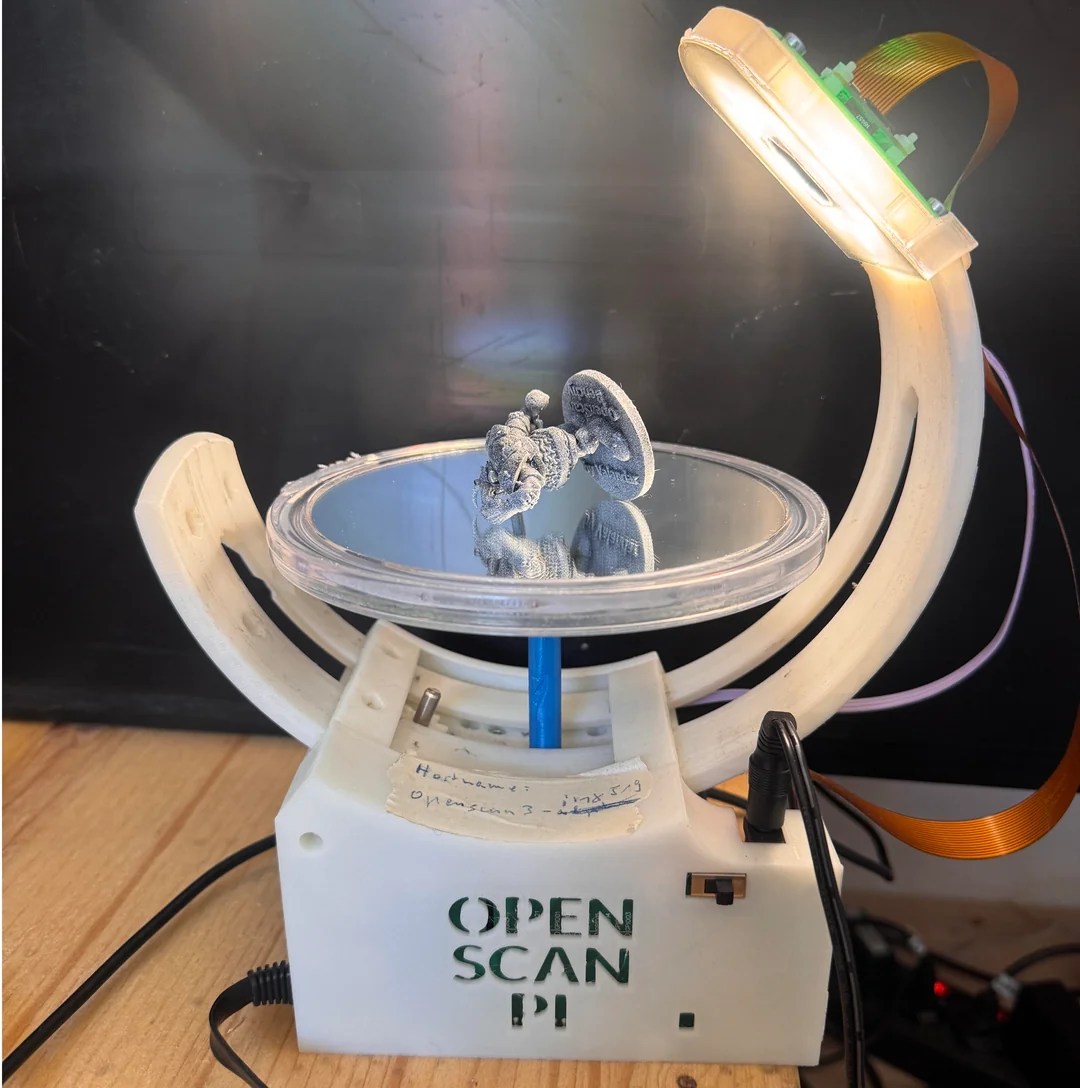
Photogrammetry is the process of 3D scanning an object by taking a lot of photographs, then using software to turn those into a 3D model. But the process can only scan what the camera can see, and one can’t always get a good view of every part of an object. To solve this, [Thomas Megel] shared an experiment in using a mirror to capture the underside of an object simultaneously with its top. The results were encouraging!

Using a mirror as the turntable allows the camera to image the underside at the same time.

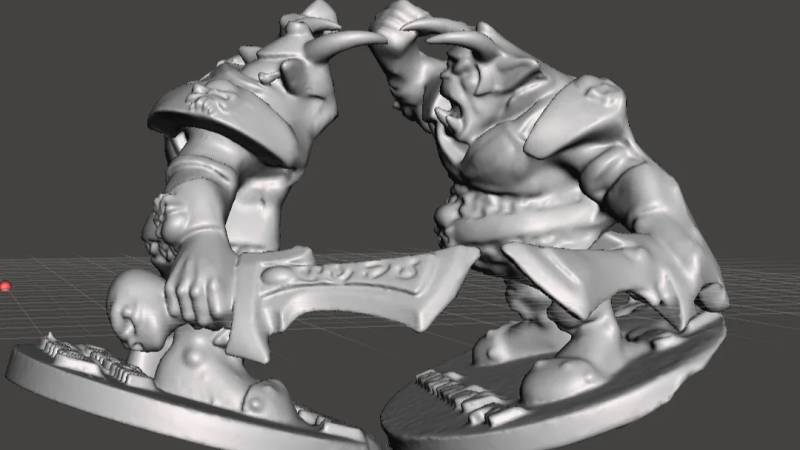
To do this he perched a small tabletop gaming mini on a mirror serving as a turntable platform in his self-designed OpenScan Mini machine, which is designed to take highly structured photos of small objects for scanning purposes. This produced a single scan with two objects, the original and its mirror image, together in one file.

Aligning separate models and combining them into one is a common way to deal with partial or incomplete scans. The idea here is to get two scans at once, instead of separately with a reposition of the object in between. Additionally, it should be possible for the software to automatically separate, align, and combine the two since it is known exactly where the mirror plane is.

As far as a proof of concept, it’s encouraging. [Thomas] is still playing with the idea and looking for suggestions, so if you have any insights be sure to share them.

3D scanning can be a very useful tool, and while photogrammetry can be done with little more than your mobile phone’s camera, in some ways the concept is over a hundred years old.

Extract 3D Video Game Content By Firing Up Photo Mode

Here’s a pretty clever method [Dung3onlord] used to capture 3D scenes from a PlayStation 5 without needing any specialized software. All that’s needed is a series of high-resolution screenshots, and a few software tools.

The process is essentially photogrammetry, it just uses screenshots as the input instead of photographs.

Instead of sneakily yanking 3D assets from the runtime, he fires up the game’s photo mode on his PS5. By capturing an orbiting video of a static scene (making sure to hide the game’s user interface, something photo mode in games is good for) he ends up with a video file whose content — essentially a series of screenshots — can be used to reconstruct the original 3D scene. The workflow [Dung3onlord] uses has rather more steps, but conceptually that’s all there is to it.

The whole process is remarkably similar to photogrammetry, a method of turning a bunch of photographs from different angles into a 3D point cloud. We’ve seen photogrammetry used to digitize objects because point clouds can be turned into 3D models, essentially allowing one to 3D scan an object using little more than a digital camera.

Continue reading “Extract 3D Video Game Content By Firing Up Photo Mode”

Pokemon Go Had Players Capturing More Than They Realized

Released in 2016, Pokemon Go quickly became a worldwide phenomenon. Even folks who weren’t traditionally interested in the monster-taming franchise were wandering around with their smartphones out, on the hunt for virtual creatures that would appear via augmented reality. Although the number of active users has dropped over the years, it’s estimated that more than 50 million users currently log in and play every month.

From a gameplay standpoint, Go is brilliant. Although the Pokemon that players seek out obviously aren’t real, searching for them closely approximates the in-game experience that the franchise has been known for since its introduction on the Game Boy back in 1996.

But now, instead of moving a character through a virtual landscape in search of the elusive “pocket monsters”, players find them dotted throughout the real world. To be successful, players need to leave their homes and travel to where the Pokemon are physically located — which often happens to be a high-traffic area or other point of interest.

As a game, it’s hard to imagine Pokemon Go being a bigger success. At the peak of its popularity, throngs of players were literally causing traffic jams as they roamed the streets in search of invisible creatures. But what players may not have realized as they scanned the world around them through the game was that they were helping developer Niantic build something even more valuable.

Continue reading Pokemon Go Had Players Capturing More Than They Realized”

Learn What A Gaussian Splat Is, Then Make One

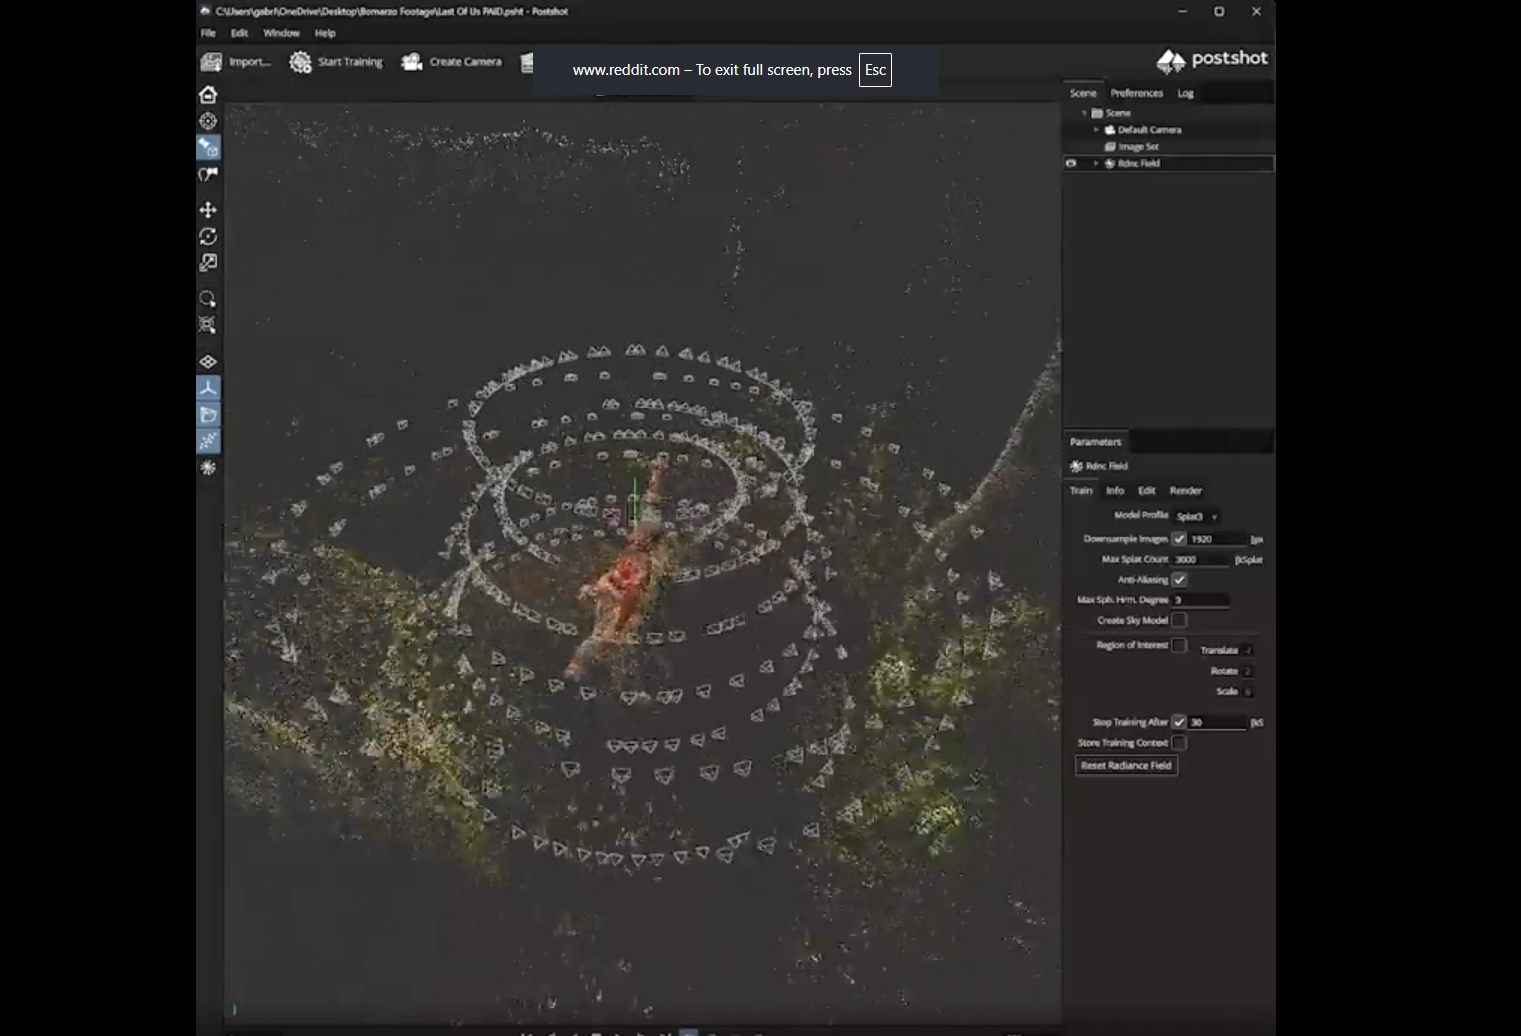
Gaussian Splats is a term you have likely come across, probably in relation to 3D scenery. But what are they, exactly? This blog post explains precisely that in no time at all, complete with great interactive examples and highlights of their strengths and relative weaknesses.

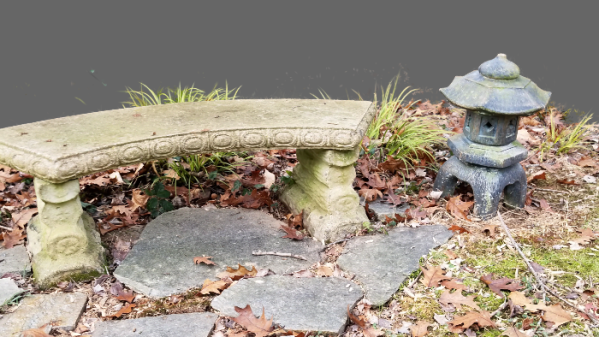
Gaussian splats excel at making colorful, organic subject matter look great.

Gaussian splats are a lot like point clouds, except the points are each differently-shaped “splats” of color, arranged in such a way that the resulting 3D scene looks fantastic — photorealistic, even — from any angle.

All of the real work is in the initial setup of the splats into the scene. Once that work is done, viewing is the easy part. Not only are the resulting file sizes of the scenes small, but rendering is computationally simple.

There are a few pros and cons to gaussian splats compared to 3D meshes, but in general they look stunning for any kind of colorful, organic scene. So how does one go about making or using them?

That’s where the second half of the post comes in handy. It turns out that making your own gaussian splats is simply a matter of combining high-quality photos with the right software. In that sense, it has a lot in common with photogrammetry.

Even early on, gaussian splats were notable for their high realism. And since this space has more than its share of lateral-thinkers, the novel concept of splats being neither pixels nor voxels has led some enterprising folks to try to apply the concept to 3D printing.

Drone Photogrammetry

Photogrammetry Takes To The Skies

Maybe your goal is to preserve the heyday of rail travel with a precise scale replica of a particular railroad station. Maybe you’re making a hyper-local edition of Monopoly in which the houses and hotels are the actual houses and hotels in your hometown.

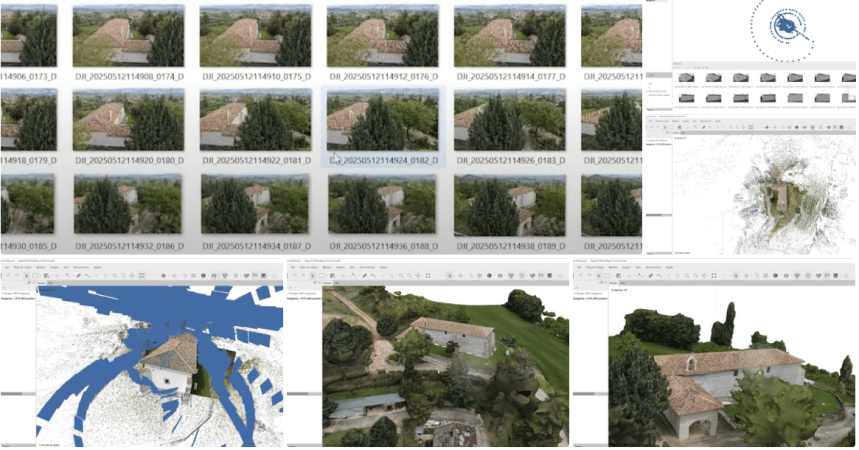
Whatever the reason, if you have need for shrinkifying a building or other reasonably large object, there is (at least) one sure-fire way to do it, and [ nastideplasy ] is your guide with this tutorial on drone photogrammetry.

The process is essentially the same as any other photogrammetry you may have seen before—take lots of overlapping photos of an object from many different angles around it, stitch those photos together, make a 3D mesh by triangulating corresponding points from multiple photos—but this time the photos are captured by drone, allowing for much larger subjects, so long as you can safely and legally fly a drone around it.

The challenge, of course, is capturing a sufficient number of overlapping photos such that your reconstruction software can process them into a clean 3D mesh. Where purpose-built 3D scanners, automatic turntables, or a steady hand and lots of patience worked well at a smaller scale, skill with a pair of control sticks is the key to getting a good scan of a house.

[ nastideplasy ] also points out the importance of lighting. Direct sunlight and deep shadows can cause issues when processing the images, and doing this at night is almost certainly out of the question. Overcast days are your best bet for a clean scan.

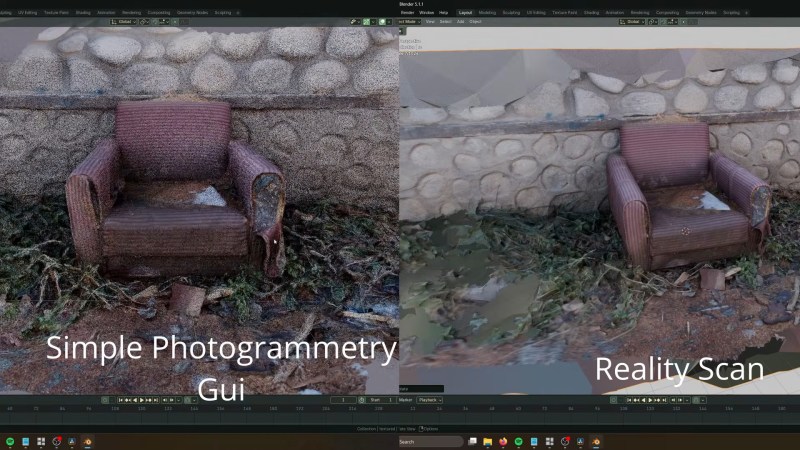
The tutorial calls for software from Autodesk to stitch photos and clean up 3D meshes. We’ve also seen some excellent results with open source options like Meshroom as well.

Acoustic Levitation Gets Insects Ready For Their Close-Up

The average Hackaday reader is likely at least familiar with acoustic levitation — a technique by which carefully arranged ultrasonic transducers can be used to suspend an object in the air indefinitely. It’s a neat trick, the sort of thing that drives them wild at science fairs, but as the technique only works on exceptionally small and light objects it would seem to have little practical use.

That is, unless, you happen to be interested in exceptionally small and light objects. A paper titled Automated Photogrammetric Close-Range Imaging System for Small Invertebrates Using Acoustic Levitation describes a fascinating device which allows the researchers to image insects in what’s essentially a weightless environment.

With the delicate specimens suspended in front of the lens, there’s no background to worry about and they can be perfectly lit from all angles. What’s more, with careful control of the ultrasonic transducers, it’s possible to control the rotation of the target — allowing researchers to produce 3D scans of the insects using just one camera.

There isn’t a whole lot of technical detail on the device itself, other than the fact that spherical chamber has a radius of 60 mm and is fitted with 96 Murata MA40S4R/S transducers operating at 40 kHz. The paper notes that early attempts to control the transducer array with a Arduino Mega failed, and that the team had to switch over to a FPGA. With their current signal generator stage, the researchers are able to rotate the specimen by 5° angles.

Interested in learning more about acoustic levitation? University of Bristol research scientist Asier Marzo gave a talk on the subject at Hackaday Belgrade in 2018 that you won’t want to miss.