
What filament is strongest? The real answer is “it depends”, but sometimes you have a simple question and you just want a simple answer. Like, which material makes the best 3D printed wrench? [My Tech Fun] printed a bunch of options to find out — including some expensive filaments — and got some interesting insights in the process.
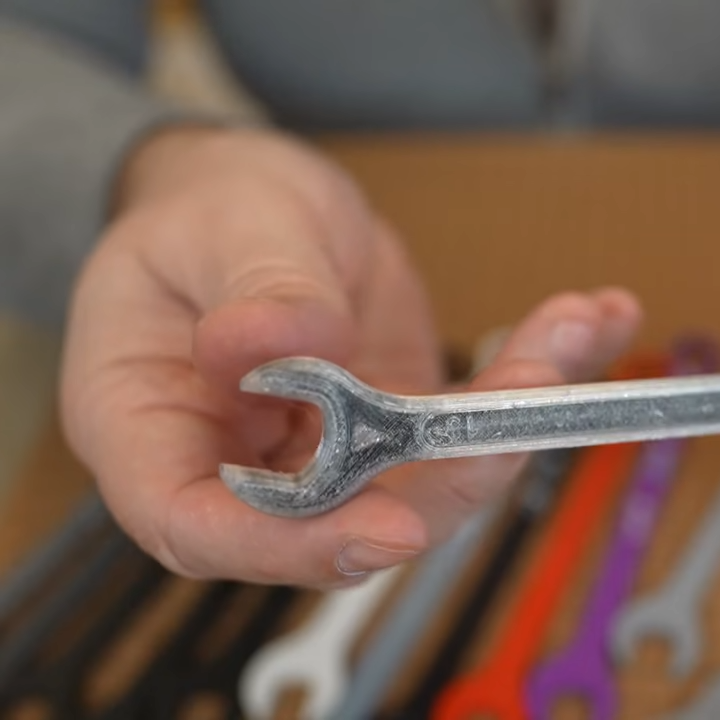
His setup is simple: he printed a bunch of 13 mm open-end wrenches, and tested each one to failure by cranking on a clamped digital torque meter until the wrench failed by breaking, or skipping.
[My Tech Fun] tested a total of eighteen filaments, from regular basic PLA, PETG, ABS and ASA, and a variety of carbon fiber-infused filaments including PPA-CF. TPU is included for fun, and there’s also a wrench printed with continuous carbon fiber, which requires a special printer. More on that in a moment. First, let’s get to the results!
Unsurprisingly, TPU fared the worst at 0.8 nM which is roughly “unscrewing the cap of a water bottle” territory. Top performers included the wrench printed with continuous carbon fiber reinforcement (failing at 3.7 nM) and a couple printed in expensive PPA-CF (high-temperature nylon filament with carbon fiber) topped the list at 4.3 nM. Everything else landed somewhere in between, with plain PLA surprisingly outperforming some CF blends.
The continuous carbon fiber wrench was printed on a FibreSeeker printer, which reinforces a print with solid fibers embedded into the plastic instead of chopped particles, and such prints are noticeably more resistant to bending. Check out our earlier coverage for a closer look at what the FibreSeeker does.
This is a good time to mention that the wrench 3D model used is not at all optimized for best results with 3D printing. But that’s okay; this is really about the filaments, not the wrench.
The wrench model is just a way to test things in a familiar and highly visual, relatable way. You can see each one in action in the video below, and seeing [My Tech Fun] turn the wrenches gives a very good idea of just how much force is involved, with a relatable display of just how strong the different filaments are.
Continue reading “Do Expensive Filaments Make 3D Printed Wrenches Better?”


