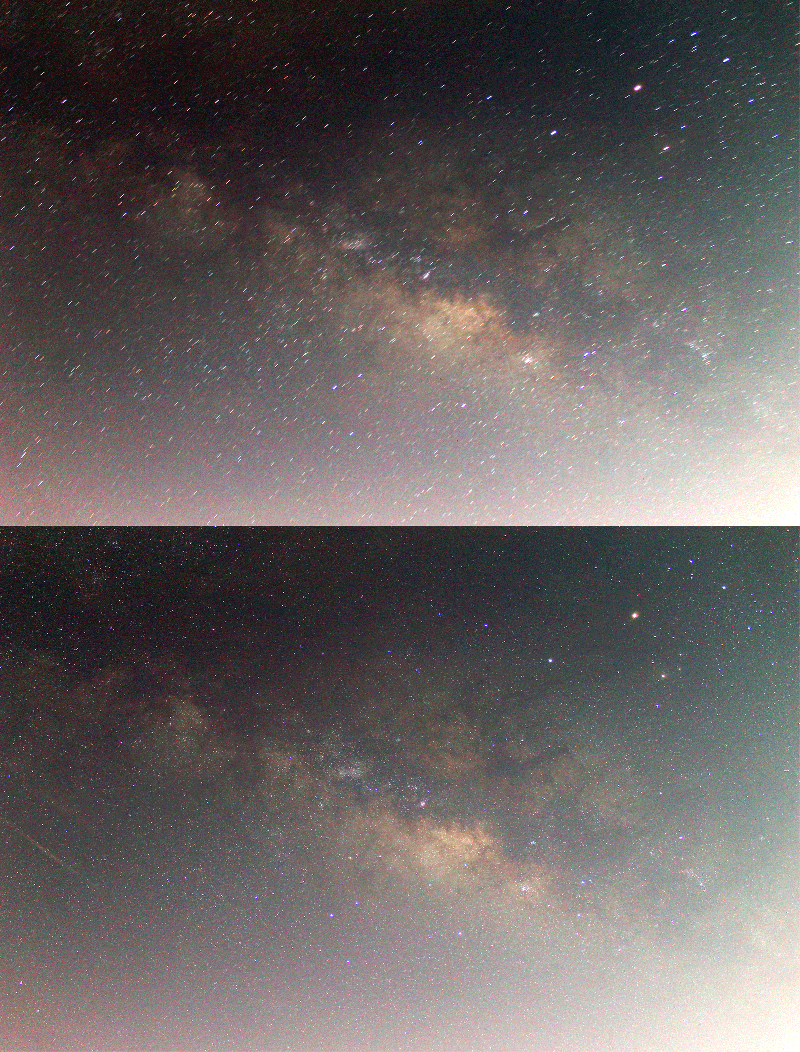
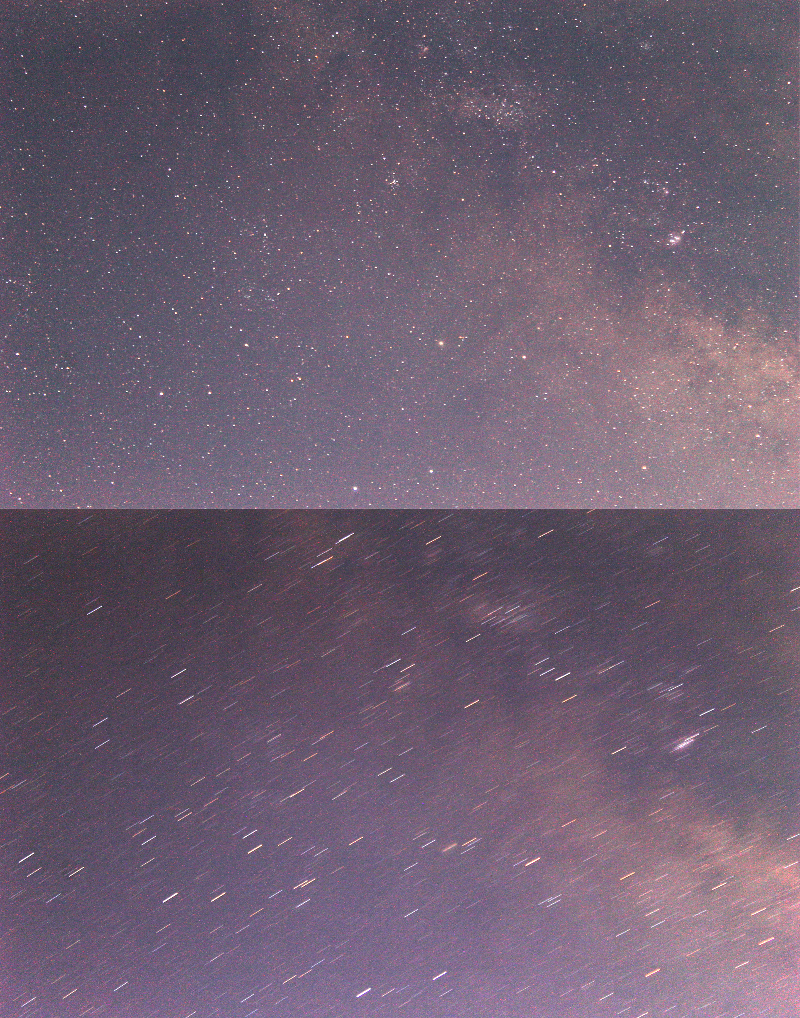
The next giant leap for mankind is to the stars. While we are mostly earthbound — for now — that shouldn’t stop us from gazing upwards to marvel at the night sky. In saying that, if you’re an amateur astrophotographer looking to take long-exposure photos of the Milky Way and other stellar scenes, [Anthony Urbano] has devised a portable tracking setup to keep your photos on point.
When taking pictures of the night sky, the earth’s rotation will cause light trails during long exposures. Designed for ultra-portability, [Urbano’s] rig uses an Arduino UNO controlled Sanryusha P43G geared stepper motor coupled to a camera mounting plate on a small tripod. The setup isn’t designed for anything larger than a DSLR, but is still capable of taking some stellar pictures.
A quartet of buttons and indicator LEDs allow [Urbano] to adjust the tracking speed and display the current speed; the key here is that it doesn’t require re-calibration for each use. The entire setup fits inside a standard camera bag, which makes for easier treks out into the wilds — away from light pollution — to truly capture the night sky.
[Urbano] has designed the project to be accessible to most amateur makers, but if you’re looking for a more involved setup, check out this star tracker — it uses 3D printed parts and has lasers!
[Thanks for sharing your project with us, Anthony Urbano!]


He doesn’t seem to mention how he aligns it? I built a tracker a while back and I’ve struggled to use a laser to accurately locate the north star and align my rotational axis.
His blog has other posts detailing his use of a polar scope & drift alignment
Exactly, after digging through 4 separate blog posts, there still was no mention on how it’s used or how its calibrated/initially set up. This really needs to be removed as its not really a complete article….
It’s as complete an article that talks about hacking router firmware without hand holding us through assembly language.
There’s no sense writing the whole encyclopedia for every technique used in an article when there are many purpose written sources out there. At some point you just have to accept that figuring out how to use equipment is an exercise left to the reader. This is afterall just a piece on the equipment.
Right probably assumes familiarity with setting up a telescope. Like not telling you hpw to install linux for every hack that involves linux… Unless that’s the hack, putting it on iot box or something.
Most Hackaday articles are just summary of some blog post. There are lots of articles out there that has details of aligning trackers.
He has now put instructions at the bottom of his article on how to set it up. Mind you, it assumes you are living in the Northern hemisphere ie “Align the tracker’s axis of rotation or what is called the polar axis with the North Star” – I’d like :-) to see him do that here in Australia :-) ….
+1 (like)
Unfortunately drift alignment takes a significant amount of time to get setup. Astrophotography takes serious dedication and patience. I used to make attempts at it, but I became more enchanted with the goto scopes and using an image intensifier on the eyepiece, allows me to do real observational astronomy with far increased visual perception.
At the magnification we’re talking about here drift alignment is trivial and can often be skipped completely if you have a compass and an inclinometer.
Agreed though for astrophography that is easily within reach for someone with a few hundred $ to spend on a second hand scope, drift alignment can take a good hour even with software assistance doing a continuous calculation of drift for you.