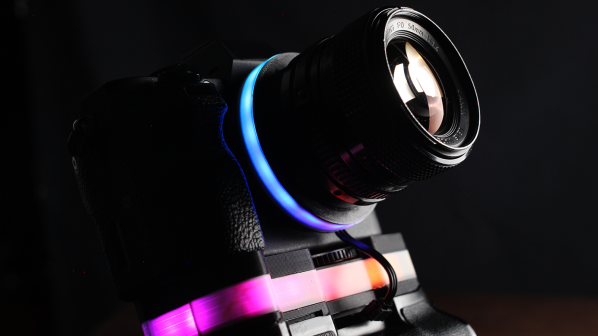
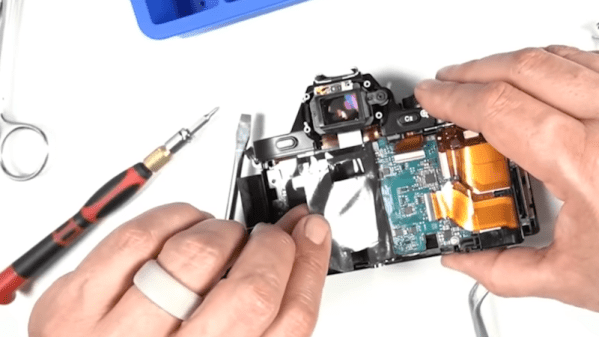
The exciting part of buying a ‘broken, for parts’ off a site like EBay is that you rarely know exactly just how ‘broken’ it truly is. Even if the seller insists that it’s thoroughly buggered, you just might be able to eke out a fix with some out-of-the-box thinking and plucky ingenuity. Such was the case for [Dieter Vansteenwegen] who gambled on a cheap Canon 7D Mark II DSLR body that was sold for a mere €180 on account of said broken condition.
 After confirming that the DSLR’s condition was basically as described by the seller, with nothing on the LCD or HDMI output and the auto-focus not working while partially pressing the trigger button, but still taking a picture when fully pressed. Sometimes it would also show a standard maintenance message on the LCD, so clearly it ought to be working. Maybe the camera’s processor was just being chronically unhappy about something, in which case an easy fix might be possible.
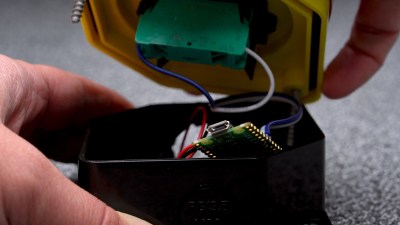
As anyone who has ever taken a digital camera apart knows, you do not simply pop them open for a quick look. Somewhere in the nightmarish contraption of flatflex cables, PCBs and endless sub-assemblies there might be a fault, but where to start? Fortunately with some support from the custom Canon firmware community Magic Lantern and the website Photo Parts UA for reference images he was able to start tracing a number of pertinent signals.
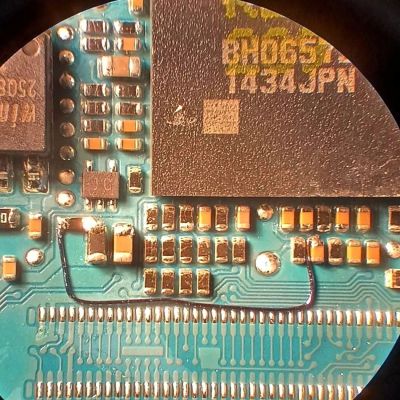
With the auto-focus hint as guide, this was traced back to the MPU, which turned out to have a floating signal on the auto-focus pin that got interpreted as ‘active’. Likely the internal pull-up got damaged due to the use of an external trigger module as there’s no real protection on these lines. One bodge wire later to create an external 3.3 V pull-up the DSLR happily sprung back to life.
In terms of parts this definitely was a cheap repair, but it comes with the prerequisite of having the skills and equipment to perform said repair. Still, massive props and congratulations to [Dieter] for saving this DSLR from being merely a device to be picked over for parts.