No, Hackaday hasn’t become a baking blog. We’re just here to give you a bit of advice: if [MickMake] ever offers you one of his fresh-baked Pis, proceed with caution. While we have no doubt that there will be some interesting smells wafting out of his kitchen, these aren’t the tasty pies you’re looking for. There’s no delicious home-baked treat when that timer dings, just a handful of Raspberry Pis that have had an exceptionally hard day.
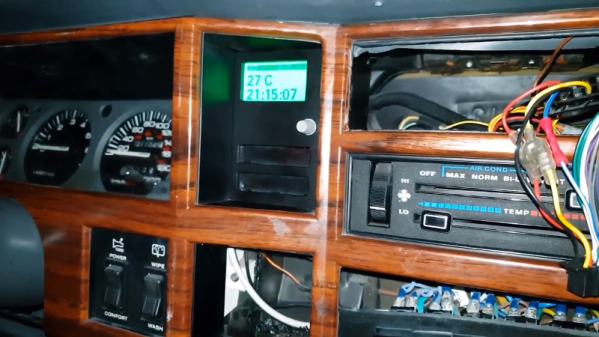
 To properly explain the odd sight of some Raspberry Pis laid out on a cookie sheet, we need to take a step back. [MickMake] originally set out to see how everyone’s favorite Linux SBC would handle the harsh Australian heat, and thought that setting them up on his car’s dashboard would be a suitable torture test. But as luck would have it, a storm rolled in while he was making the video which brought temperatures down to a “cool” 30 C (86 F); basically jacket weather at the bottom of the world. So naturally, he decided to put them in his oven instead.
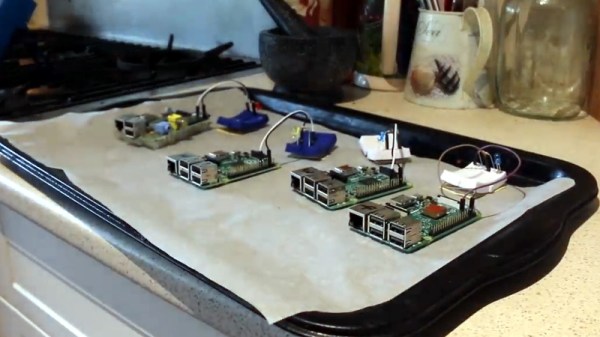
Placed on an insulating sheet and with a thermocouple between them to get an accurate idea of the temperature they were experiencing, an original Pi, a Pi 2, and a pair of Pi 3s were sent on the ride of their lives. In addition to monitoring them over the network, he also added a “heartbeat” LED to each Pi so he’d be able to tell at a glance if any of them had given up the ghost. As if these poor little Pis didn’t have it bad enough already, [MickMake] decided to take things a step farther and run sysbench on them while they took their trip through Hades.
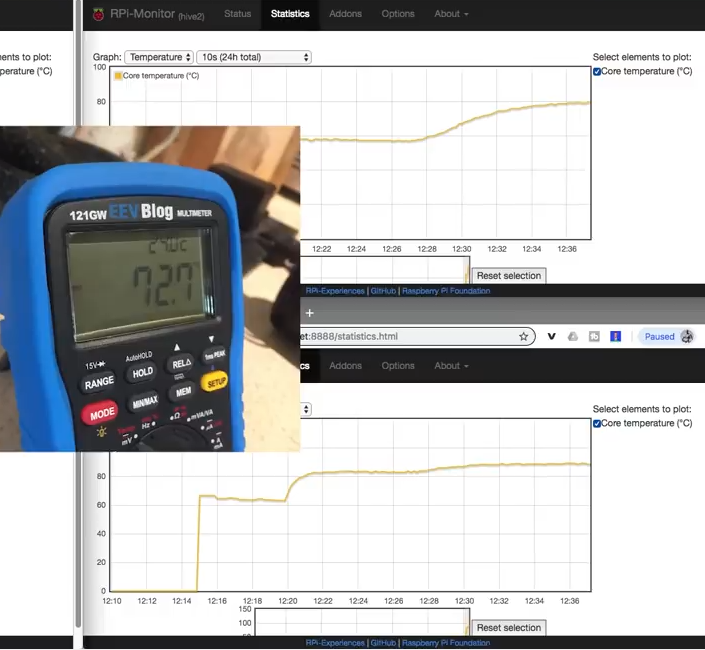
The Pis are actually rated for temperatures up to 85C, and all the participants of the experiment hit that point without any issues. At 87.3 C (~190 F) the original Pi dropped off the network, but its LED was seen bravely blinking on. At 105.7 C (~222 F) it finally breathed its last, followed by the pair of Pi 3s tapping out at 112 C (233 F). The Pi 2 fought on, but it fell right at the 119 C (246 F) mark.
But what about when they cooled off? Somewhat surprisingly, [MickMake] successfully powered all four back up and was unable to find any damage to the Pis, either physically or operationally. Even the SD cards survived, and the Pis popped right back onto the network and were ready for another round of Silicon Chef. Not bad considering they were subjected to temperatures three times higher than the official limit.
Testing electronics in your home oven might seem a bit suspect, and admittedly we’d probably turn down a slice of the next few frozen pizza’s [MickMake] runs through it, but it’s not really so far removed from how proper reliability testing is performed.
Continue reading “Is Baking A Raspberry Pi The Recipe For Magic Smoke?”