There always seem to be a handful of revolutionary technologies perpetually out of reach: fusion energy, quantum computers, and full self-driving cars are always in this list, and it seems like there’s also some battery technology which will finally let us fully decouple from fossil fuels in there as well. Although lithium batteries have allowed some ground-based electric transportation, the energy density is still not enough to enable full electrification, especially for things like aircraft. Solid state batteries may be on the verge of changing some of this, though, and a team has recently put them to work in a test aircraft to help make some headway with this novel battery chemistry.
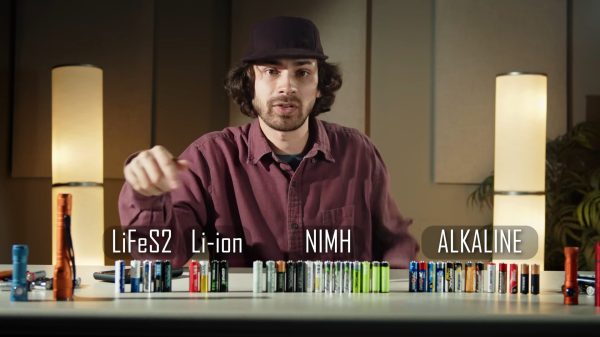
The main contributing factor of these batteries’ improved energy densities is the ability to use a solid lithium anode, which has much higher energy density than the graphite-based anodes in modern liquid electrolyte batteries. Solid state batteries also have improved safety, since the solid electrolyte is generally not flammable and the battery itself is less prone to thermal runaway. The tests in this aircraft, a modified motorized glider, bear this out as well. With a standard lithium ion pack the team was able to harness 250 Wh/kg and with their new solid state battery they managed 410 Wh/kg, which let them fly the craft up to 24,000 feet (7,315 m) with the help of some wing-mounted solar panels.
Of course, a motorized glider is a long way away from battery-powered commercial flights, but tests like this are an important step on the way to de-carbonizing one of the more impactful industries on the planet, as well as hopefully making it less expensive to operate aircraft in the way EVs are generally much cheaper to operate than their internal combustion equivalents. But the limiting factor to adopting solid state batteries isn’t going to be implementation but rather the discovery of a cost effective way to manufacture them at scale. It’s the same reason we haven’t seen mass adoption of things like algae-based biodiesel or economic carbon capture yet.