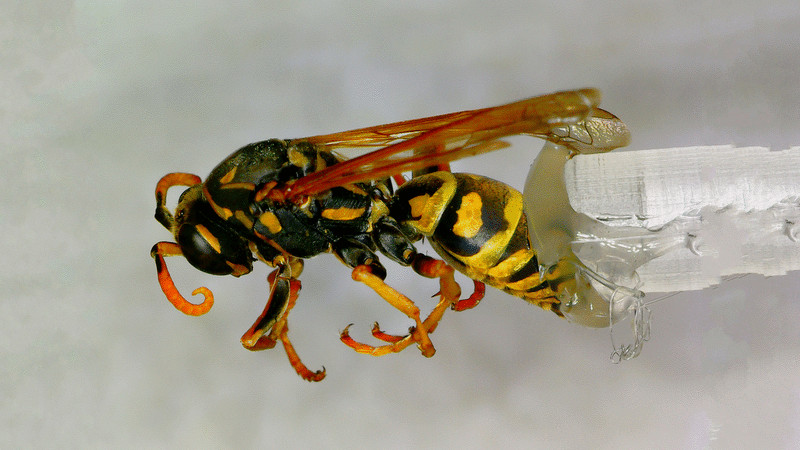
There’s plenty of different methods to build a 3D scanner, with photogrammetry being a particularly accessible way to do it. This involves taking a series of photos from different angles to build up the geometry of the model. If you want to do this with something small, instead of a camera, just substitute a microscope! [NoseLace’s] LadyBug does just that.
It’s a 3D scanner built in a very hacker fashion. The X-Y stage that moves the sample is from a KES-400a Blu-Ray drive, salvged from the original “fat” Playstation 3. The Z axis is then created using the linear stepper motor from the optical pickup of the same drive. A rotary stepper motor is added on to the Z-axis to allow the sample to be rotated. It’s all combined with a basic USB microscope to take the images, and a Raspberry Pi which handles running all the stepper motors with some add-on driver boards.
[NoseLace] uses the device to create 3D models of insects, but it would work just as well with other small objects. The benefit of this approach is that it creates both the 3D model and the requisite texture, too. There’s plenty of open-source tools available if you’d like to try it for yourself. Video after the break.


I thought he was going to use the optical assembly to find distances, it turns out a DVD or CD drive can also be repurposed and those are way easier to come by.
你好Mike, you’re absolutely right. Most of the project can be done on DVDs and CDs, but if you want to get a mini linear stepper motor out of the deal, you’ll need to use a Blu-Ray, as that’s how they move one of the lenses — this is necessary because the focal length is so short on the blu-ray that the lens would have to be inside the disk when reading deeper layers!
I do work using the actual lens assembly and have started laser scanning, but I don’t really have much data to show for that yet.
Very cool! I wonder how small you could take this? At some point I expect there would be issues with narrow depth of field, lens distortion etc… Anyone up for the challenge of doing this with an electron microscope?
My aim is 200 nanometers, because the resolution of the blu-ray scanning a disk. That’s at the diffraction limit for 405 nm light, so it’s pretty good — actually, the best! (for visible light)
This is very cool, but…
The 3d-printer files are inaccessible without an Autocad account, and if you get such an account (free) you need to download the files one-at-a-time for printing.
Hmmm. My intention was to make people use the tinkerCAD interface, so they’d see how easy it is to change things. Additionally, I’m always changing stuff, and this way people would see the most recent version. But if that puts people off…
Should I publish the STLs in thingiverse? My website? the instructables? Thanks for any input.
I’d suggest attaching the files to the Instructable, as well as zipping them and having them attached to your website. Thingiverse is good for limited hosting, but the writing is on the wall that it’s not long for this world.
Do you have any plans to post the 3D files of some of the bugs? I’d be interested in purchasing one for printing if they were. Maybe on something like MyMiniFactory.
Hey, thanks for the suggestions. I’ll definitely get them available in STL form. And I would love to see one of these printed out in color! I made them downloadable on SketchFAB, horrifying example: https://sketchfab.com/3d-models/fake-wasp-ps-ahhhhhhhhhhhhhh-c8d3d3a6eb864667b22b1ea399b40edd
Could you also supply the photoset you used, so we could try to run it through other photogrammetry software? I have a RealityCapture subscription and would love to try it on that.
hey @Coffeecradle, absolutely. They are all in Google Drive already; why don’t you email me? Noselace@Gmail.com; they’ll also be on twobluetech soon but I’ll make sure you get it and I can walk you through it.
Hey @Transistor_Resistor (cool name), I just published all the STL files on thingiverse: https://www.thingiverse.com/thing:3956243
Excellent “instructable” and highly motivated. THANKS!
Thank you :)