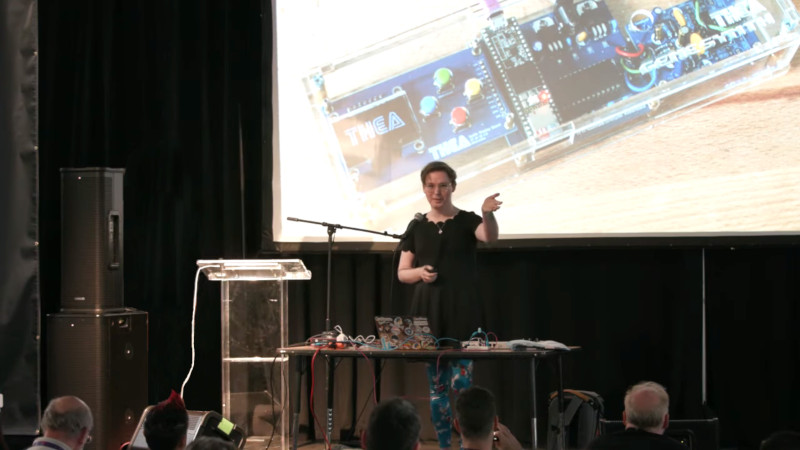
For those who grew up with video games, the legendary sounds of consoles past are an instant nostalgia hit. [Thea Flowers] first got her hands on a gamepad playing Sonic the Hedgehog, so the sounds of the Sega Genesis hold a special place in her heart. Decades later, this inspired the creation of Genesynth, a hardware synth inspired by the classic console. The journey of developing this hardware formed the basis of [Thea]’s enlightening Supercon talk.
[Thea’s] first begins by exploring why the Genesis sound is so unique. The Sega console slotted neatly into a time period where the company sought to do something more than simple subtractive synthesis, but before it was possible to use full-waveform audio at an affordable price point. In collaboration with Yamaha, the YM2612 FM synthesis chip was built, a cost-reduced sound engine similar to that in the famous DX7 synthesizer of the 1980s. This gave the Genesis abilities far beyond the basic bleeps and bloops of other consoles at the time, and [Thea] decided it simply had to be built into a dedicated hardware synth.
Being new to hardware, [Thea’s] initial goal was to simply get the YM2612 making noise. Songs from the Genesis can be stored in VGM format, which consists of the raw data fed to the sound chip required to reproduce the music. By feeding this data directly into the relevant registers of the YM2612 from a microcontroller, it was possible to create a jukebox for playing back Genesis chipmusic.
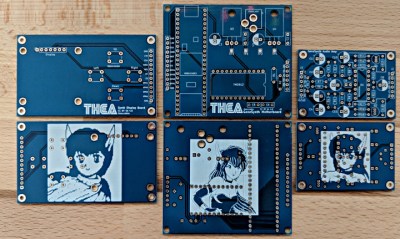
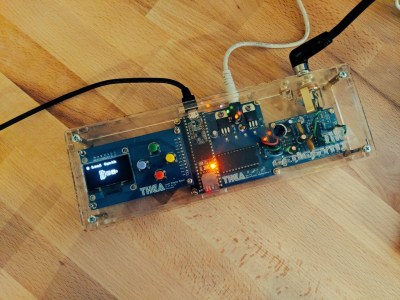
The hardware was now producing sound, but noise was an issue. Initial attempts to solve this with a MegaAmp circuit helped, but only slightly. [Thea’s] research indicated that the breadboard was a likely noise source, as well as the various switching regulators and buck converters in the microcontroller and display hardware. Designing all these out would be a major undertaking, so instead, [Thea] went a different route. The hardware got its very own PCB design, with separate analog and digital power supplies. With the noise issue solved, [Thea] set out to turn the rig into a real bonafide synth. The goal was to have hardware that could receive MIDI signals and play the appropriate sounds on the YM2612. Despite the early successes of the project, getting to the next stage proved to be an uphill struggle.
Much work then went into understanding how to interface properly with the YM2612. Sadly, documentation for the device is not publicly available. Contacting Yamaha directly turned up nothing, and researching emulators was somewhat of a dead end. Undeterred, [Thea] set out to analyse documentation from related hardware, enlisting the help of friends to decode the Japanese-only documents. There was also plenty of trial and error involved, such as manually jogging the write sequence timing until things started to work. Once the chip was understood, there was the final slog of making it into a properly useful synthesizer. Things like patch management, polyphony and unison settings, and parameter control all had to be dealt with.
Through perseverance, hard work, and solid research, [Thea] managed to come out on top. The completed Genesynth is capable of punching out fat FM synth lines with the best of them, ably demonstrated by [Thea] at the end of the talk with a fan-favorite track. It’s a project that shows what dogged persistence can achieve, and just how much you can learn along the way. For those eager to dig into the technical details, head to the Github, and if you’re working on your own epic synth project, be sure to tell us the tale!


Great talk, Great synth, but there are some issues with the recording of the talk – the audio has some distortion and the video appears poorly interlaced.
Getting rickrolled reminded me that I still need to actually FINISH building my GeneSynth… I’ve had those PCB’s sitting around for way too long
Love seeing how far the project has come, awesome talk!
+1 in memory of Nei.
Very cool, but of course this has been done before, and probably better: https://youtu.be/GjcnrMy_QiQ