If you were in the market for a games console in 1990, the chances are that the object of your desire was either a Super Nintendo with its 16-bit 6502 derivative, or the Sega Megadrive, sold as the Genesis in North America, with its Motorola 68000. Both machines featured impressive graphics and sound for their time, but they remain firmly in the 16-bit era. Which makes it a surprise to see LinuxMD. It’s Linux, for the Sega Megadrive, with the latest mainline kernel.
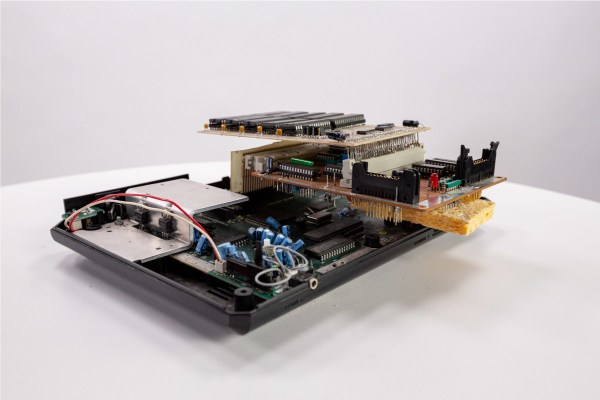
The Motorola 68000 series of chips was the first porting target for Linux, and is still maintained in 2026. This build runs from an SD card in a modern Megadrive storage peripheral, and is reported to run on the original hardware. The lowly 68000 in the Sega doesn’t have a memory management unit required for the full Linux experience, so what’s really running here is a kernel compiled with the -nommu option. That in itself is a feat, on this architecture. On it you get smolutils, a cut down coreutils, and that seems to be it.
We like this project, for pushing both console and kernel to the limit, even though we see that maybe it’s not the most practical Linux machine. Meanwhile though, this isn’t the only UNIX-like OS for this console.
Image: Evan-Amos, Public domain.