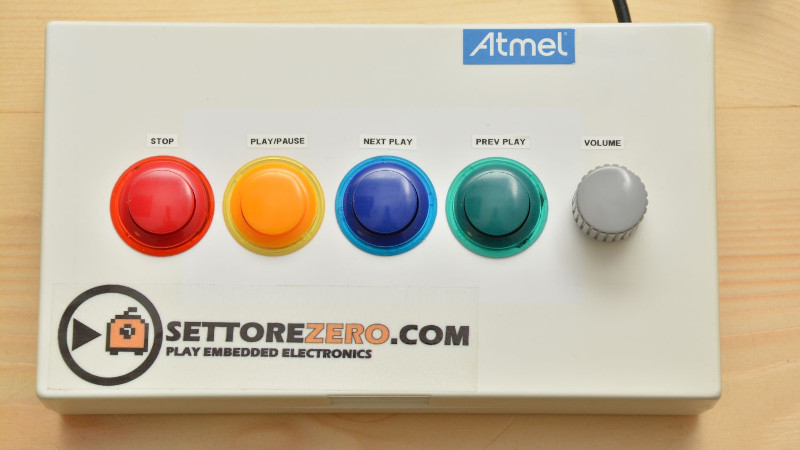
[Giovanni Bernardo] has a very important job – managing the audio for several Christmas events. Desiring a simple and effective control interface, he designed a dedicated media keyboard to run the show.
The project began with an Arduino Leonardo, commonly used in projects that aim to create a USB Human Interface Device. [Giovanni] then installed the HID-Project library from [Nicohood]. This was used to enable the device to emulate media buttons typically found on keyboards, something the standard Arduino HID libraries were unable to do. It’s a useful tool, and one that can be implemented on even standard Arduino Unos when used in combination with the HoodLoader2 bootloader.
For ease of use and a little bit of cool factor, arcade buttons were used for the media functions. Simple to wire up, cheap, and with a great tactile feel, they’re a popular choice for fun human interface projects. It’s all wrapped up in a neat plastic box with Dymo labels outlining the functions. It’s a neat and tidy build that should make running the Christmas show a cinch!


That nifty box will make starting and stopping the music a cinch. As for the rest of the show…
I was planning the same, it should be super easy using QMK and cheap arduino micro pro clone (a firmware for mechanical keyboard).
I built a macropad with the pieces above and was funny and instructive.
That setup (QMK + Arduino Pro Micro) is so good. It’s limited by the number of pins that the microcontroller has, but as long as you’re under that limit, it’s cheap, quick to set up, and infinitely flexible.
So much so, that what a lot of people do when they need more pins/keys is to just throw a second pro micro in the mix.
(This comment typed on a full-DIY keyboard based on the above. QED.)
I need bigest rotor for gamę tempest
;)