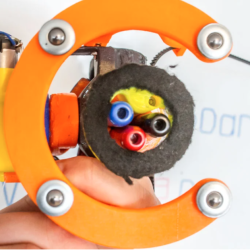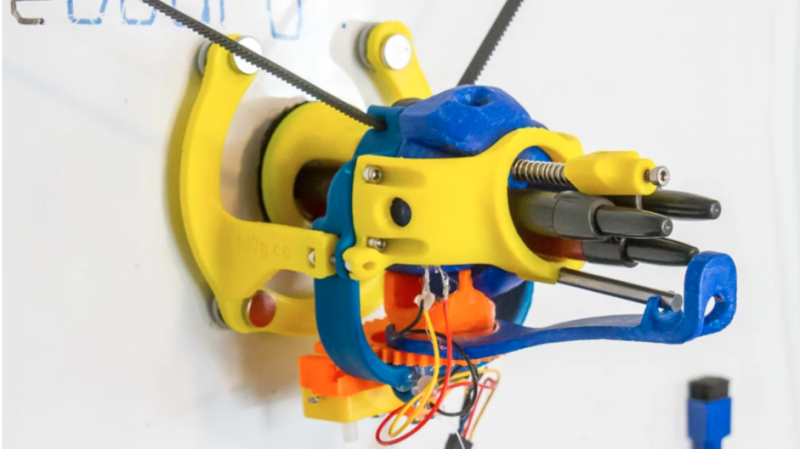
[td0g]’s AutoWhiteboardBot is not just any 3D printed whiteboard plotter, because it also sports a triple-marker carrier and on-board eraser! The device itself hangs from stepper motors, which take care of moving the plotter across the whiteboard, and the trick to making the three colors work was to incorporate retractable dry-erase markers. A spherical Geneva drive-based assembly on the plotter rotates the pen cartridge, and a plunger activates the chosen color. Erasing, arguably the easiest thing to do on a whiteboard, is done by a piece of felt. 3D printed parts are on Thingiverse and [td0g] says software is coming soon. It’s a clever device, especially the method of accommodating multiple colors with retractable markers.
AutoWhiteboardBot hangs from motors which pull it around, but we’ve also seen a SCARA-type robot writing away on a whiteboard. Watch the video embedded below, which begins with sped-up footage of AutoWhiteboardBot drawing in different colors as it slides across the board surface.


Logo turtle for a whiteboard.
I love this. I am curious: does the pen mechanism need to rotate? With a bit of calibration, you may be able to run this like a multi-nozzle printer, where you apply an offset for each pen. (I’m not sure which is more difficult, having a single pen-retract mechanism and a rotational mechanism, or having three pen-retract mechanisms, but I’d always rather replicate a mechanism than have two separate ones.)
Keeping the print in a straight line seems the hardest since there’s no evidence of that on the vid… or of printing outside the middle third of the board.
I have added wall plotter kinematics option for grblHAL but have not gotten around to test it yet. This could be a nice test configuration.
move the steppers to the carrige, add wireless serial connection and a battery. less flying wires that you need to connect.
I once built one using the infra-red receiver from an old VCR for a serial connection. It was limited to 4800 baud (or was it 2400?) but it was fast enough to raise and lower the (one) pen. The battery also acted as an useful counterweight. Some of my, ahem, “artworks” took over six hours to complete, so it would have required a hefty battery if the steppers were mounted to the gondola as well.
Ah yes the cablebot kinematics. A little while ago worked on the maths for this and thinking of a way to make it move faster.
By adding a 3rd cable on the bottom of the pens you can provide tensioning and this allows faster + more accurate movements, and also allows a horizontal plane because you don’t need to rely on gravity anymore.
https://github.com/w-A-L-L-e/CableBotKinematics
In essence it’s a bit like what a cable bot does for 3d printing but then only for 2d…
Correction cablebotkinematics is like hangprinter but then for 2d https://en.wikipedia.org/wiki/Hangprinter
Very cool but seems to have trouble producing a straight line or was the slop intentional? T bar arrangement and dirt cheap cabling come to mind.
I compare this with the $499 Maslow CNC (same general configuration but using a portable router rather than whiteboard markers), https://www.makermadecnc.com/product/maslow-cnc-ready-to-ship. Taught cables and better steppers seem to have a huge effect …
. “Reinforced bungy” and “metal brick holders” not exactly techy. Doesnt come with bricks. Surely theres an official “Maslow” brick that will perform better than ACME bricks? Was that one of the upgrade kit parts I missed? Probably in the kit with weather treated sled. Laser ready. Oooh scary.
Not really a huge effect. Look closer at banner page pictures. I do wonder how many pieces of plywood were eaten to get it that good.
Best of luck to whomever is using that.