When the tool you need doesn’t exist, you have to make it yourself. Come to think of it, even if the tool exists, it’s often way more fun to make it yourself. The former situation, though, is one that [Sean Hodgins] found himself in with regard to threaded inserts. Rather than suffer from the wrong tool for the job, he machined his own custom threaded insert tool for his Hakko soldering iron.
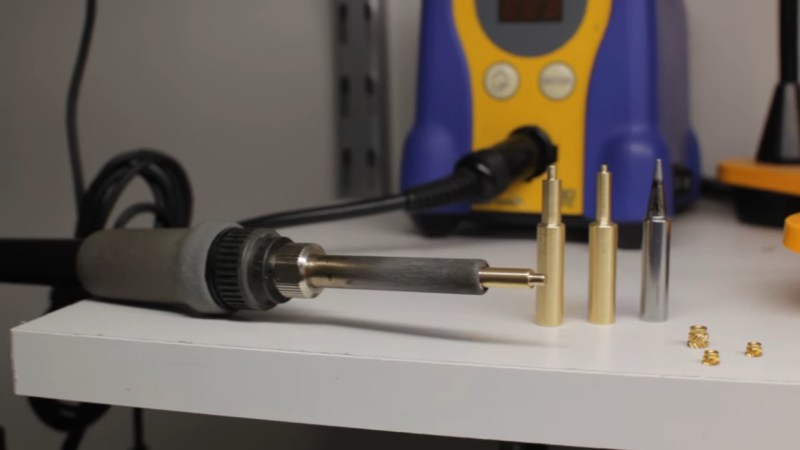
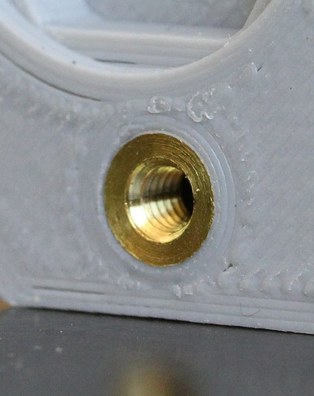 Like many of us, [Sean] has embraced the use of heat-set threaded inserts to beef up the mechanical connections on his 3D-printed parts. [Sean] dedicated a soldering iron to the task, equipping it with a tip especially for the job. But it was the flavor of iron proverbially known as a “fire stick” and he found that this iron was too hot for PLA prints. As the new owner of a lathe, he was able to make quick work of the job using a piece of brass rod stock. Luckily, Hakko tips just slip on the heating element, so no threading operations were needed. [Sean] made insert tips for multiple sized inserts, and the results speak for themselves.
If you haven’t tried these out yet, check out [Joshua Vasquez’s] excellent guide on heat-set inserts. You’ll find this guide to the relative merits of the different types useful when ordering inserts. And if you’ve got the itch to buy a lathe now, we’ve got you covered there too.


Fancy and all, but I just turned down an old used up soldering tip.
If you are using Hakko anyways, just buy the tool from Adafruit (comes in M3-M5). I would like to see a similar tool (also price-wise) for Weller.
He also made an M2 which he didn’t find available.
I bought the Adafruit tool, which was too big for my cheap, weird Jaycar mini soldering station. I wrapped the heating element in foil until it was snug fit in the adafruit tool. Not a very clever hack but cheap and it works great. If I did have a lathe I probably would have used it as an excuse to blow off an afternoon turning down the perfect custom tool instead of settling for good enough amf finishing the job :-)
I did the same thing but made a pair out of 4140 for M3 and M4 to fit my Radio Shack soldering station
Was hoping it would address the problem of putting them in straight, which is more of an issue to me
Search Thingaverse for a “soldering iron adapter”.
Then get one of those cheap “rotary tool” drill press accessories.
Maybe use something like a drill guide block?
I know it doesn’t cover all use cases, but I press the inserts about 90% of the way into the part, then flip the part upside down and press it down against my work surface until it cools. Seems to work pretty good on keeping the inserts straight.
Nice hack! I would have tried a different order of operations on the lathe to minimize deflection. I would have started with the piece chucked short, center drill, drill. Rechuck long, live-center the drilled hole in order to cut the OD. Flip, chuck short and face.
Also, please practice the good habit to never leave your chuck key in the chuck. It’s either in your hand or off of the lathe completely. It only takes one moment of distraction for a poor habit to potentially turn into a very serious injury. I presume you removed your safety glasses before turning the camera around.