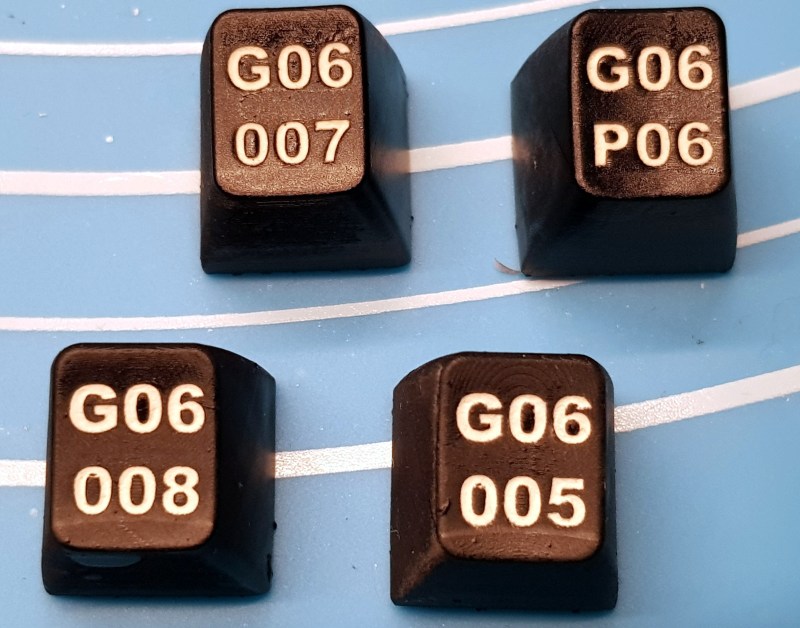
They say experience is the best teacher, and experience tells us they are right. When [Thomas Thiel] couldn’t find any resources about re-creating the groovy ‘caps of thocky old keebs like the Space Cadet and the C64 (or find any to buy), it was time for a little keycap experimentation.
These babies are printed in black resin and the inlay is made with white air-dry clay. After printing, they are sprayed with acrylic, and then [Thomas] works a generous amount of clay into the grooves and seals the whole thing with clear spray. [Thomas] soon figured out that the grooves had to be pretty deep for this to work right — at least 1 mm. And he had better luck thick fonts like Arial Black instead of thin fonts.
Of course, as [Thomas] mentions, you’re not restricted to white or even air-dry clay. You could go nuts with colored clay and make a retro-RGB clackable rainbow.
Still not tactile or custom enough for you? These hand-stitched keycaps are technically re-legendable, though it would take a considerable amount of time.


I think we can get into Thomas’s phone with these keycaps.
They are very nice though, I haven’t really considered printing my own keycaps, I worry they’d turn out unbearably rough.
I would imagine that making the grooves for the lettering widen just slightly as you get deeper will help retain the clay after it cures?
I can imagine Milliput epoxy clay working better, as it won’t shrink on hardening.
For more hints on how to make letter/number depressions stand out, look into tutorials for inking dice for tabletop role playing games. I think this is pretty much a solved problem in that space.
Love the project and I’m really looking forward to the ideas for fill that come out of the comments. I’d love to make my own keycaps, but always seems it is not straightforward to get lasting legends.
I have a (very minor) side business cnc engraving LEGO with a v bit. I’ve found a couple of ways to do this but the one I use the most is to engrave it, spray it with black spraypaint, then sand the surface lightly until the paint is gone. So far I haven’t had any luck masking it, cutting through the masking, painting, then unmasking, because of bleed under the masking, but I think that’s likely to be a better route.
Not sure if you’ve tried it, but the laser engraving crowd calls it “paint fill”/”color fill”: you load up the engraving with acrylic paint, let it set a little(?), and wipe the surface off. Here’s one example, I feel like there are others but I can’t find them anymore: https://hackaday.com/2018/12/20/behold-the-wt-220-a-clever-vt-220-terminal
Maybe you can apply a paint on mask before the engraving step?
Excellent. I need to do something similar, and this looks like an option. I also didn’t know about the techniques for gaming dice, so I’m going to look at that topic too. Thanks!
How abouts . sugru for the 8until instead of clay. Check out sugru.com