Most keyboards are factory-set for a specific layout, and most users never change from the standard layout for their home locale. As a multilingual person, [Inkbox] wanted a more flexible keyboard. In particular, one with the ability to change its layout both visually and logically, on the fly. Thus was born the all-screen keyboard, which can swap layouts on demand. Have a look at the video below to see the board in action.
The concept is simple enough: It’s a keyboard with transparent keys and a screen underneath. The screen displays the labels for the keys, while the transparent plastic keys provide the physical haptic interface for the typist. The device uses a Raspberry Pi to drive the screen. [Inkbox] then designed a plastic frame and transparent keys, which are fitted with magnets, which in turn are read by Hall effect sensors under the display. This eliminates the need for traditional key switches, which would block light from the screen below.
Unfortunately for [Inkbox], the prototype was very expensive (about $1,400 USD) and not particularly functional as a keyboard. However, a major redesign tackled some of these issues. Version two had a smaller screen with a different aspect ratio. It also jettisoned the Hall effect sensors and uses plastic keys capacitively operating a traditional touch screen. Some design files for the keyboard are available on Github for the curious.
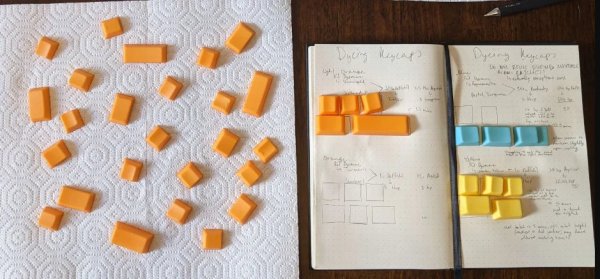
An all-screen keyboard is very cool, if very complicated to implement. There are other ways to change your layout that aren’t quite as fancy, of course. You can always just make custom keycaps and remap layouts on a regular mechanical keyboard if desired. Still, you have to admire the work that went into making this thing a reality.