3D Printed Cubes Provide Passive Cooling

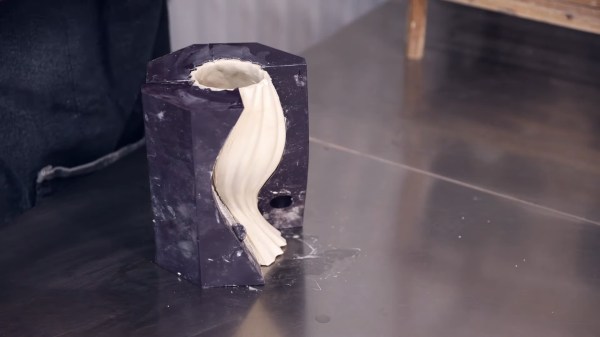
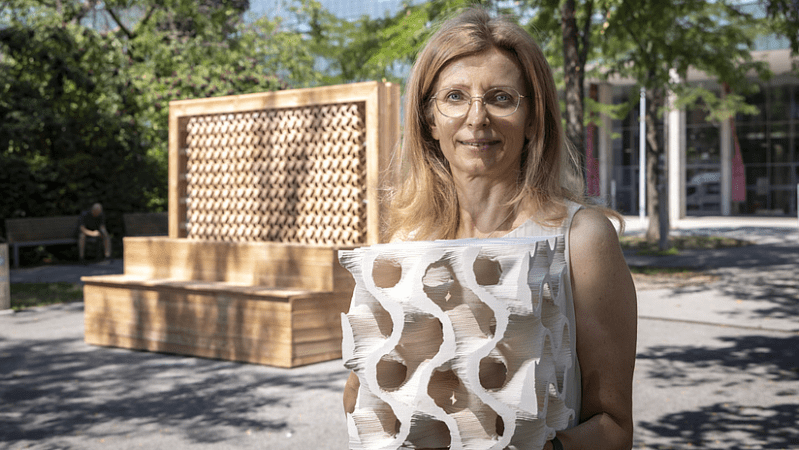
Passive evaporative cooling has been used for centuries to reduce temperatures. Heat is drawn off as water evaporates, which in turn reduces temperature. The more efficiently this process happens the greater the temperature differential, and that’s exactly what the 3D-printed structure pictured above aims for. Created at the Graz University of Technology in Austria, the cubes noticeably reduce surrounding air temperature thanks to their careful construction. As long as they’re kept wet, anyway.

The key is exposing the maximum amount of water to the maximum amount of airflow, and there are two ways the prototype cooling wall — which is 3D printed from a special clay mixture — does this.

First, the macro design of the 3D-printed blocks maximizes surface area. If the cube in the image above looks familiar, that’s because it’s the gyroid infill pattern. Gyroid is a porous pattern with no “dead ends” or closed sections, and the fact that it 3D prints cleanly with no supports also makes it an ideal structural candidate.

The second advantage is the clay used for the blocks themselves. Firing clay at a low temperature keeps it porous, but this particular mixture goes even further. It’s a bio-inspired formulation of clay, fungal mycelium, and wood chips. After printing, the cubes are fired and the fungus and wood chips burn away, leaving a network of thread-like capillaries with occasional larger pockets throughout.

The result is a porous ceramic cube with a massive evaporative surface area relative to its size. A practical test in a hot attic showed the air near a water-laden cube was nearly 7º C lower, a noticeable difference.

A home experimenter might not have access to fancy mycelium-laced clay mixtures, but it still strikes us as something that could be tried out at home. After all, clever hackers have successfully made DIY versions of passive cooling paint.
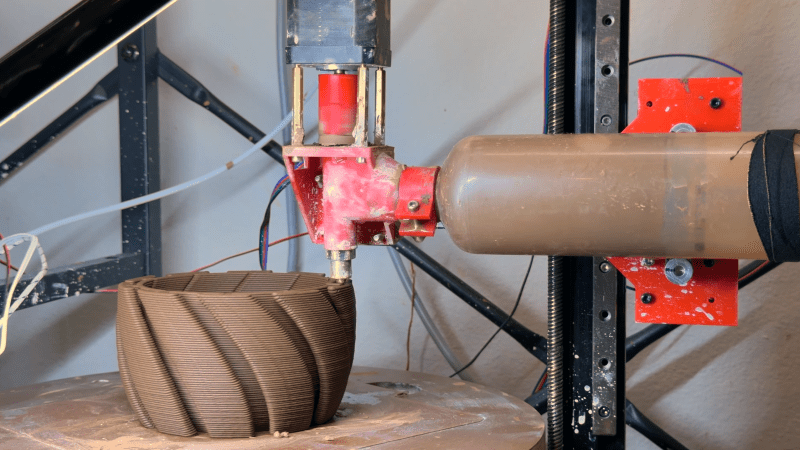
A clay vase sits in the center of a circular table, with an extruder in contact with the top surface. The extruder has a tube containing clay on the right side, with a motor mounted above an auger over the main nozzle.

Clay Extruder Enables Printable Pottery

Ceramic 3D printers, despite using the same fundamental mechanism as standard FDM printers, are much harder to find. Part of this comes down to the material properties of fired ceramics versus thermoplastics, but they’re also significantly harder to build; for example, in his ceramic printer build, [Joshua Bird] had to deal with severe material shrinkage, collapsing bridges, and the surprisingly abrasive effects of clay.

The centerpiece of the printer is the clay extruder: an air compressor pushes clay along a tube into the extruder, which uses an auger to squeeze the clay through the nozzle, while a gap at the top lets trapped air escape. The extruder has enough control for successful retractions, but rheology remained a challenge: the clay needed to be soft enough to flow through the nozzle, but stiff enough to form bridges without collapsing. [Joshua] thus pressurized the clay as much as possible, making it possible to use stiffer clay mixtures. The extruder’s greatest challenge was longevity: [Joshua] tried many 3D-printed plastic augers, but the clay abraded them all much too quickly, often in under an hour of use; a 3D-printed stainless steel extruder solved this.

Printing in ceramic isn’t a simple process: for each part, [Joshua] had to mix the clay, load it into the tube, clean the extruder, actually print the object, let it dry, fire it, apply glaze, and fire it again. The clay’s shrinkage during drying and firing destroyed many prints, but [Joshua] was nevertheless able to print a double-walled cup, a decorative climbing-themed cup, and even a chain-mail mesh.

The 3D printer’s motion system is a polar design, an adaptation of his earlier non-planar 3D printer, which might eventually make it easier to print overhangs. We’ve previously seen a similar auger-based clay extruder, an approach reminiscent of direct-granule FDM printing.

DIY Ceramic Circuit Boards Surely Count As Solarpunk

Solarpunk is all about combining that DIY hacker ethos with sustainability and renewable resources. Our usual PCB manufacturing methods, with their bevy of chemical baths and petrochemical resins aren’t exactly the most sustainable. Digging up some clay and firing it into a circuit board? Very sustainable! And apparently doable, as demonstrated by [Emily Velasco] on Mastadon.

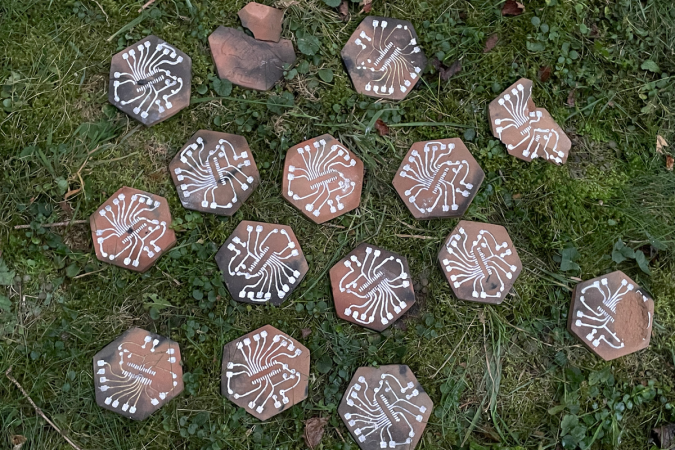
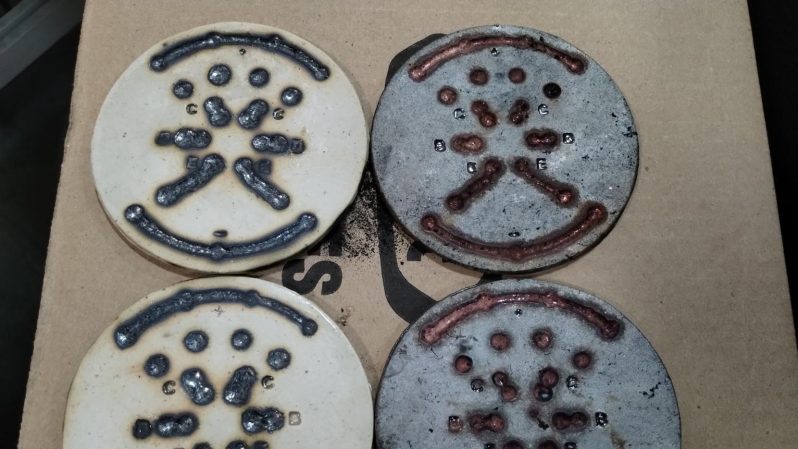
Of course anybody could take a ceramic wafer and call it a circuit board, but that’s only part of what [Emily] did. The ceramic wafer is apparently native clay, which is very cool. Even cooler is that she’s baked the traces into the pottery. While you could conceivably use some sort of conductive glaze for this, what [Emily] did was stamp her desired circuit into the unfired ceramic using a 3D-printed stamp, and then fill the depression with copper powder after the first firing. After that, a second firing is done in a reducing atmosphere to melt/sinter the copper together–it’s not totally clear which is happening here–without burning up.

The results speak for themselves; on the finished demo board, a pair of LEDs blink happily away, driven by the astable oscillator circuit baked right into the clay– and of course the components soldered to it. You’ll have to click through to see it, though.

Given those not-so-sustainable petrochemicals behind our favourite PCBs may be in short supply, this is a timely hack. If it seems familiar, that’s because we featured virtually the same technique last year, but using more-expensive silver powder instead of copper, and a campfire instead of a kiln.

Thanks to [smellsofbikes] for the tip!

PCBs The Prehistoric Way

When we see an extremely DIY project, you always get someone who jokes “well, you didn’t collect sand and grow your own silicon”. [Patrícia J. Reis] and [Stefanie Wuschitz] did the next best thing: they collected local soil, sieved it down, and fired their own clay PCB substrates over a campfire. They even built up a portable lab-in-a-backpack so they could go from dirt to blinky in the woods with just what they carried on their back.

This project is half art, half extreme DIY practice, and half environmental consciousness.  (There’s overlap.)  And the clay PCB is just part of the equation. In an effort to approach zero-impact electronics, they pulled ATmega328s out of broken Arduino boards, and otherwise “urban mined” everything else they could: desoldering components from the junk bin along the way.

The traces themselves turned out to be the tricky bit. They are embossed with a 3D print into the clay and then filled with silver before firing. The pair experimented with a variety of the obvious metals, and silver was the only candidate that was both conductive and could be soldered to after firing. Where did they get the silver dust? They bought silver paint from a local supplier who makes it out of waste dust from a jewelry factory. We suppose they could have sat around the campfire with some old silver spoons and a file, but you have to draw the line somewhere. These are clay PCBs, people!

Is this practical? Nope! It’s an experiment to see how far they can take the idea of the pre-industrial, or maybe post-apocalyptic, Arduino. [Patrícia] mentions that the firing is particularly unreliable, and variations in thickness and firing temperature lead to many cracks. It’s an art that takes experience to master.

We actually got to see the working demos in the flesh, and can confirm that they did indeed blink! Plus, they look super cool. The video from their talk is heavy on theory, but we love the practice.

DIY clay PCBs make our own toner transfer techniques look like something out of the Jetsons.

Continue reading “PCBs The Prehistoric Way”

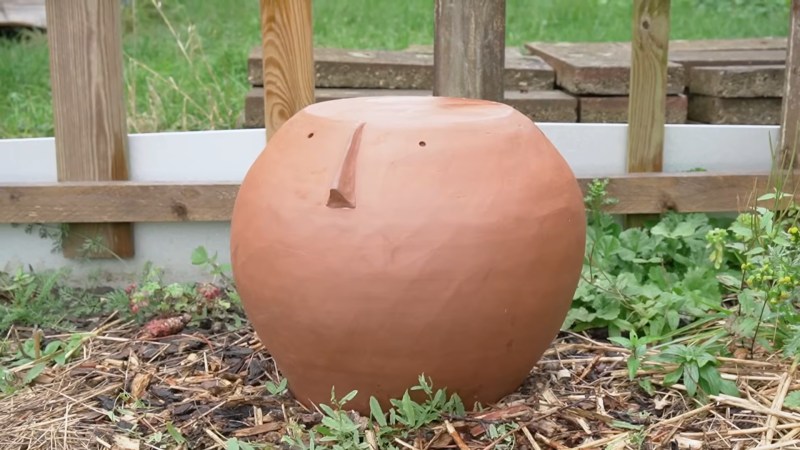
A brown sphere with a flat top, a nose and circular eyes sits on the ground surrounded by low vegetation. A wooden fence is behind it.

Making A Stool From Clay

We’ve seen furniture made out of all sorts of interesting materials here, but clay certainly isn’t the first one that comes to mind. [Mia Mueller] is expanding our horizons with this clay stool she made for her garden.

Starting with an out-of-budget inspiration piece, [Mueller] put her own spin on a ceramic stool that looks like a whimsical human head. An experienced potter, she shows us several neat techniques for working with larger pieces throughout the video. Her clay extruder certainly beats making coils by hand like we did in art class growing up! Leaving the coils wrapped in a tarp allows her to batch the process coils and leave them for several days without worrying about them drying out.

Dealing with the space constraints of her small kiln, her design is a departure from the small scale prototype, but seeing how she works through the problems is what really draws us to projects like this in the first place. If it was easy, it wouldn’t be making, would it? The final result is a beautiful addition to her garden and should last a long time since it won’t rot or rust.

If you’re thinking of clay as a medium, we have some other projects you might enjoy like this computer mouse, 3D printing with clay, or a clay battery.

Continue reading “Making A Stool From Clay”

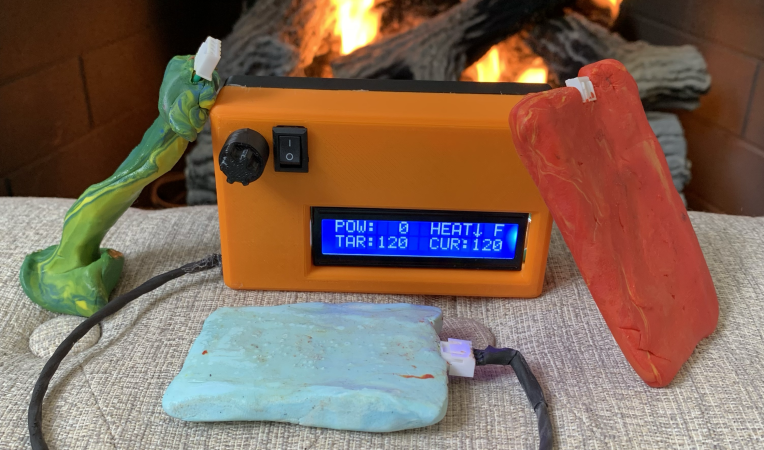
Two types of polymer clay hand warmers with a digital temperature controller.

Adjustable Electric Hand Warmers

It may be the last gasp of summer here in the Northern Hemisphere, but it’s always cold somewhere, whether it’s outdoors or inside. If you suffer from cold, stiff hands, you know how difficult it can be to work comfortably on a computer all day. Somehow, all that typing and mousing does little to warm things up. What you need are hand warmers, obviously, and they might as well be smart and made to fit your hands.

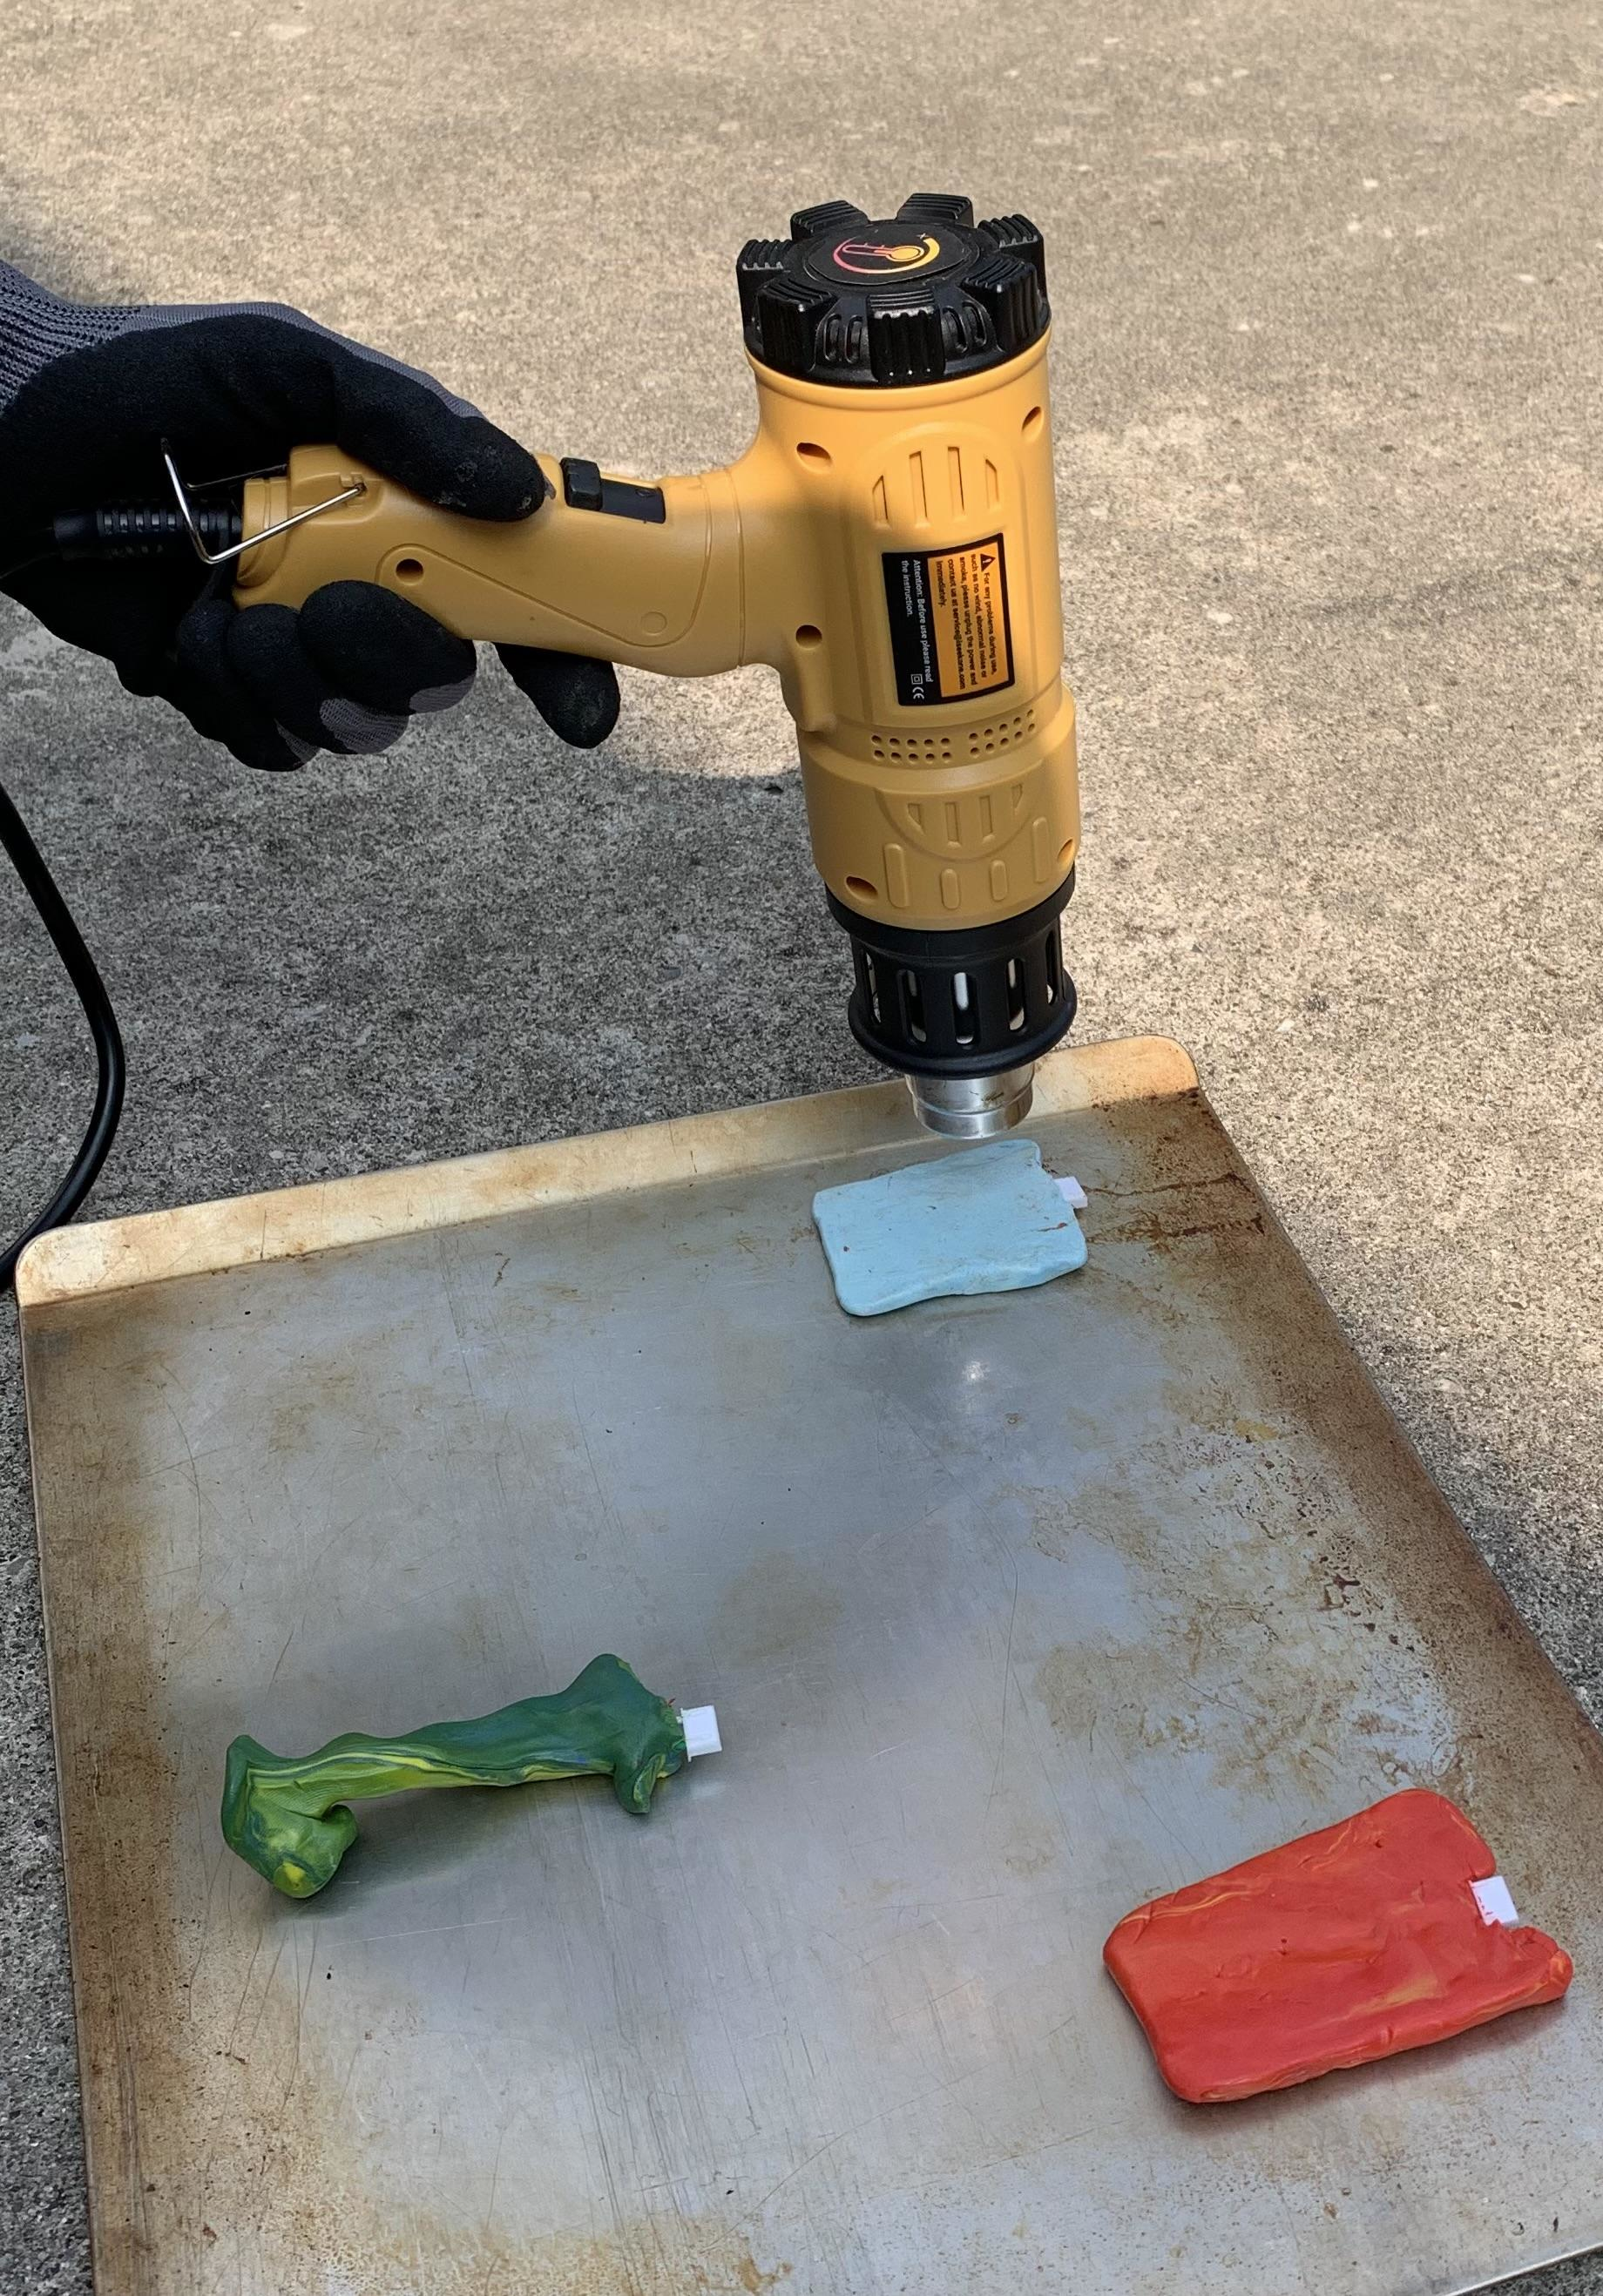
Using a heat gun to cure polymer clay. Fifteen-year-old [Printerforge] created these bad boys in an effort to learn how to code LCDs and control heat like Magneto controls ferrous metals. Thanks to digital control, they can heat up to specific temperatures, and they happen to run for a long time.

Power-wise, these warmers use a 18650 cell and a TP4056 charging module. Everything is controlled by an Arduino Nano, which reads from both a thermistor and a potentiometer to control the output.

[Printerforge] really thought this project through, as you’ll see in the Instructable. There’s everything from a table of design requirements to quick but thorough explanations of nichrome wire and basic electronic theory.

And then there’s the material consideration. [Printerforge] decided that polymer clay offers the best balance of heat conductivity and durability. They ended up with two styles — flat, and joystick grip. The best part is, everything can fit in a generous pocket.

Clay is good for a lot of things, like making the perfect custom mouse.

Slab Casting – A New Way To Combine 3D Printing And Ceramics

Slip casting can be messy both in processing and in making the original plaster mold. What if there was a better way, thanks to 3D printing?

[Allie Katz] has developed a new technique using 3D printed slab molds to make ceramics. By combining the ability of 3D printing to make intricate designs and the formability of clay, they have found a way to make reproducible clay objects without all that tedious mucking about with liquid clay.

[Katz] takes us through a quick “Mould Making 101” before showing how the slab casting press molds were made. Starting with a positive CAD design, the molds were designed to eliminate undercuts and allow for air infiltration since a plastic mold can’t suck the water out of the clay like a plaster one would. Some cookie clay cutters were also designed to help with the trickier bits of geometry. Once everything was printed, the molds were coated with cornstarch and clay was pressed in. After removal, any final details like handles can be added and the pieces are then fired as normal.

If you’d like to see some more 3D printing mixed up with ceramics, check out 3D printing glass with a laser, reliable ceramic slurry printing, or this TPU-based approach.

Continue reading “Slab Casting – A New Way To Combine 3D Printing And Ceramics”