Hydraulics are incredibly versatile, but due to the pressures at which they operate, they are also rather expensive and not very DIY-friendly. This isn’t to say that you cannot take a fair shot at a halfway usable 3D-printed set of hydraulics, as [Indeterminate Design] demonstrates in a recent video. Although not 100% 3D-printed, it does give a good idea of how far you can push plastic-based additive manufacturing in this field.
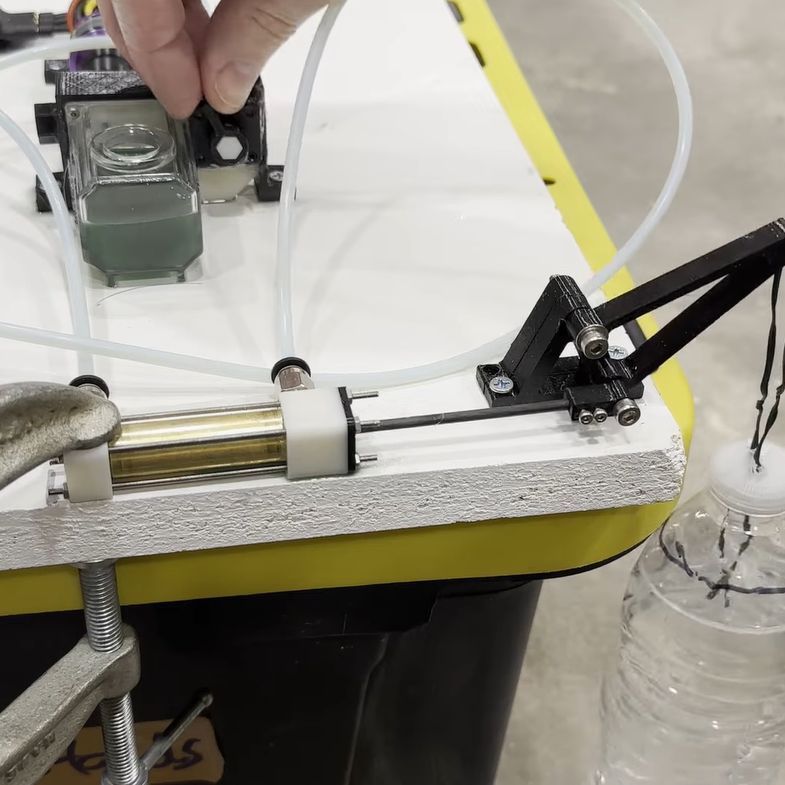
Most interesting is the integration of the gear pump, 4-way selector valve, and relief valve into a single structure, which was printed with a resin printer (via the JLC3DP 3D print service). After bolting on the (also 3D printed) clear reservoir and assembling the rest of the structure including the MR63 ball bearings, relief spring valve, and pneumatic fittings it was ready to be tested. The (unloaded) gear pump could pump about 0.32 L/minute, demonstrating its basic functionality.
For the hydraulic cylinder, mostly non-3D printed parts were used, with a brass cylinder forming the main body. During these initial tests, plain water was used, followed by CHF11 hydraulic oil, with a pressure of about 1.3 bar (19 PSI) calculated afterward. This fairly low pressure is suspected to be caused by leaky seals (including the busted shaft seal), but as a basic proof of concept, it provides an interesting foundation for improvements.
Want a primer on hydraulics? We got you. MIT likes 3D printing with hydraulics, too (dead link, but the underlying paper link is still good).
Continue reading “Building A Hydraulic System With 3D Printed SLA Resin Parts”