While using a stencil should make solder paste application onto PCBs a simple affair, there are a number of “gotchas” that make it more art than science. Luckily, there are tools you can build, like this 3D-printed vacuum-assist stencil jig, that take a little of the finesse out of the process.
For those who haven’t had the pleasure, solder paste stencils are often used to make the job of applying just the right amount of solder paste onto the pads of a PCB, and only on the pads. The problem is that once the solder paste has been squeegeed through the holes in the stencil, it’s not easy to remove the stencil without smearing. [Marius Heier]’s stencil box is essentially a chamber that attaches to a shop vac, along with a two-piece perforated work surface. The center part of the top platform is fixed, while the outer section moves up and down on 3D-printed springs.
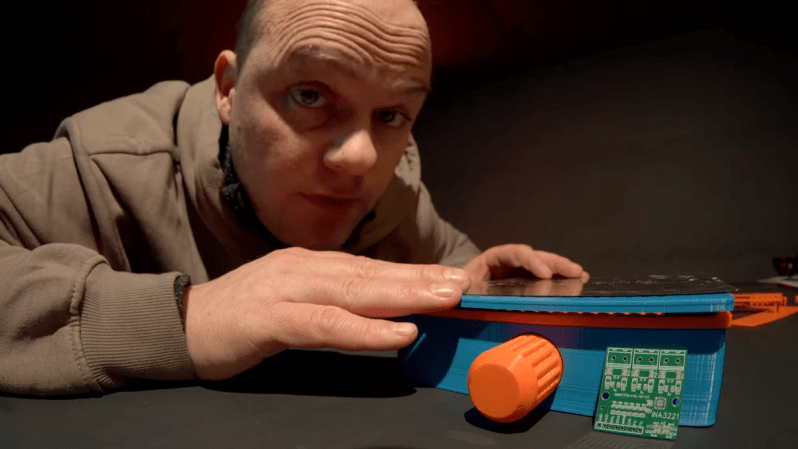
In use, the PCB is placed on the center fixed platform, while the stencil sits atop it. Suction pulls the stencil firmly down onto the PCB and holds it there while the solder paste is applied. Releasing the suction causes the outer section of the platform to spring up vertically, resulting in nice, neat solder-covered pads. [Marius] demonstrates the box in the video below, and shows a number of adapters that would make it work with different sized PCBs.
If you think you’ve seen a manual vacuum stencil box around here recently, you’re right — we featured one by [UnexpectedMaker] not too long ago.


Personally I prefer using a magnetic chuck. The stainless steel stencils are fairly often magnetic and will sit firmly in place and are easy to just peel off without any smearing.
Vacuum chucks usually ends up with solder paste sneaking down some via or the like… Or smear out from the pads when the vacuum fades, I haven’t had any luck with it and magnets are so much more trivial and flawless in comparison. (except when one gets a non magnetic stencil.)
But for larger pads (in my case 0603), a bit of pressure from a finger or two is all that is needed for satisfactory results on most boards.
“it’s not easy to remove the stencil without smearing” …Never happened to me
I agree, smearing usually isn’t an issue when removing the stencil. Just hold down one edge and lift up the other, and simply peel it off from the board works in practically all cases. (“Peeling” in this case being to simply hold down one edge and just lift the other.)
I have seen smearing on larger boards where one needs to do multiple passes to properly cover it all in paste. If the stencil isn’t held down somewhat firmly one risks having paste squeeze in under the stencil. This is why I personally use a magnetic chuck to firmly hold it down across the whole board, almost all stencils I have worked with have been magnetic.
Though, most magnetic chucks brings along the advantage of being excessively stiff and flat, something that also noticeably reduces smearing as long as one’s board isn’t bent.
Same here. Just tape one end of the stencil, and use it as a hinge. I’ve done this without trouble, for small production runs, when the stretched frame stencil hasn’t arrived yet.
This is great! Cool job!
Thanks! Its been alot of 3d printing. My next project should really be a high flow printer :D
Having the stencil electropolished really helps with fine pitches, as it minimizes the adhesion of the paste and the stencil. For the slight additional cost, electropolishing is well worth it.
Yes thats for sure! It really is worth the extra money.
What is wrong with making a 3 sided slot for the pcb to sit in snugly from other unused boards and tape the stencil to one side so you can just lift it up to replace the just stencilled board? Has been working for me for the last couple of years up to sizes of 0402 without problems.