Saving Some Coin With 3D Printed Stencils

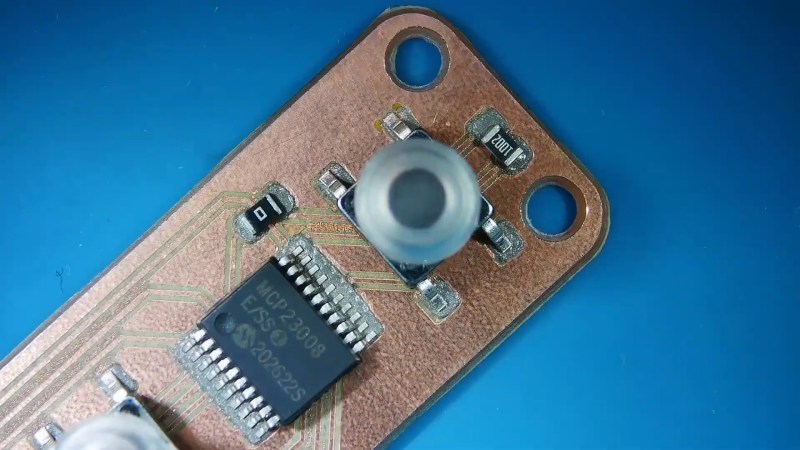
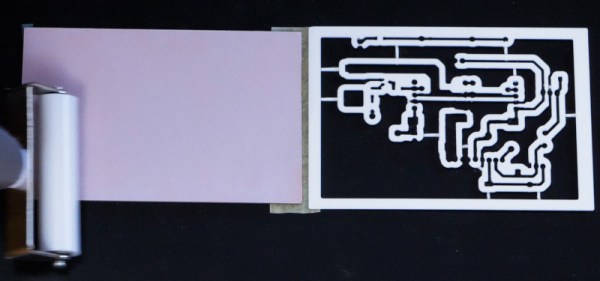
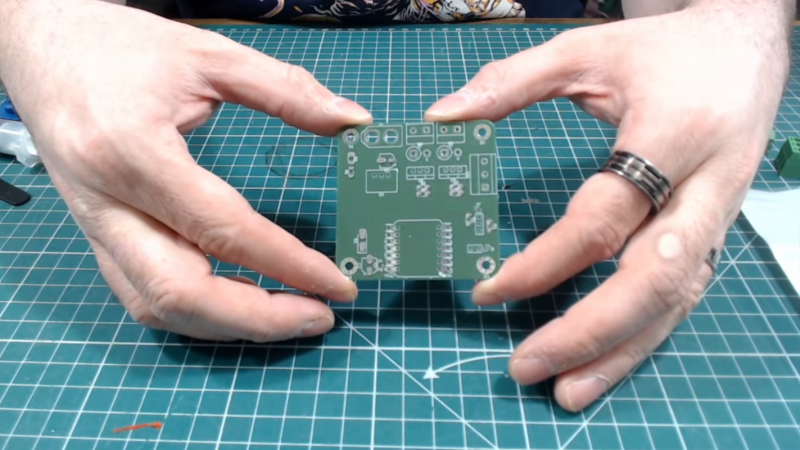
One of the extra tools someone might need when working with surface-mount components is a solder paste stencil, which not only simplifies the application of solder paste to a PCB but increases accuracy. These metal stencils can cost an annoying amount of money and take time to get delivered, so this group has developed a method to 3D print them instead.

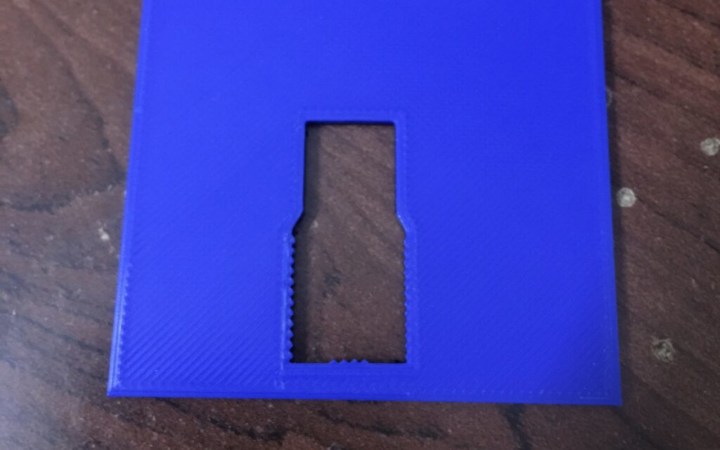
Starting with a PCB design in one’s tool of choice, the Gerber files can be sent to the online Stenchill tool to generate the stencil. Alternatively, a KiCad plugin exists as well. The tool will output files for a 3D printer from there. An FDM printer is required, with either PLA or PETG filament, and some configuration in the slicer is needed to get the accuracy required for a useful stencil. But once that’s all set up, the printer can output a perfectly usable stencil at a fraction of the cost, and without having to wait days for delivery through the mail.

It’s not all upside, though. Although it might be better than applying solder paste with a syringe on a massive board or doing more than one smaller board by hand, it may not be as good as a metal stencil for extremely small pads. But for those who often find themselves using metal stencils and dealing with the downsides that come with them, this could be a viable alternative, especially when prototyping.

If you have a laser cutter handy, that opens up some additional options for stencil production.

Continue reading “Saving Some Coin With 3D Printed Stencils”
Aluminum Business Cards Make Viable PCB Stencils

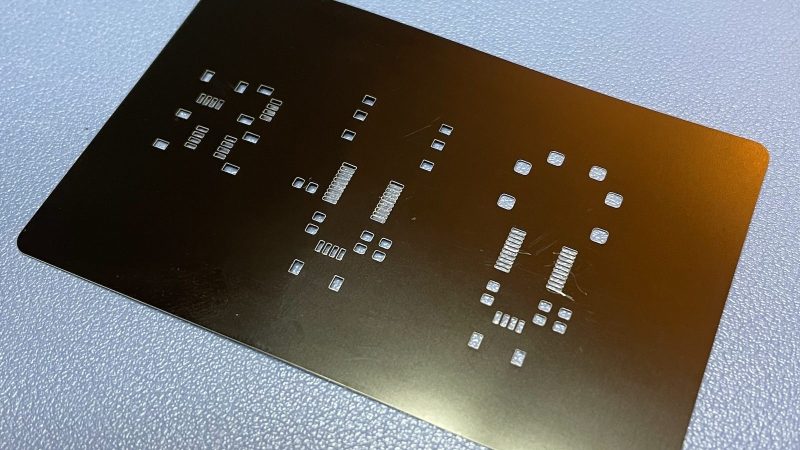
[Mikey Sklar] had a problem—namely, running low on the brass material typically used for making PCB stencils. Thankfully, a replacement material was not hard to find. It turns out you can use aluminum business card blanks to make viable PCB stencils.

Why business card blanks? They’re cheap, for a start—maybe 15 cents each in quantity. They’re also the right thickness, at just 0.8 mm 0.18 mm, and they’re flat, unlike rolled materials that can tend to flip up when you’re trying to spread paste. They’re only good for small PCBs, of course, but for many applications, they’ll do just fine.

To cut these, you’ll probably want a laser cutter. [Mikey] was duly equipped in that regard already, which helped. Using a 20 watt fiber laser at a power of 80%, he was able to get nice accurate cuts for the stencils. Thanks to the small size of the PCBs in question, the stencils for three PCBs could be crammed on to a single card.

If you’re not happy with your existing PCB stencil material, you might like to try these aluminium blanks on for size. We’ve covered other stenciling topics before, too.

Continue reading “Aluminum Business Cards Make Viable PCB Stencils”

CNC Router And Fiber Laser Bring The Best Of Both Worlds To PCB Prototyping

Jack of all trades, master of none, as the saying goes, and that’s especially true for PCB prototyping tools. Sure, it’s possible to use a CNC router to mill out a PCB, and ditto for a fiber laser. But neither tool is perfect; the router creates a lot of dust and the fiberglass eats a lot of tools, while a laser is great for burning away copper but takes a long time to burn through all the substrate. So, why not put both tools to work?

Of course, this assumes you’re lucky enough to have both tools available, as [Mikey Sklar] does. He doesn’t call out which specific CNC router he has, but any desktop machine should probably do since all it’s doing is drilling any needed through-holes and hogging out the outline of the board, leaving bridges to keep the blanks connected, of course.

Once the milling operations are done, [Mikey] switches to his xTool F1 20W fiber laser. The blanks are placed on the laser’s bed, the CNC-drilled through holes are used as fiducials to align everything, and the laser gets busy. For the smallish boards [Mikey] used to demonstrate his method, it only took 90 seconds to cut the traces. He also used the laser to cut a solder paste stencil from thin brass shim stock in only a few minutes. The brief video below shows the whole process and the excellent results.

In a world where professionally made PCBs are just a few mouse clicks (and a week’s shipping) away, rolling your own boards seems to make little sense. But for the truly impatient, adding the machines to quickly and easily make your own PCBs just might be worth the cost. One thing’s for sure, though — the more we see what the current generation of desktop fiber lasers can accomplish, the more we feel like skipping a couple of mortgage payments to afford one.

Continue reading “CNC Router And Fiber Laser Bring The Best Of Both Worlds To PCB Prototyping”

3D Print A Stenciling Frame For Your PCB

For many a hacker, stenciling a board for the first time is a game-changing experience – the solder joints you get, sure do give your PCB the aura of a mass-manufactured device. Now, you might not get a perfect print – and neither did [Atul R]. Not to worry, because if you have a 3D printer handy, he’s showing you how to design a 3D-printed frame using Blender and TinkerCAD, making your solder paste print well even if you’re trying to rest a giant stencil on top of a tiny board.

[Atul]’s situation was non-characteristic – the project is a 2mm thick PCB designed to plug right into a USB port, so the usual trick of using some scrap PCBs wouldn’t work, and using a 3D-printed frame turned out to be key. To get it done, he exported a .wrl from KiCad, processed it in Blender, and then designed a frame with help of TinkerCAD. These techniques, no doubt, will translate into your CAD of choice – especially if you go with .step export instead of .wrl.

This kind of frame design will get you far, especially for boards where the more common techniques fail – say, if you need to assemble a double-sided board and one side is already populated. Don’t have a stencil? You could surely make a 3D printed stencil, too, both for KiCad boards and for random Gerber files. Oh, and don’t forget this 3D-printable stencil alignment jig, while you’re at it – looks like it ought to save you quite a bit of trouble.

Making A Solder Paste Stencil From What You Have On Hand

Sometimes there are moments when an engineer has to use whatever materials they have to hand in order to complete the job on time. Such a situation arose at the RevSpace hacker space in Den Haag, Netherlands, as they were the assembly venue for a conference badge.

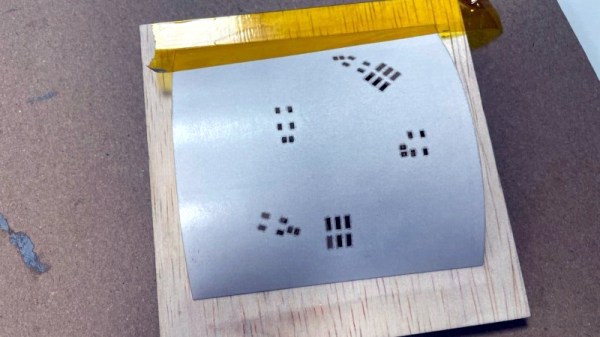
Their problem was that the badge PCB had no solder paste stencil, and the solution was to laser cut one out of an unexpected material. The backing paper for self-adhesive vinyl sheet has properties not unlike those desired of a stencil, so they tried laser-cutting one from that material. The result was a robust stencil that outperformed the Mylar they had previously used, enabled the manufacture of 350 boards.

They think that the polymer layer on top of the paper may be silicone, and found that the laser didn’t unduly melt the edges of the cut. We’re not sure we’d feed random unknown plastics into our cutter, we’re guessing they have good quality ventilation. It’s mounted into a plywood jig in much the same way as a conventional stencil might be.

The badges were destined for WICCON, a Dutch conference from an organisation for women in cybersecurity. Sadly we’ve not seen a completed one so we’re not sure what it does, however we’re pleased to hear they were completed before the event. That’s a hurdle all badge designers will know well.

Long term readers may remember, that RevSpace have something of a history when it comes to assembling badges.

LED Matrix Displays Get New Look Thanks To SMD Stencils

Even if surface-mount skills aren’t in your repertoire, chances are pretty good that most of us are at least familiar with SMD stencils. These paper-thin laser-cut steel sheets are a handy way to apply a schmear of solder paste to the pads of a PCB before component placement and reflowing. But are stencils good for anything else?

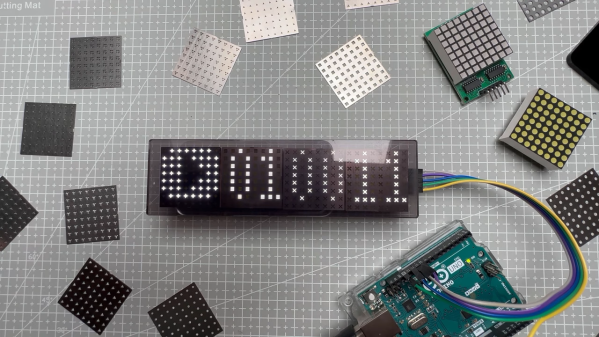
It turns out they are, if you’ve got some plain old 8×8 LED matrix displays you want to jazz up a bit. In this case, [upir]’s displays were of the square pixel type, but this trick would work just as well for a matrix with circular elements. Most of the video below is a master class in Adobe Illustrator, which [upir] used to generate the artwork for his stencils. There are a lot of great tips here that make creating one simple shape and copying it over the whole array with the proper spacing a lot easier. He also details panelizing multiple stencils, as well as the workflow from Illustrator to manufacturing.

When lined up properly over the face of the LED matrix, the stencils have quite an effect. We really liked the narrow vertical bars, which make the LED display look a bit like a VFD. And just because [upir] chose to use the same simple shape over all the LEDs in a matrix doesn’t mean that there aren’t other options. We can see how you might use the same technique to create different icons or even alphanumeric characters to create custom LED displays. The possibilities are pretty much limited to your imagination.

This isn’t the first time we’ve seen [upir] teaching old displays new tricks.

Continue reading “LED Matrix Displays Get New Look Thanks To SMD Stencils”

A New Way To Produce PCBs With Your 3D Printer

With the low-cost PCB fabrication services available to hackers and makers these days, we’ll admit that making your own boards at home doesn’t hold quite the appeal that it did in the past. But even if getting your boards professionally made is cheaper and easier than it ever has been before, at-home production still can’t be beat when you absolutely must have a usable board before the end of the day.

If you find yourself in such a situation, this new method of DIY PCB production detailed by [Adalbert] might be just what you need. This unique approach uses a desktop fused deposition modeling (FDM) 3D printer throughout all of its phases, from creating a stencil based on the exported board design, to warming the UV soldermask to accelerate the curing process. It may not be an ideal choice for densely packed boards with fine-pitch components, but could definitely see it being useful for many prototypes.

Continue reading “A New Way To Produce PCBs With Your 3D Printer”